


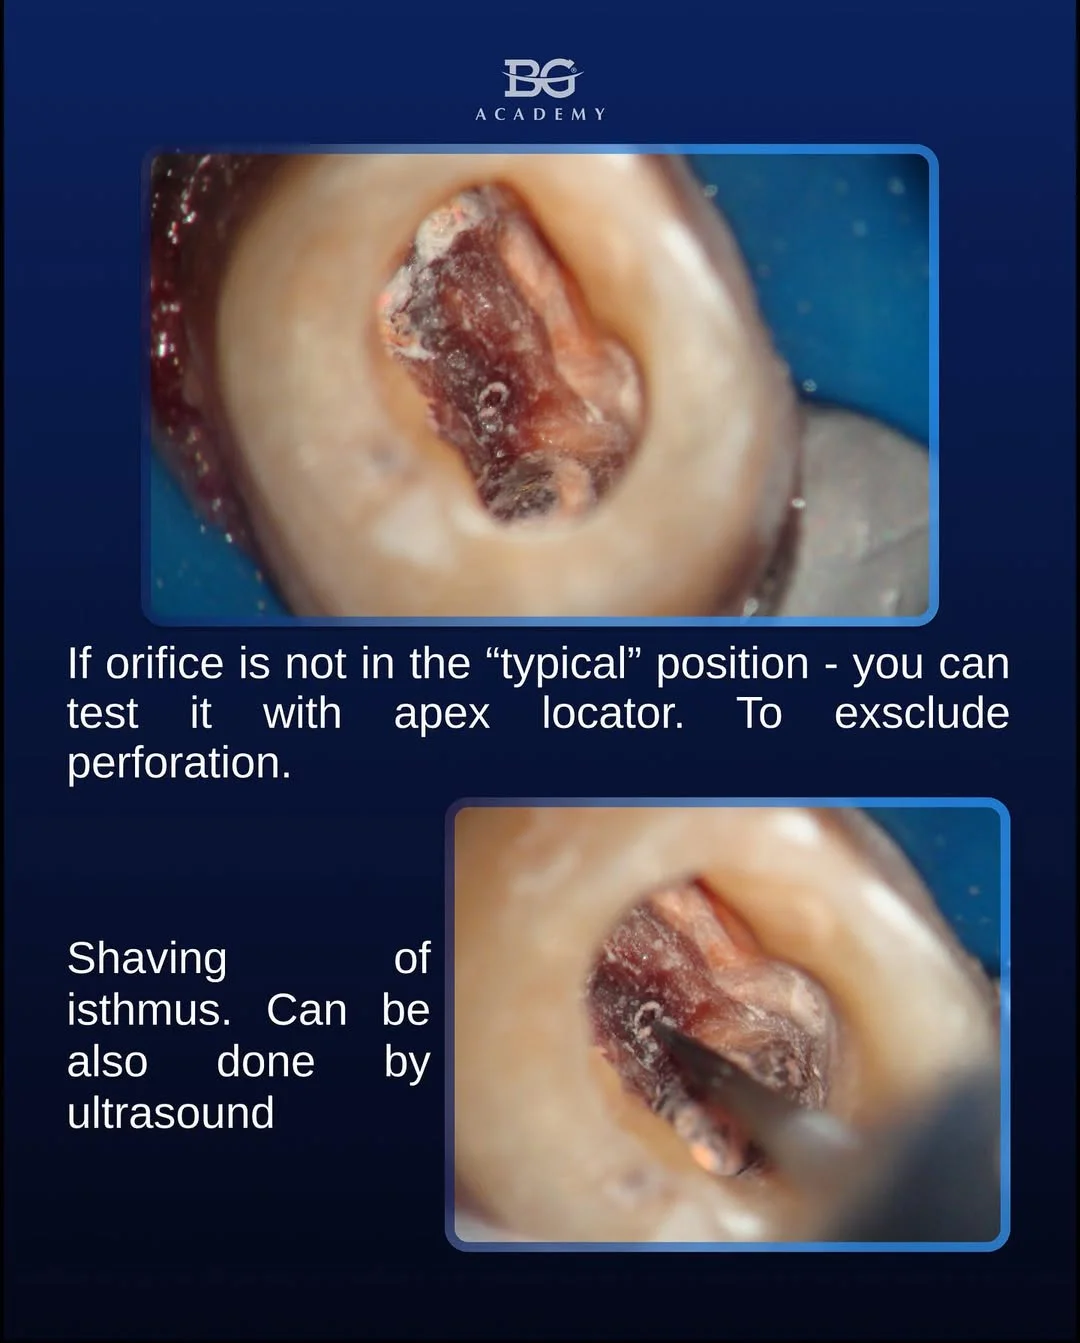
Sometimes, the orifice may be located in “unusual” areas—but we must always examine the isthmus, as it often guides us to the canal.
RULES:
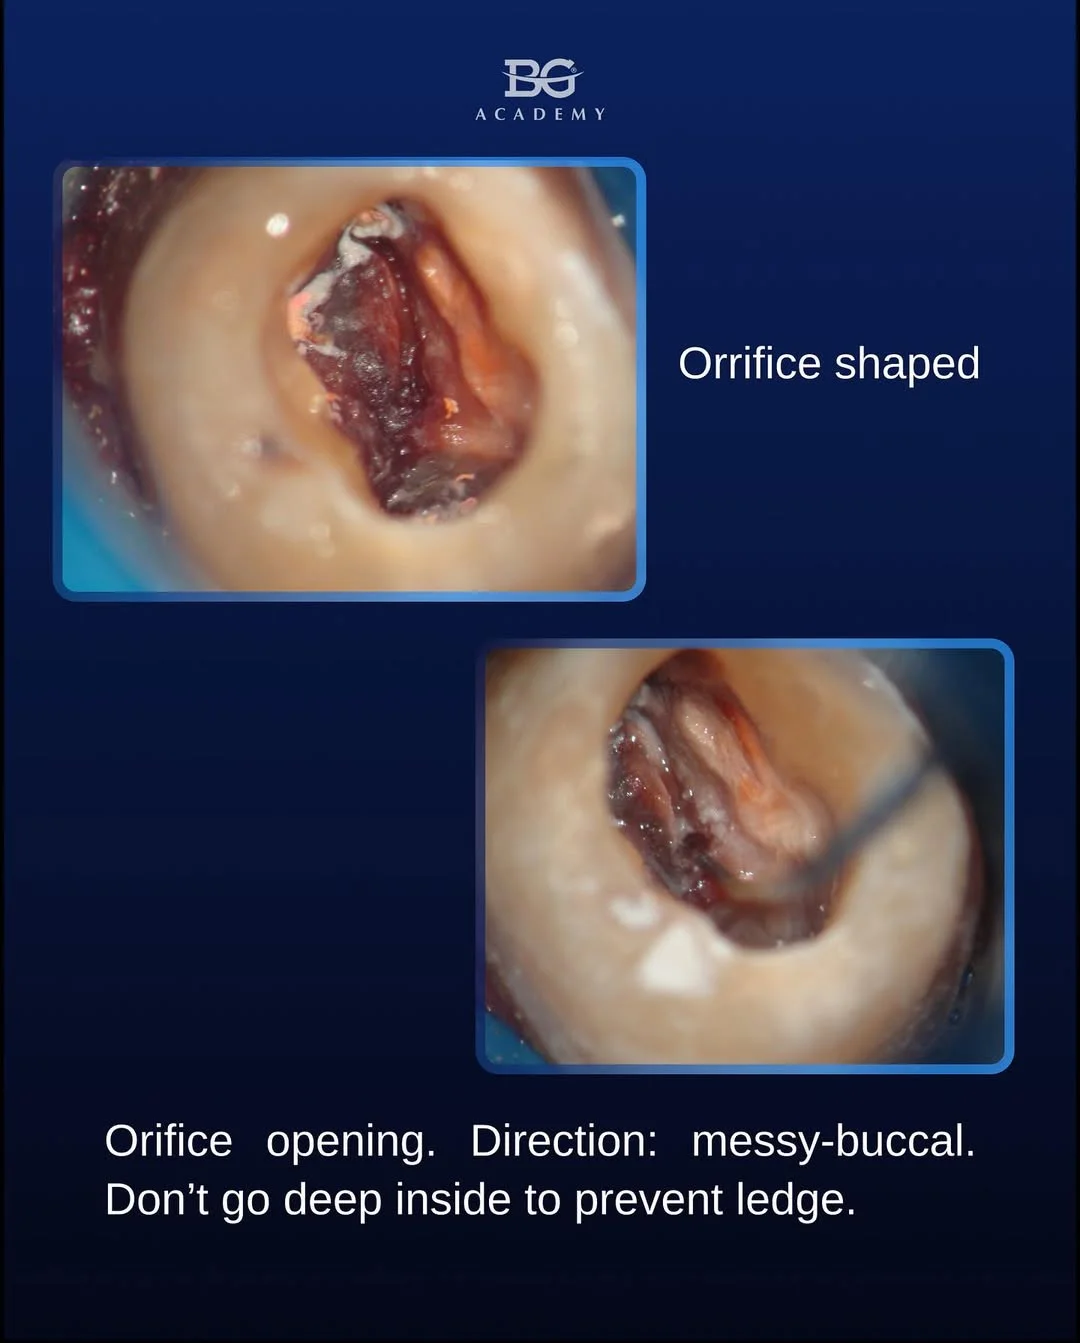
- Locate the isthmus.
- Enlarge it in the mesio-buccal direction.
- Be patient. One of the most complex areas of the MB2 canal is the coronal third—make it accessible.
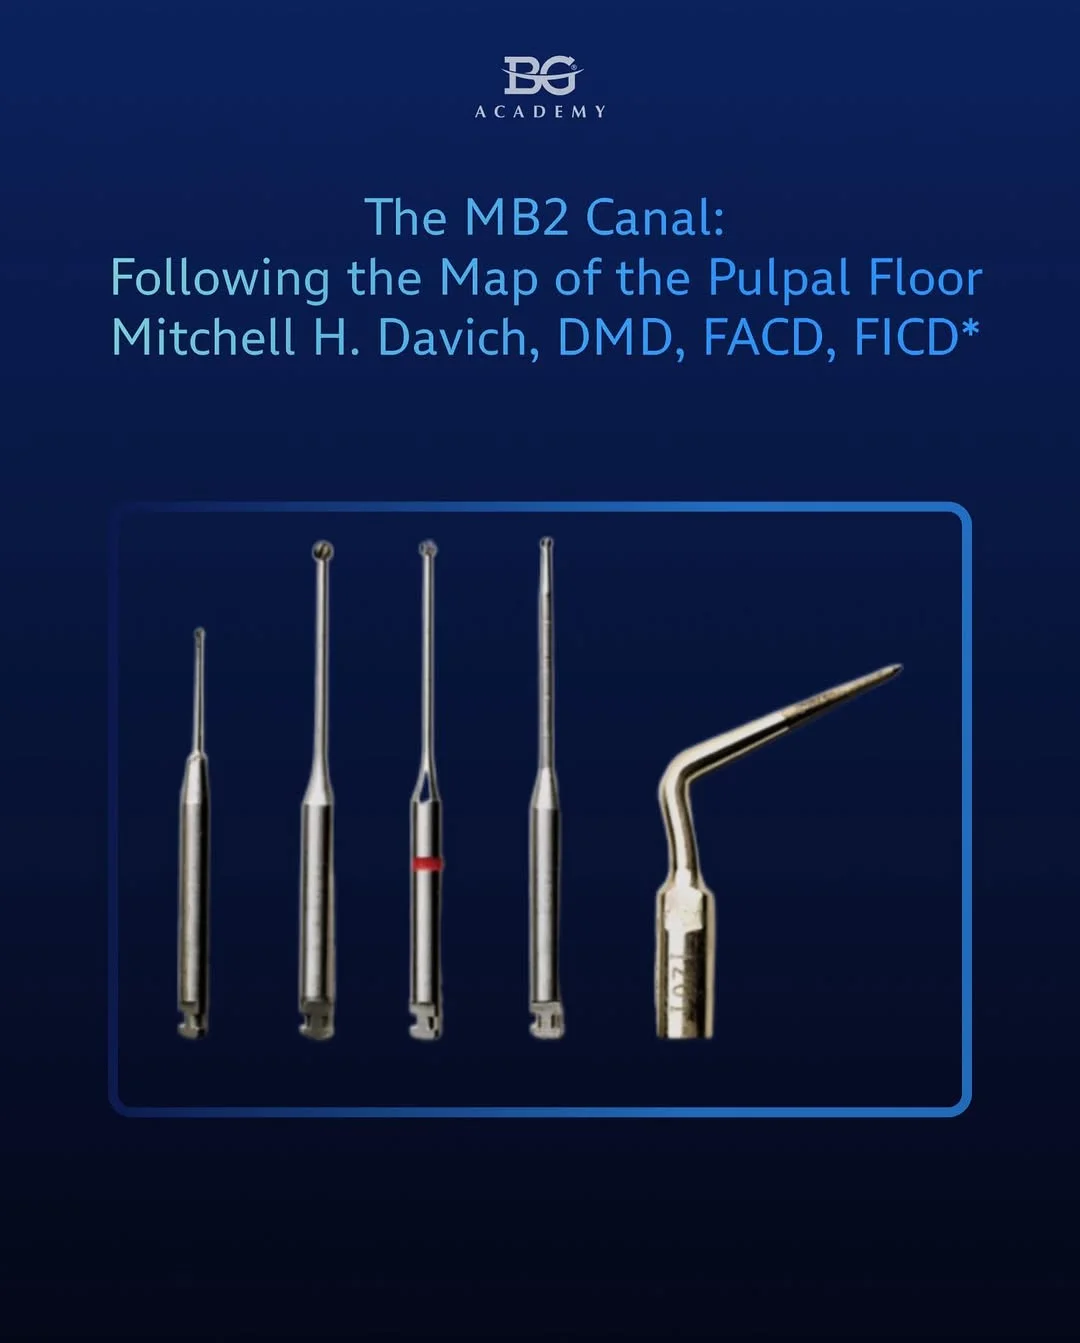
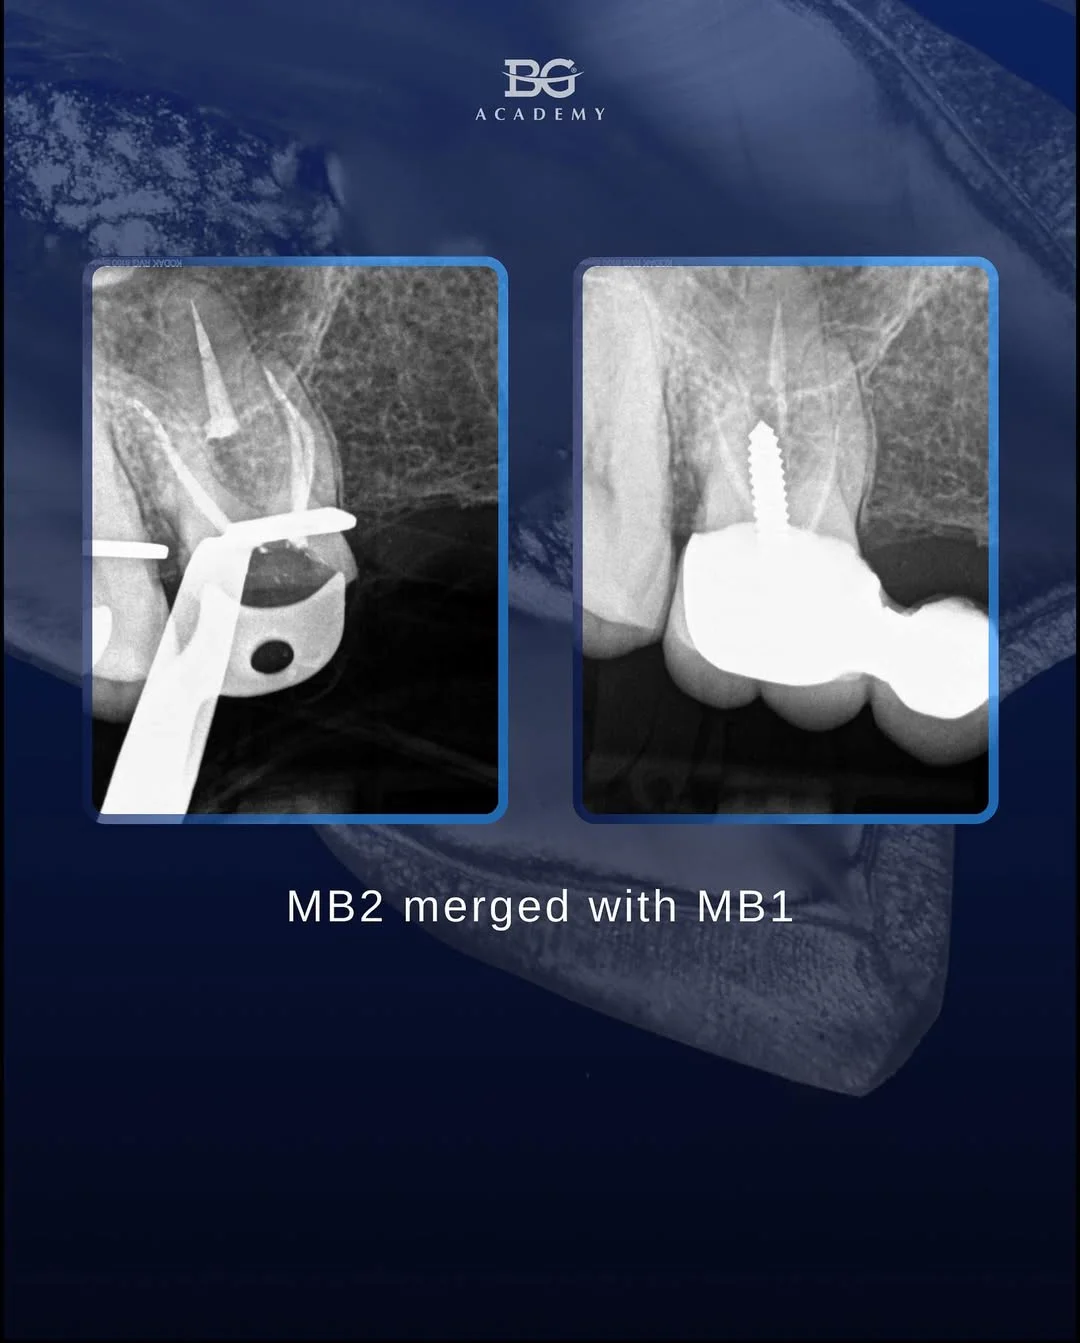
The MB2 canal:
Following the map of the pulpal floor
Mitchell H. Davich, DMD, FACD, FICD
Protocol for locating MB2 canals
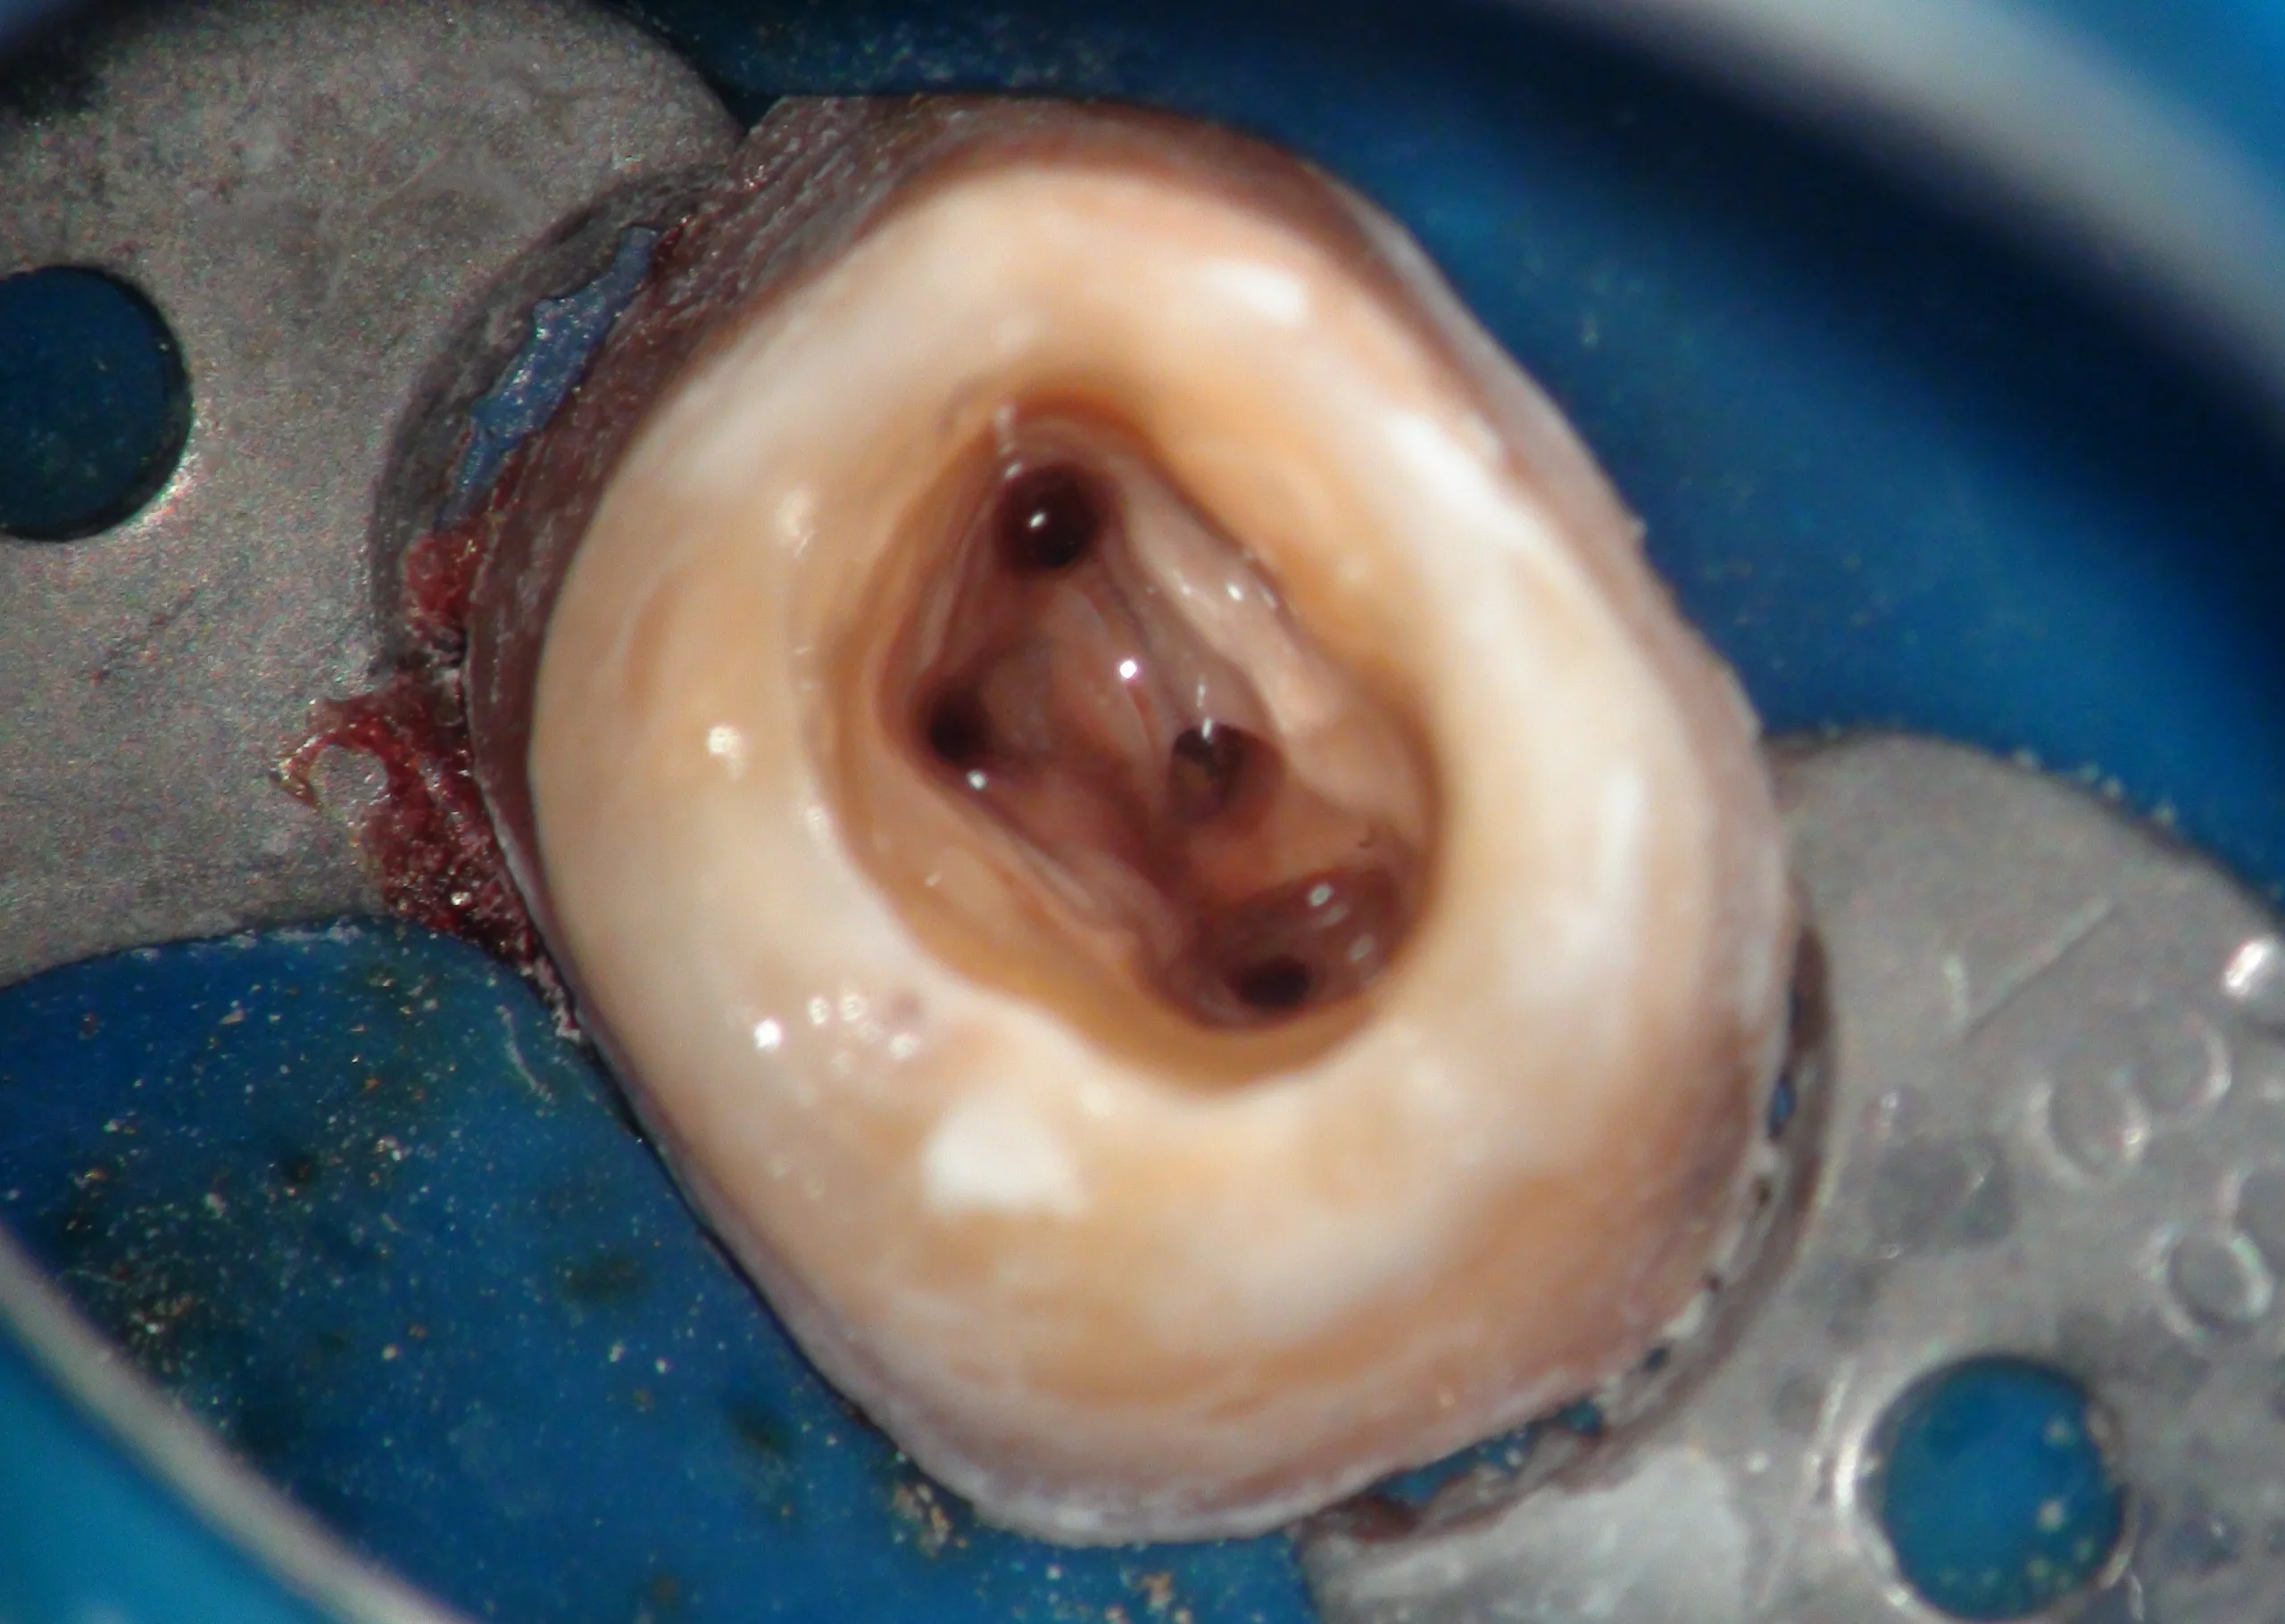
Road map: Use a rhomboid access cavity and follow the developmental grooves on the pulpal floor. The MB2 canal is typically located palatal and often mesial (under the marginal ridge) to a line drawn between the MB1 and palatal canals.
Remove mesial shelf: Once MB1 is located, remove the mesial dentin shelf, which forms the roof over the MB2 orifice. Access the MB2 canal from a flattened pulpal floor, angling a pre-curved file from distal to mesial.
Highlight anatomy: Use dyes (e.g., 1% methylene blue) or dentin dust created during preparation to enhance visualization of chamber anatomy.
Troughing: Use low-speed burs or ultrasonic tips to trough from the MB1 area—limit your depth to 2–3 mm to avoid weakening the mesial furcation.
Bubble test: Apply sodium hypochlorite to the pulp chamber and watch for bubbles—this may indicate tissue remnants within MB2.
Chelation: Use chelating agents (e.g., EDTA) to remove the smear layer and soften calcifications, improving access to the canal orifice.
Don’t forget the isthmus: The maxillary MB root is not perfectly round in cross-section. Different anatomical configurations may be found at various levels of the root—especially in the apical 4 mm.
And remember: we share more tips, tricks, and Endo/Restorative protocols during our BIG ENDO-RESTO COURSE.