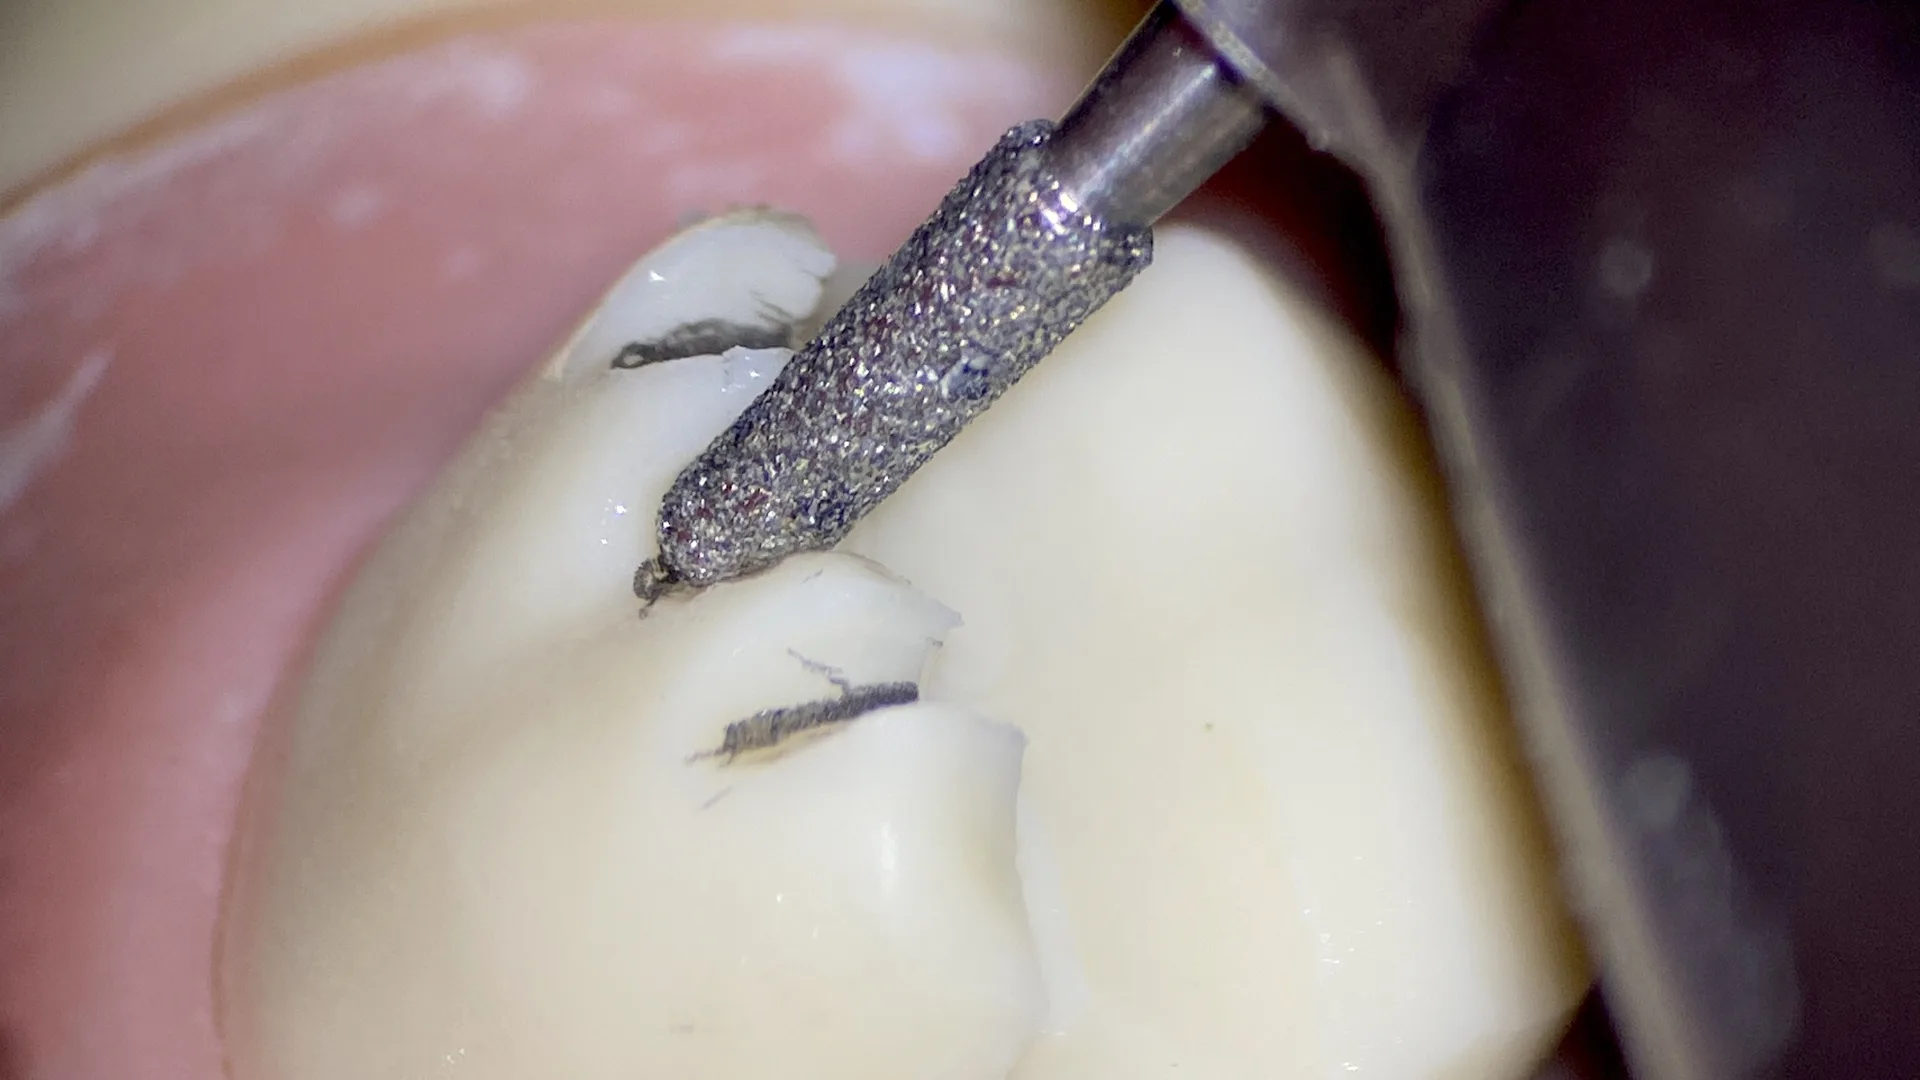
When it comes for overlay preparation, we always face with necessity of cusp reduction. But do you always think which bur angulation is better to perform this procedure?
We are happy to share 3 main angles in this article so you can find out best option for every single clinical case.
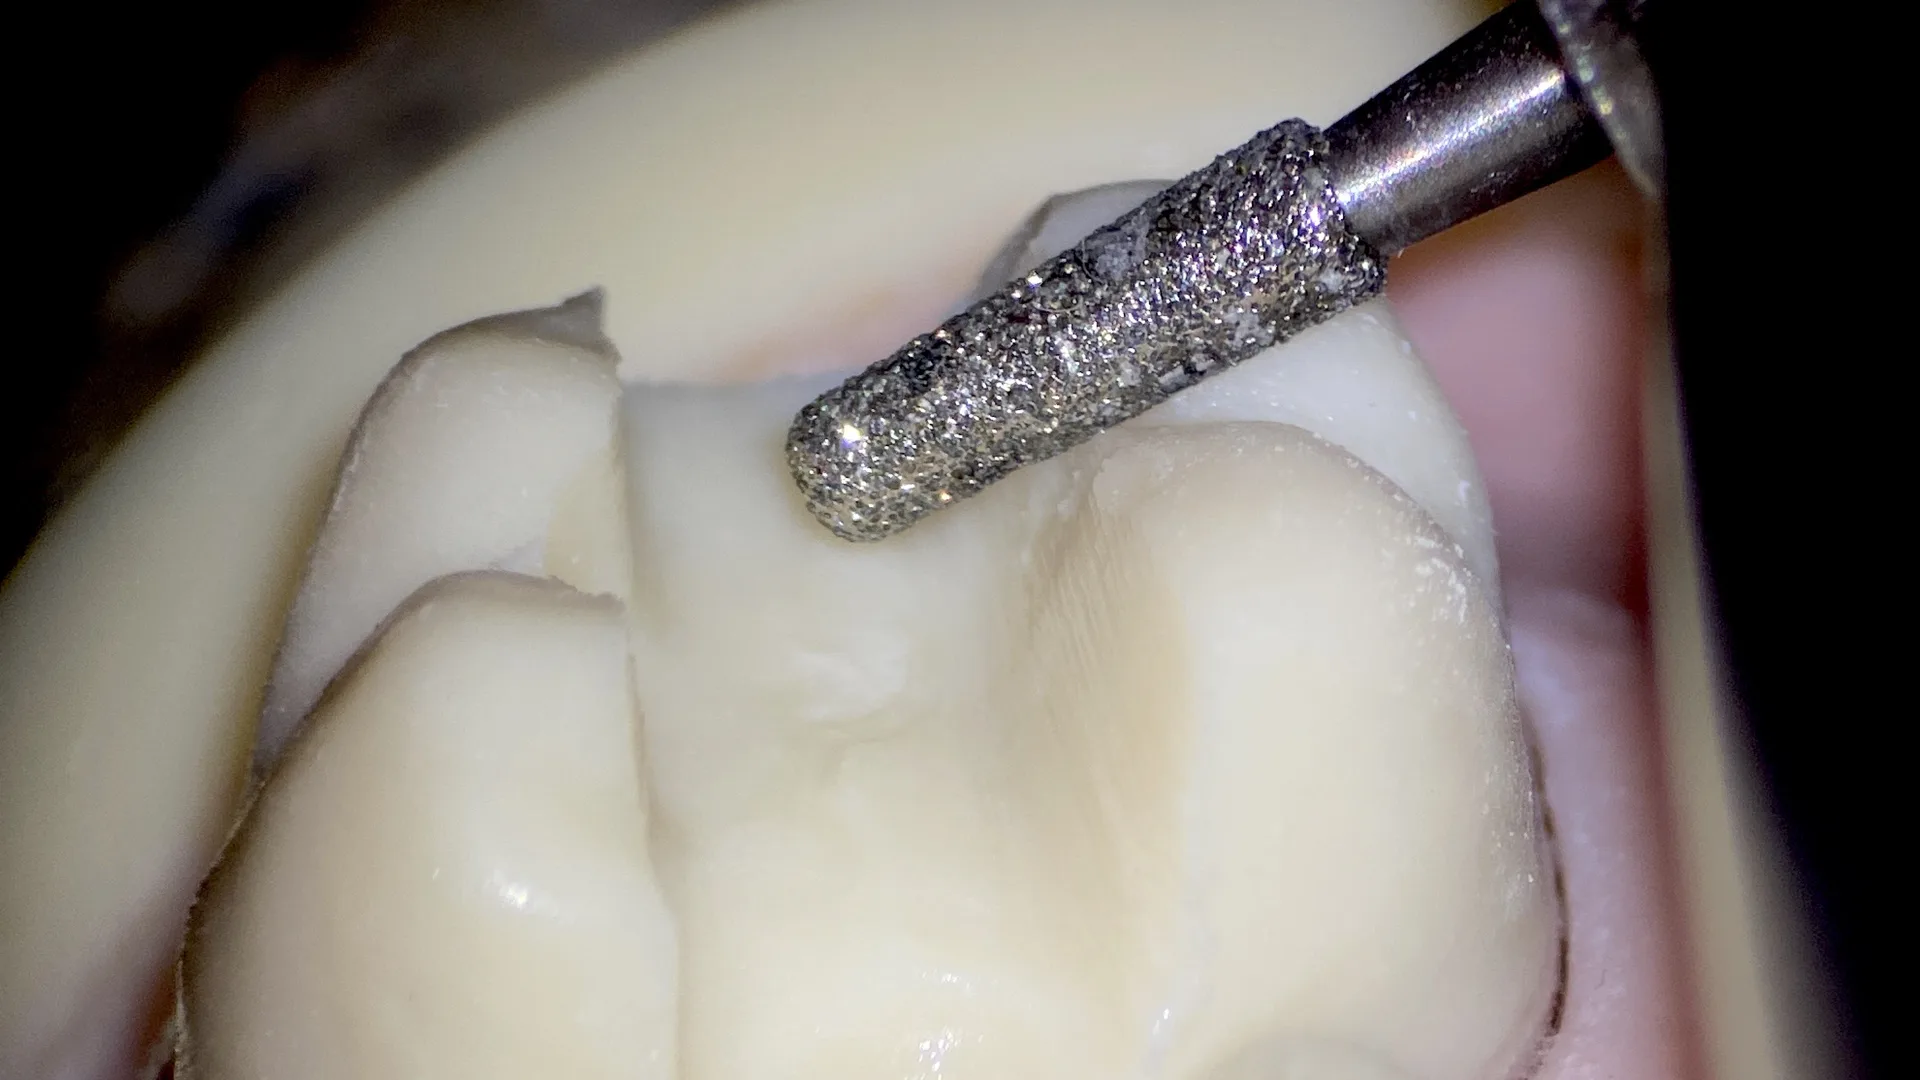
1st angle: following cusp inclination.
This angle is good for crowns and veneerlay preparations.
Advantages: anatomical prep, less invasive comparing to other angles.
Disadvantages: it may not prevent tooth splitting in difficult cases.
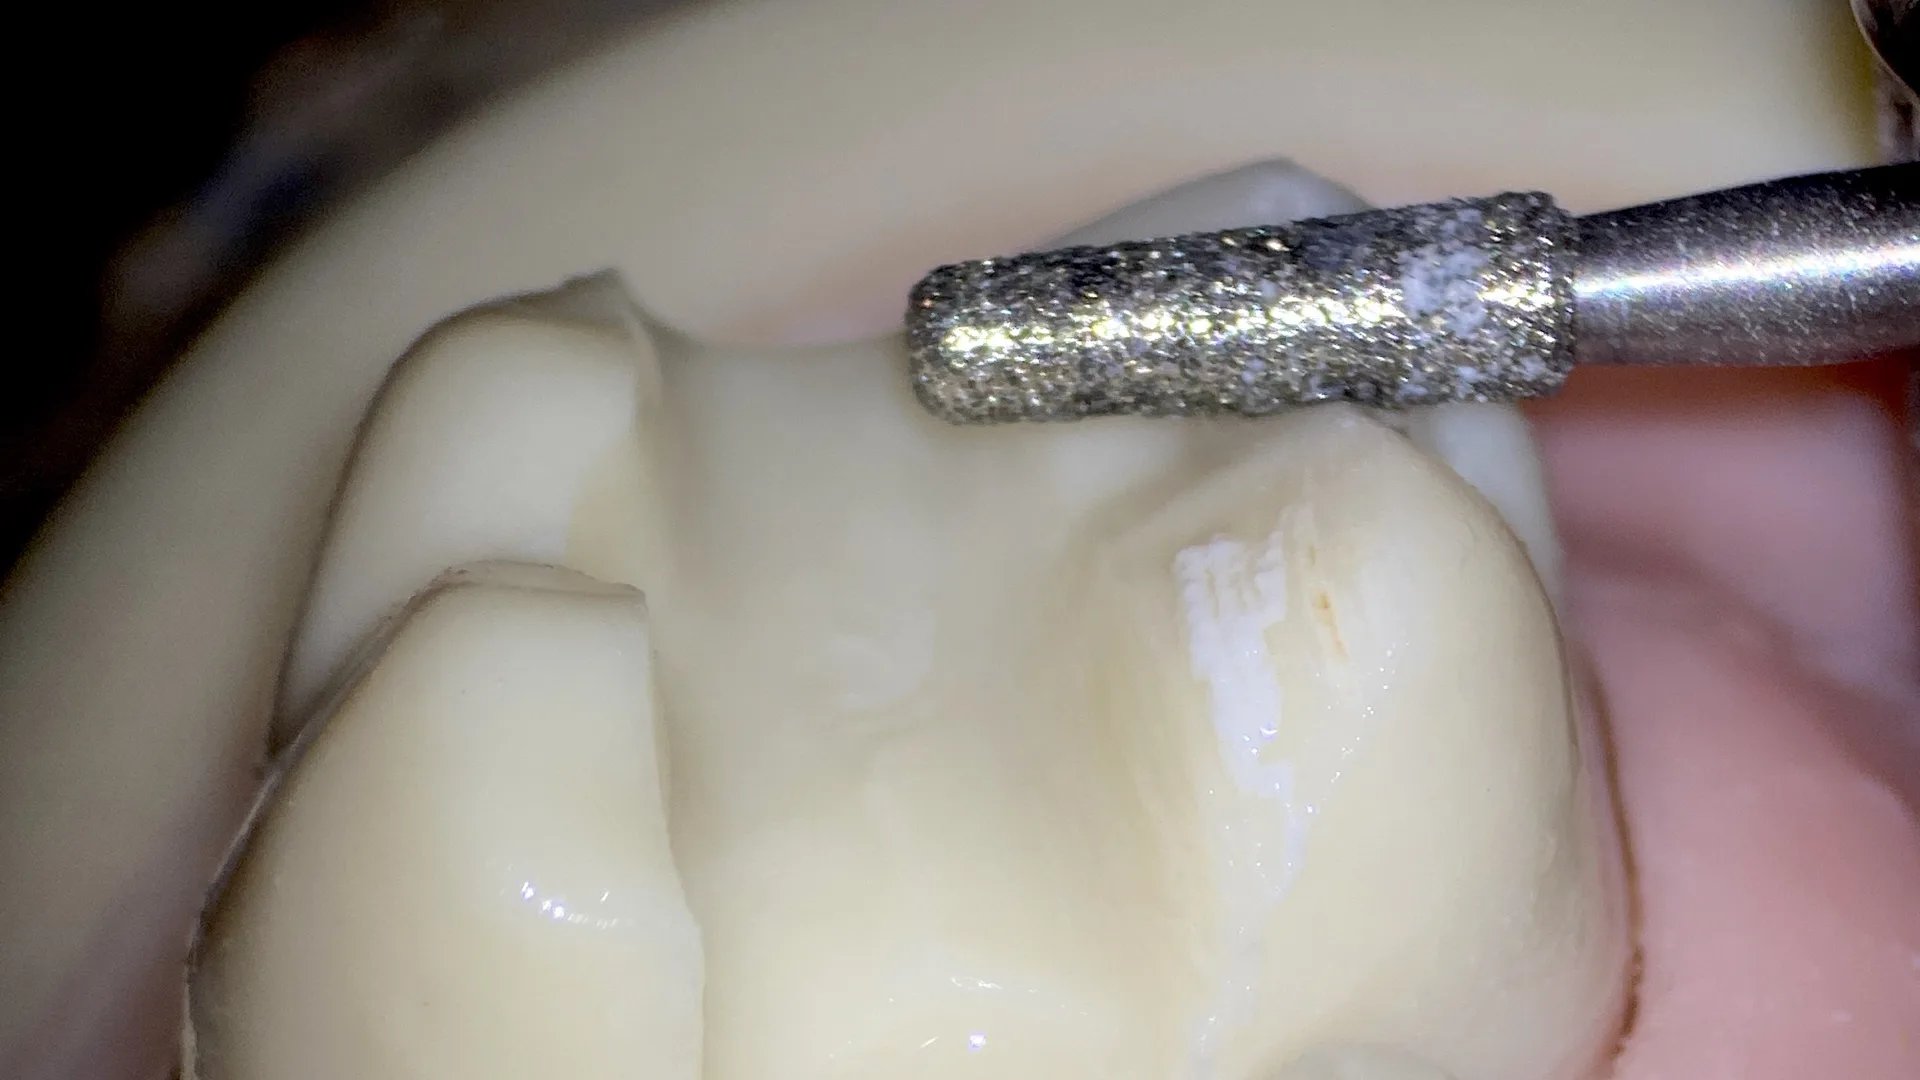
2nd angle: perpendicular to the occlusal surface.
This angle is good for simple overlay cases.
Advantage: easy to perform. Good prevention of splitting.
Disadvantages: color transition from tooth to restoration is difficult. Still risks of splitting in bruxism cases.
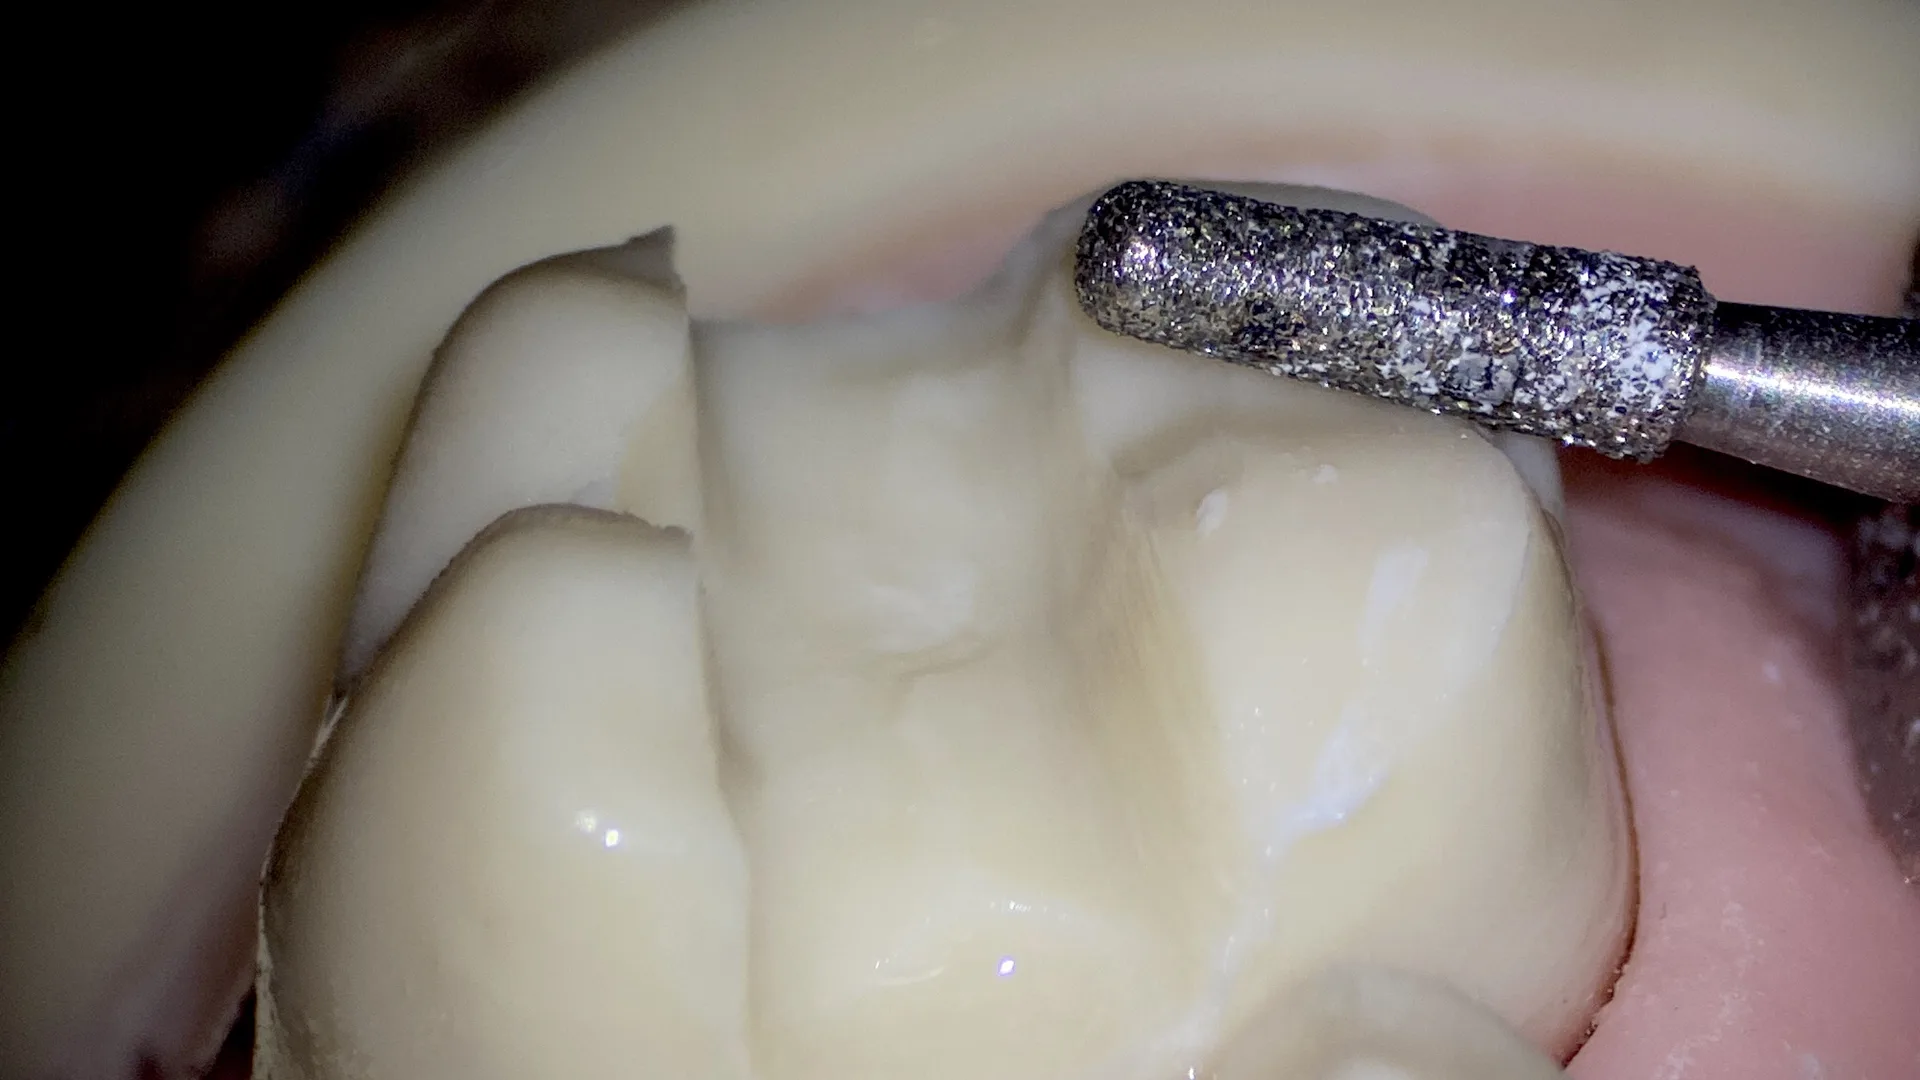
3d angle: inclined peripheral butt joint (buccal and palatal).
This angle is good for difficult cases.
Advantage: it creates external ferrule of restoration preventing splitting in all cases. Easier color transition.
Disadvantages: more aggressive comparing to other angles.
Hope this information will help in your daily practice.
If you would like to get all protocols, step-by-step guides, systematization of information related to preps for veneers, crowns and onlays – welcome to our hands-on course:BIG PREP COURSE.
Colleagues from different countries use to say that this is on of the best course on this topic ever.

