Basically we have 4 main directions of dental photography :
- clinical
- educational
- motivational
- artistic
Dentistry seems to be pretty complicated profession as it requests a lot of procedures to be done daily. Good news is that we have ergonomics to make our life easier. Clinical protocols and certain sequence of actions are main part of well-organized practice and dental photography is not an exception. We do have step-by-step guides to perform picture taking with good timing and concentrating on main things.
There are some differences between clinical protocols considering dental occupation but the main idea is the same – not to have mess in our procedures, to be simple, repeatable and not time consuming. On this chapter we are going to present some protocols in esthetic, restorative dentistry and endodontics.
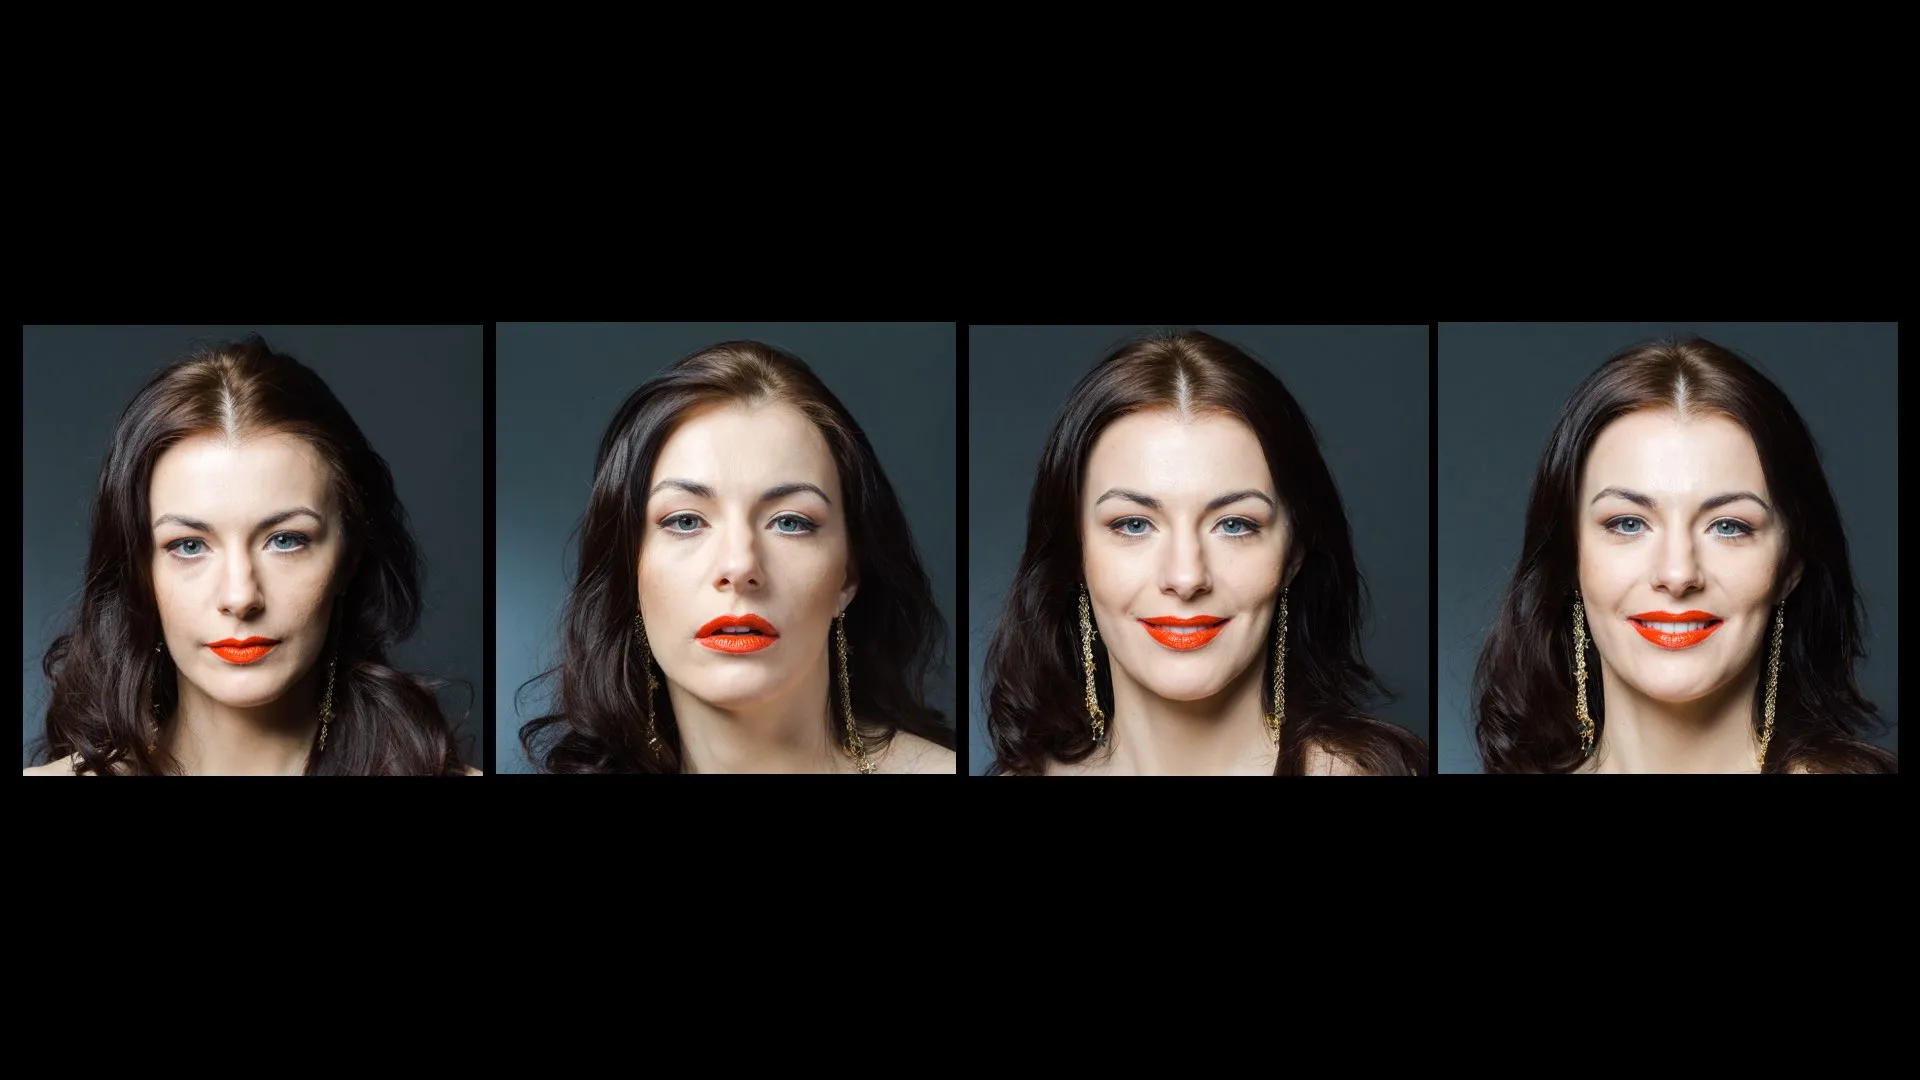
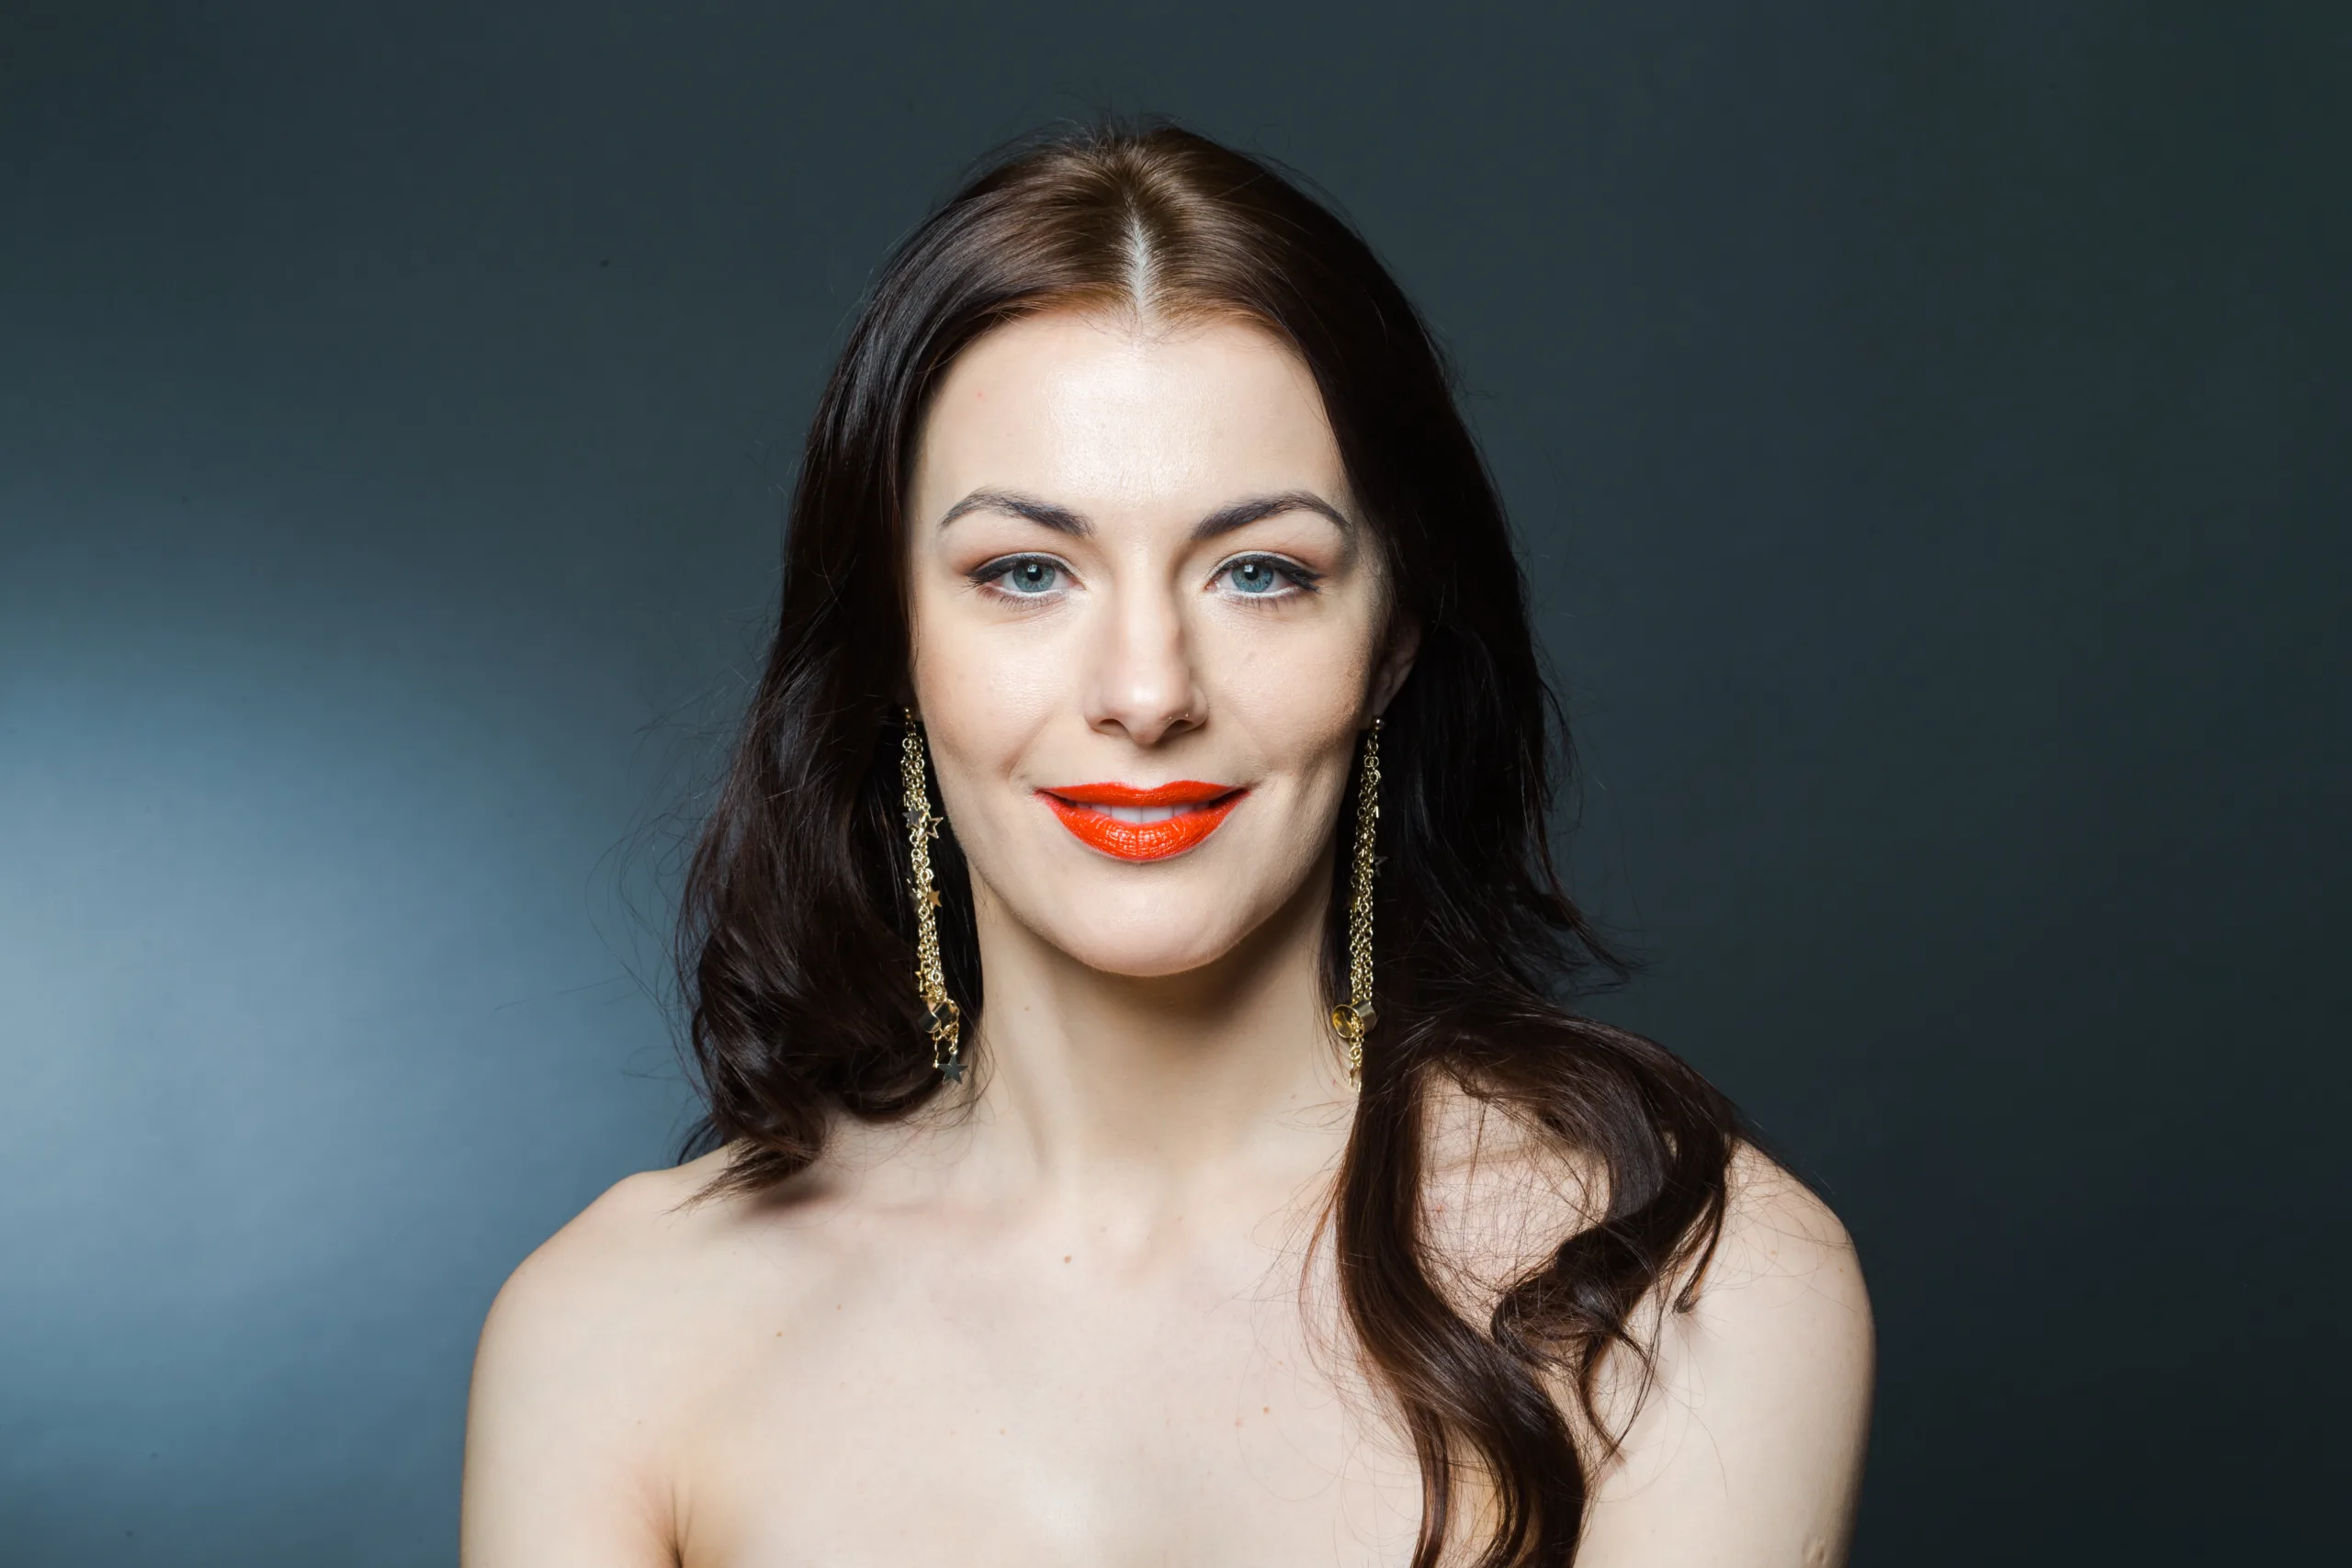
Esthetic dentistry is completely related to facially generated treatment planning and smile makeovers, so it is obvious that we have to take portrait pictures. Here we share simplified protocol that gives us a lot of info and saves time.
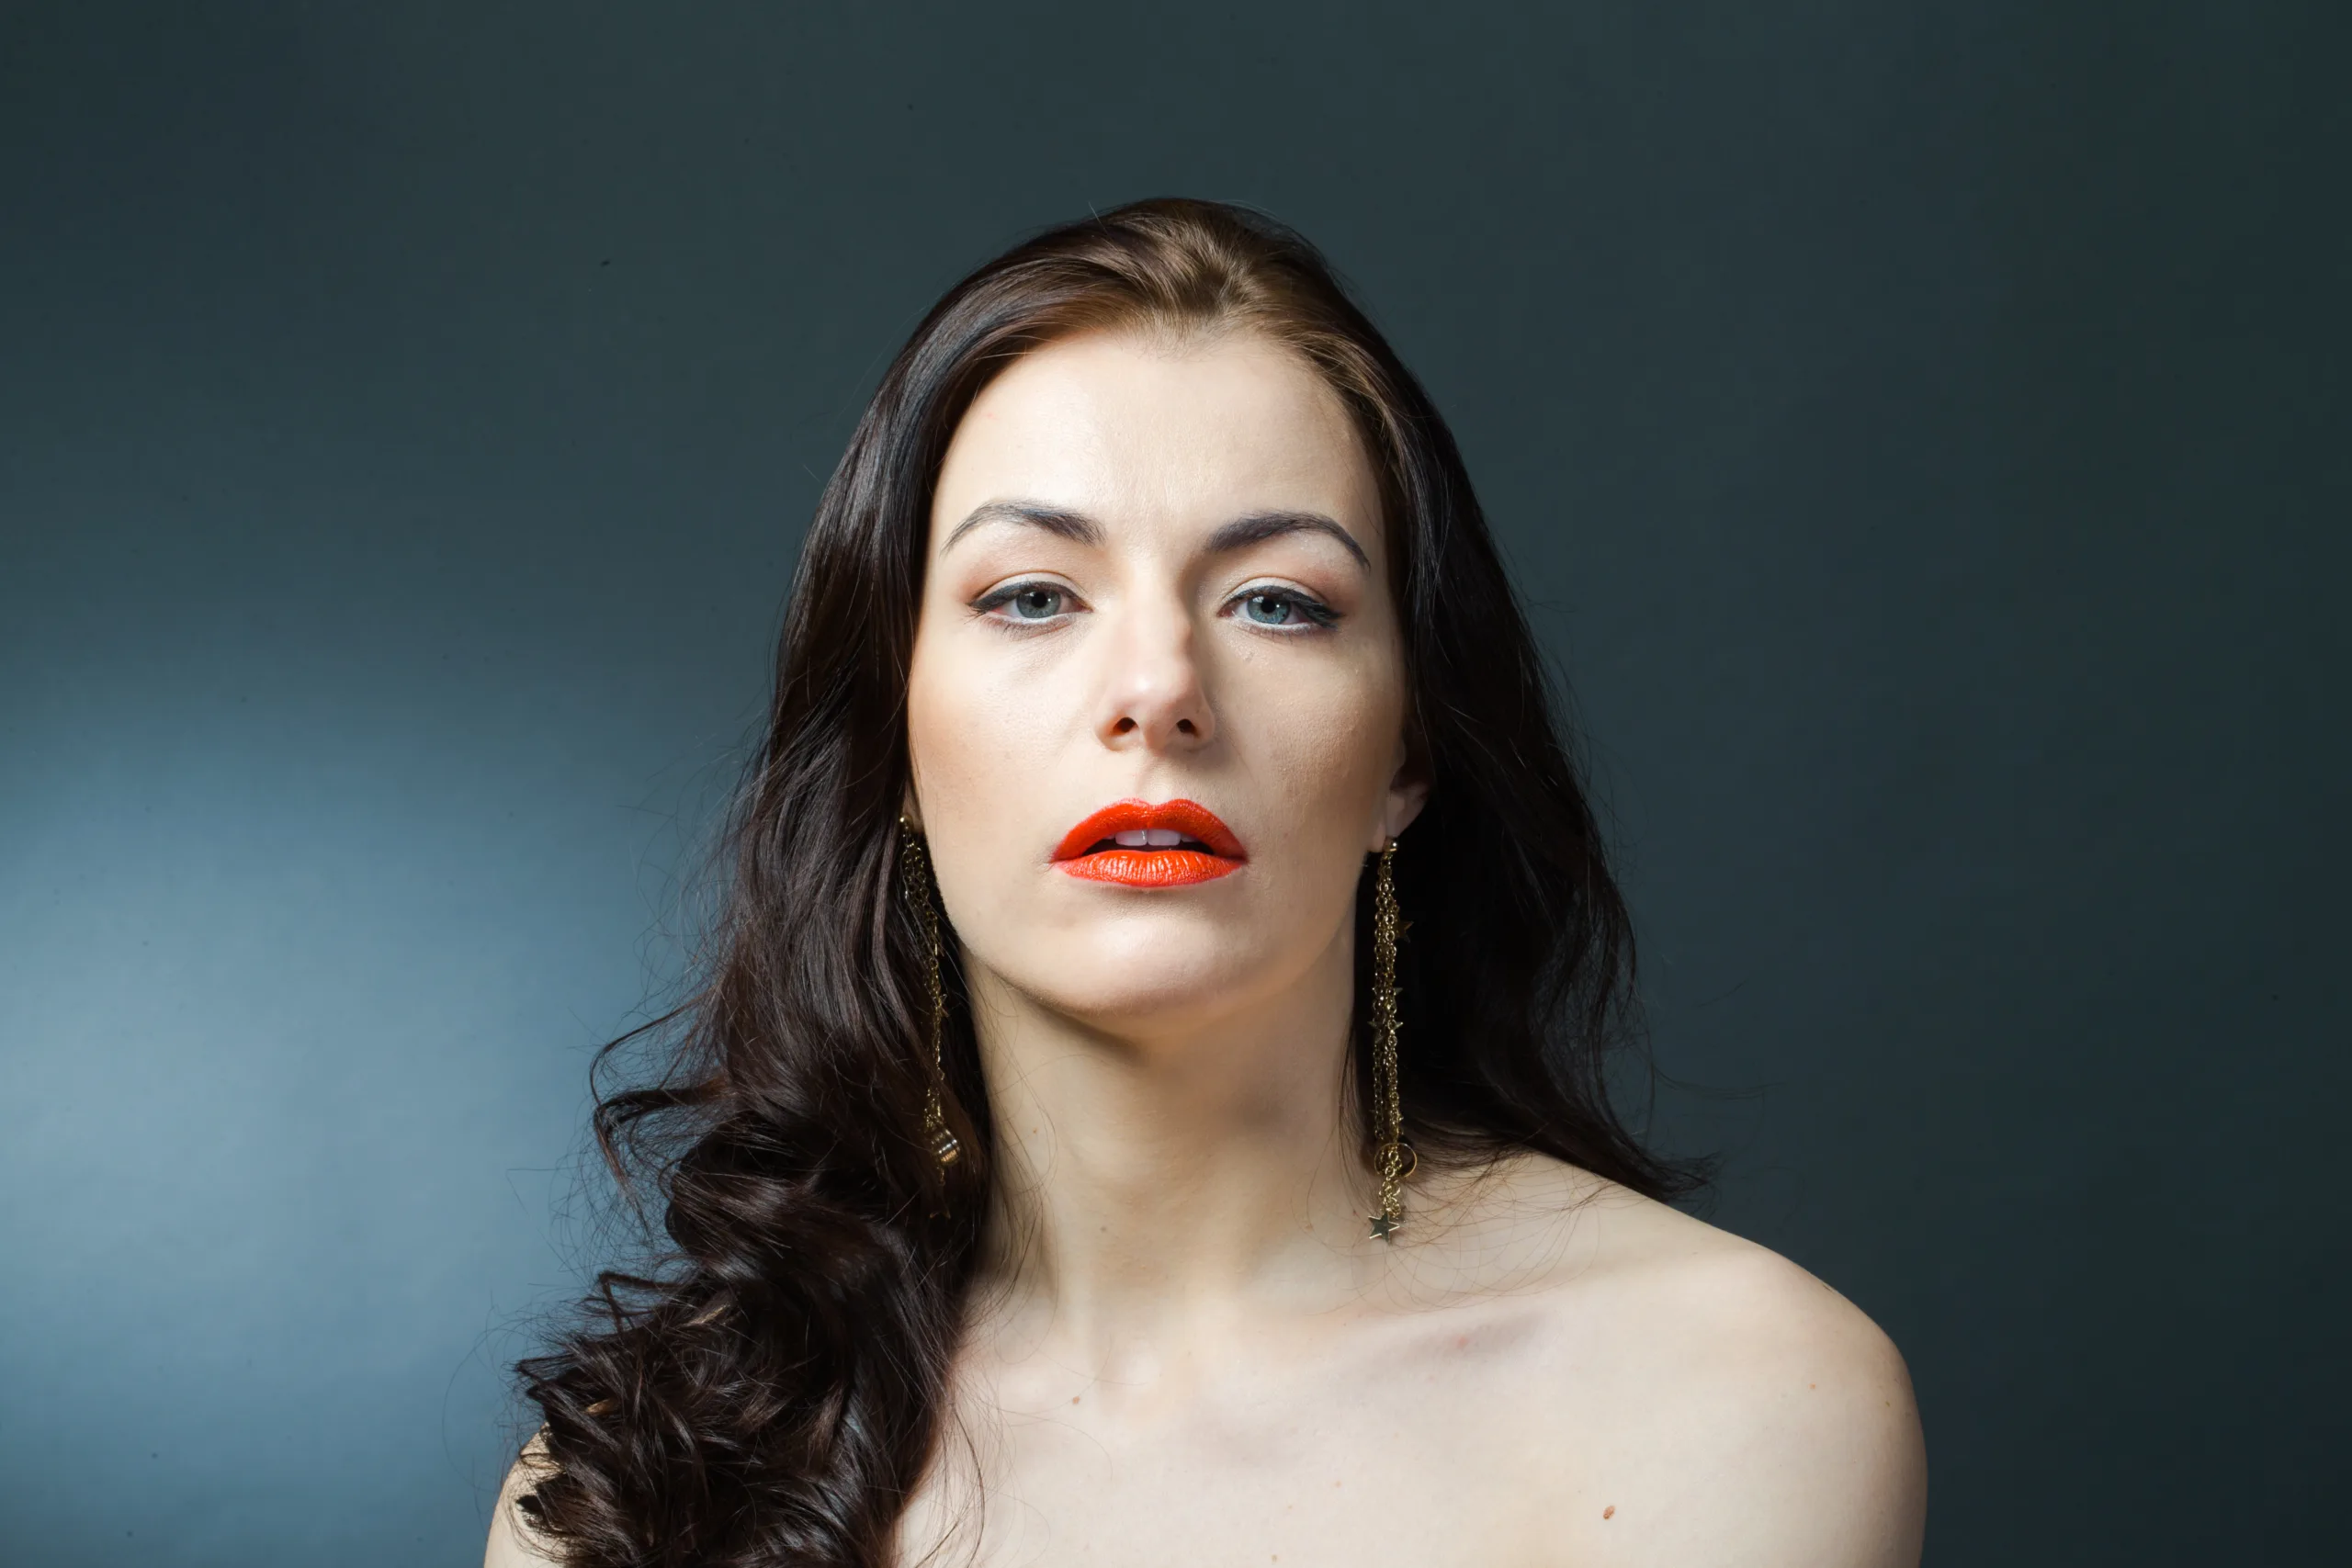
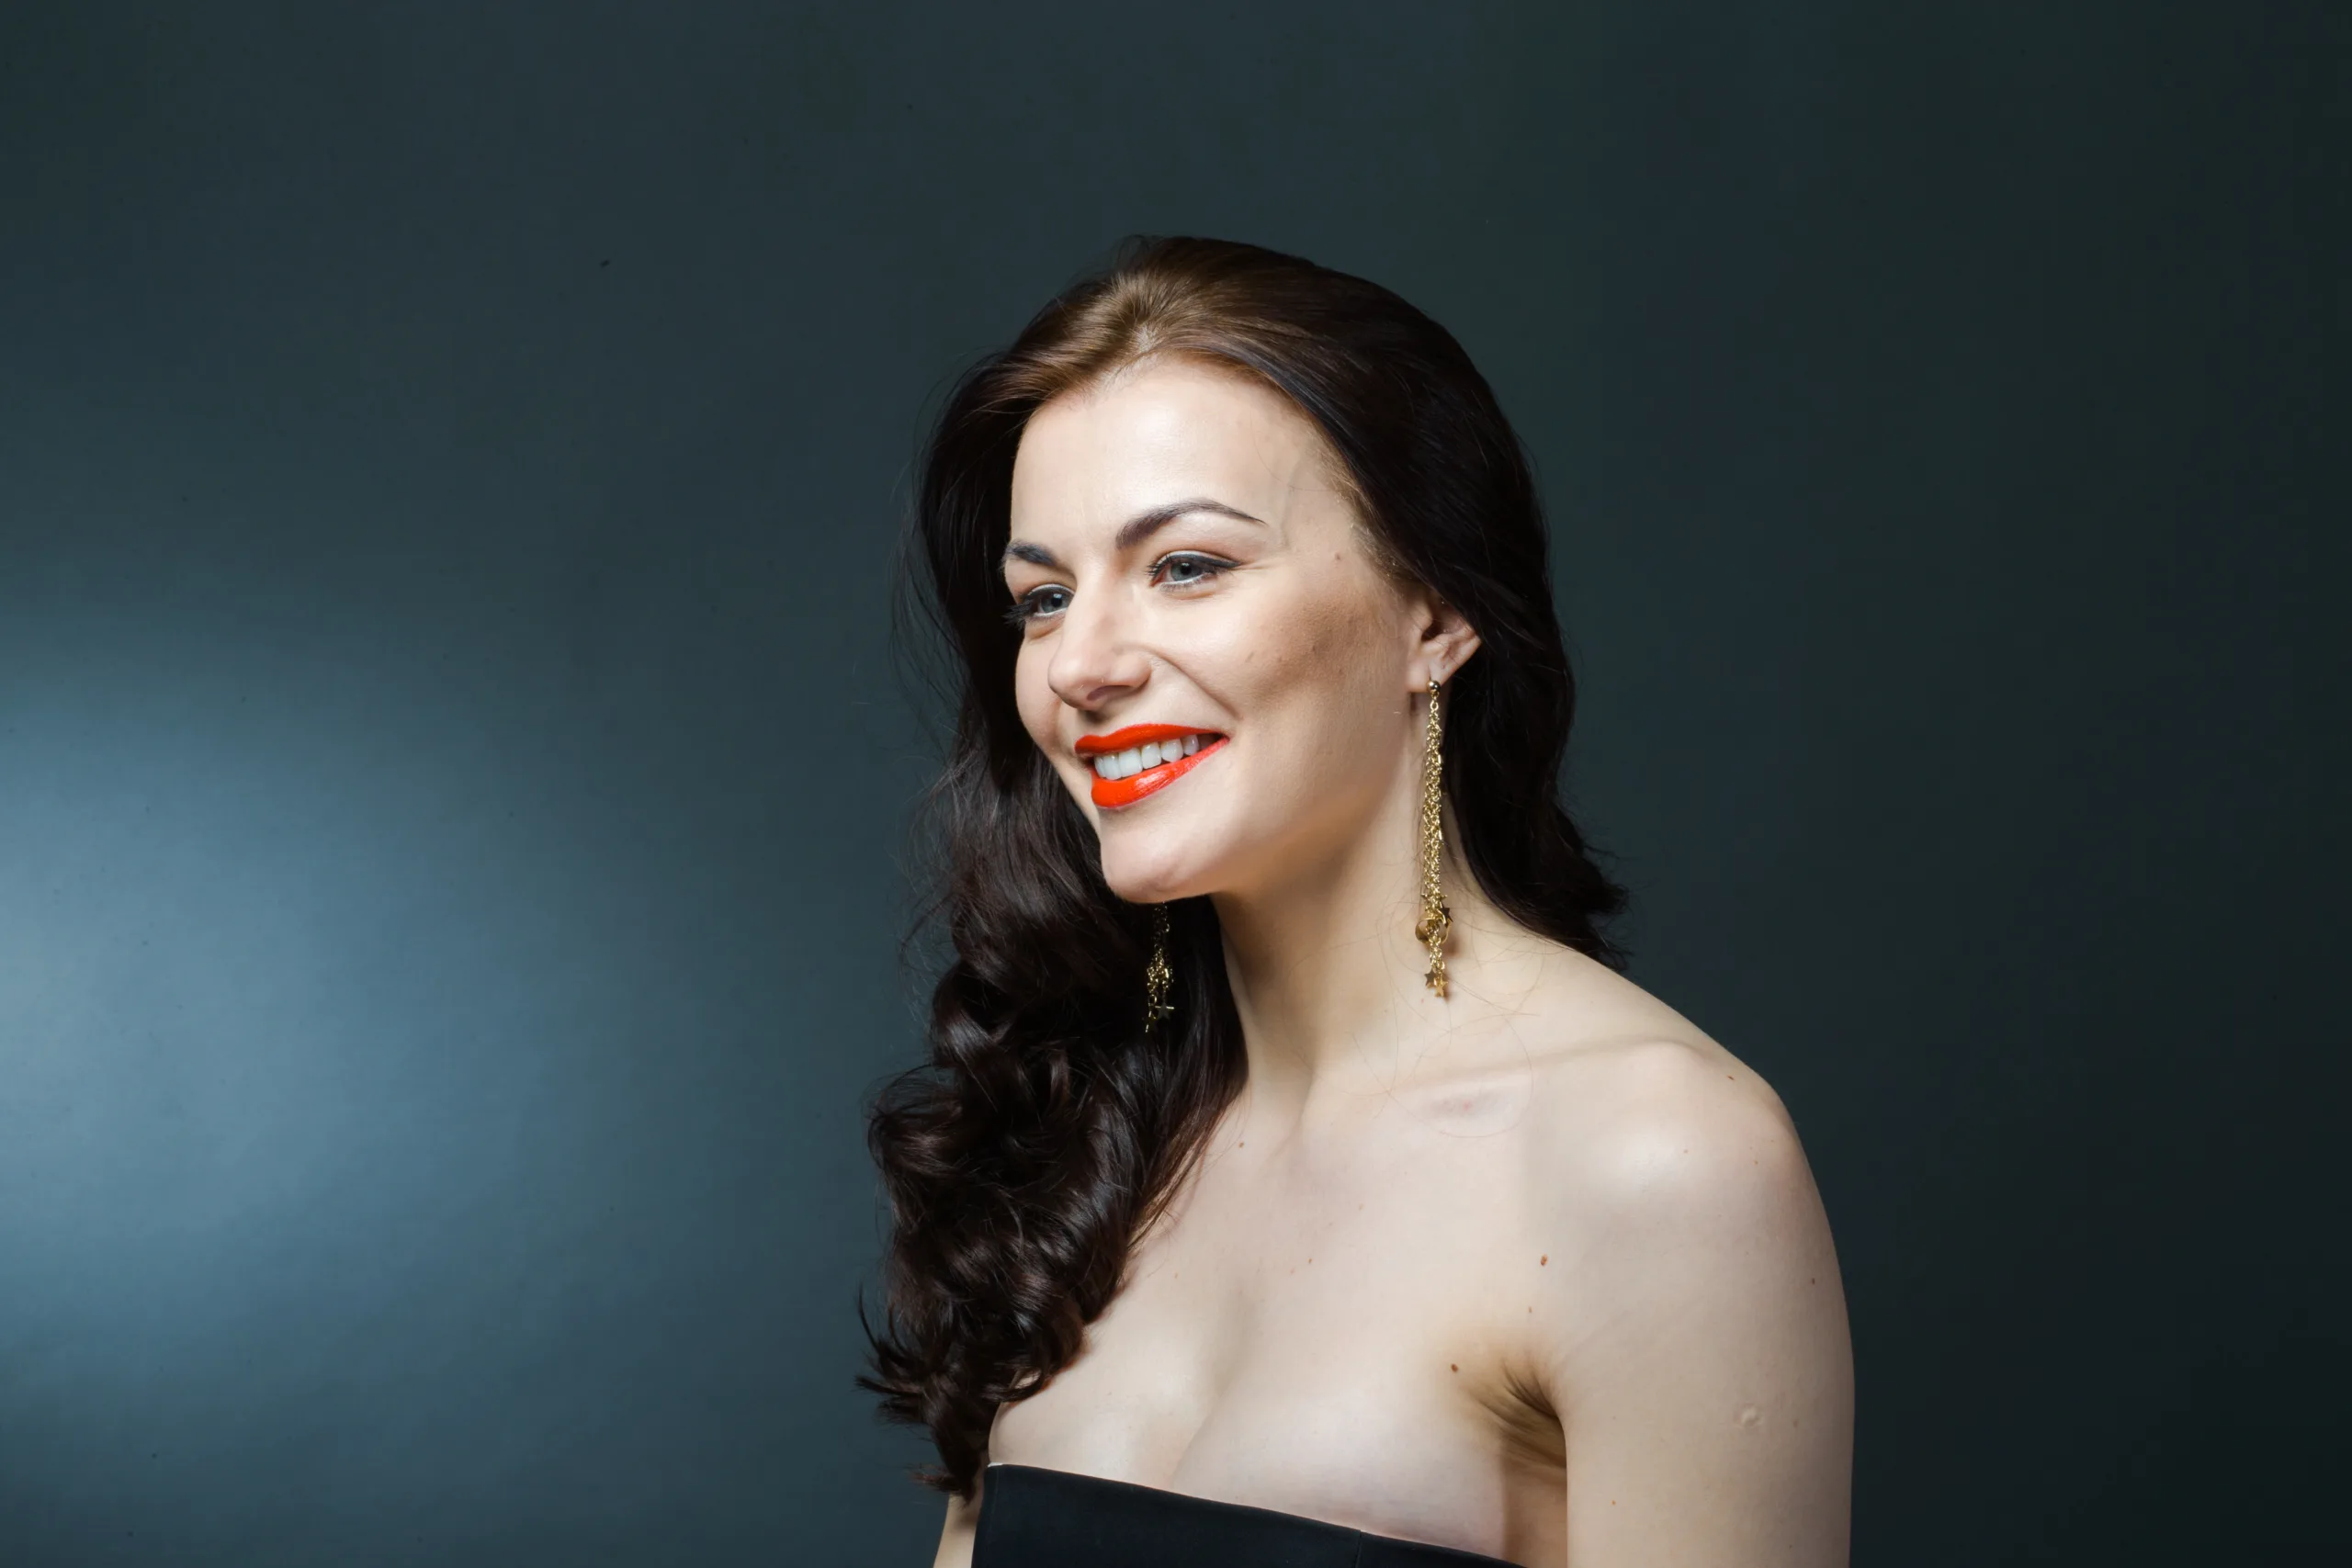
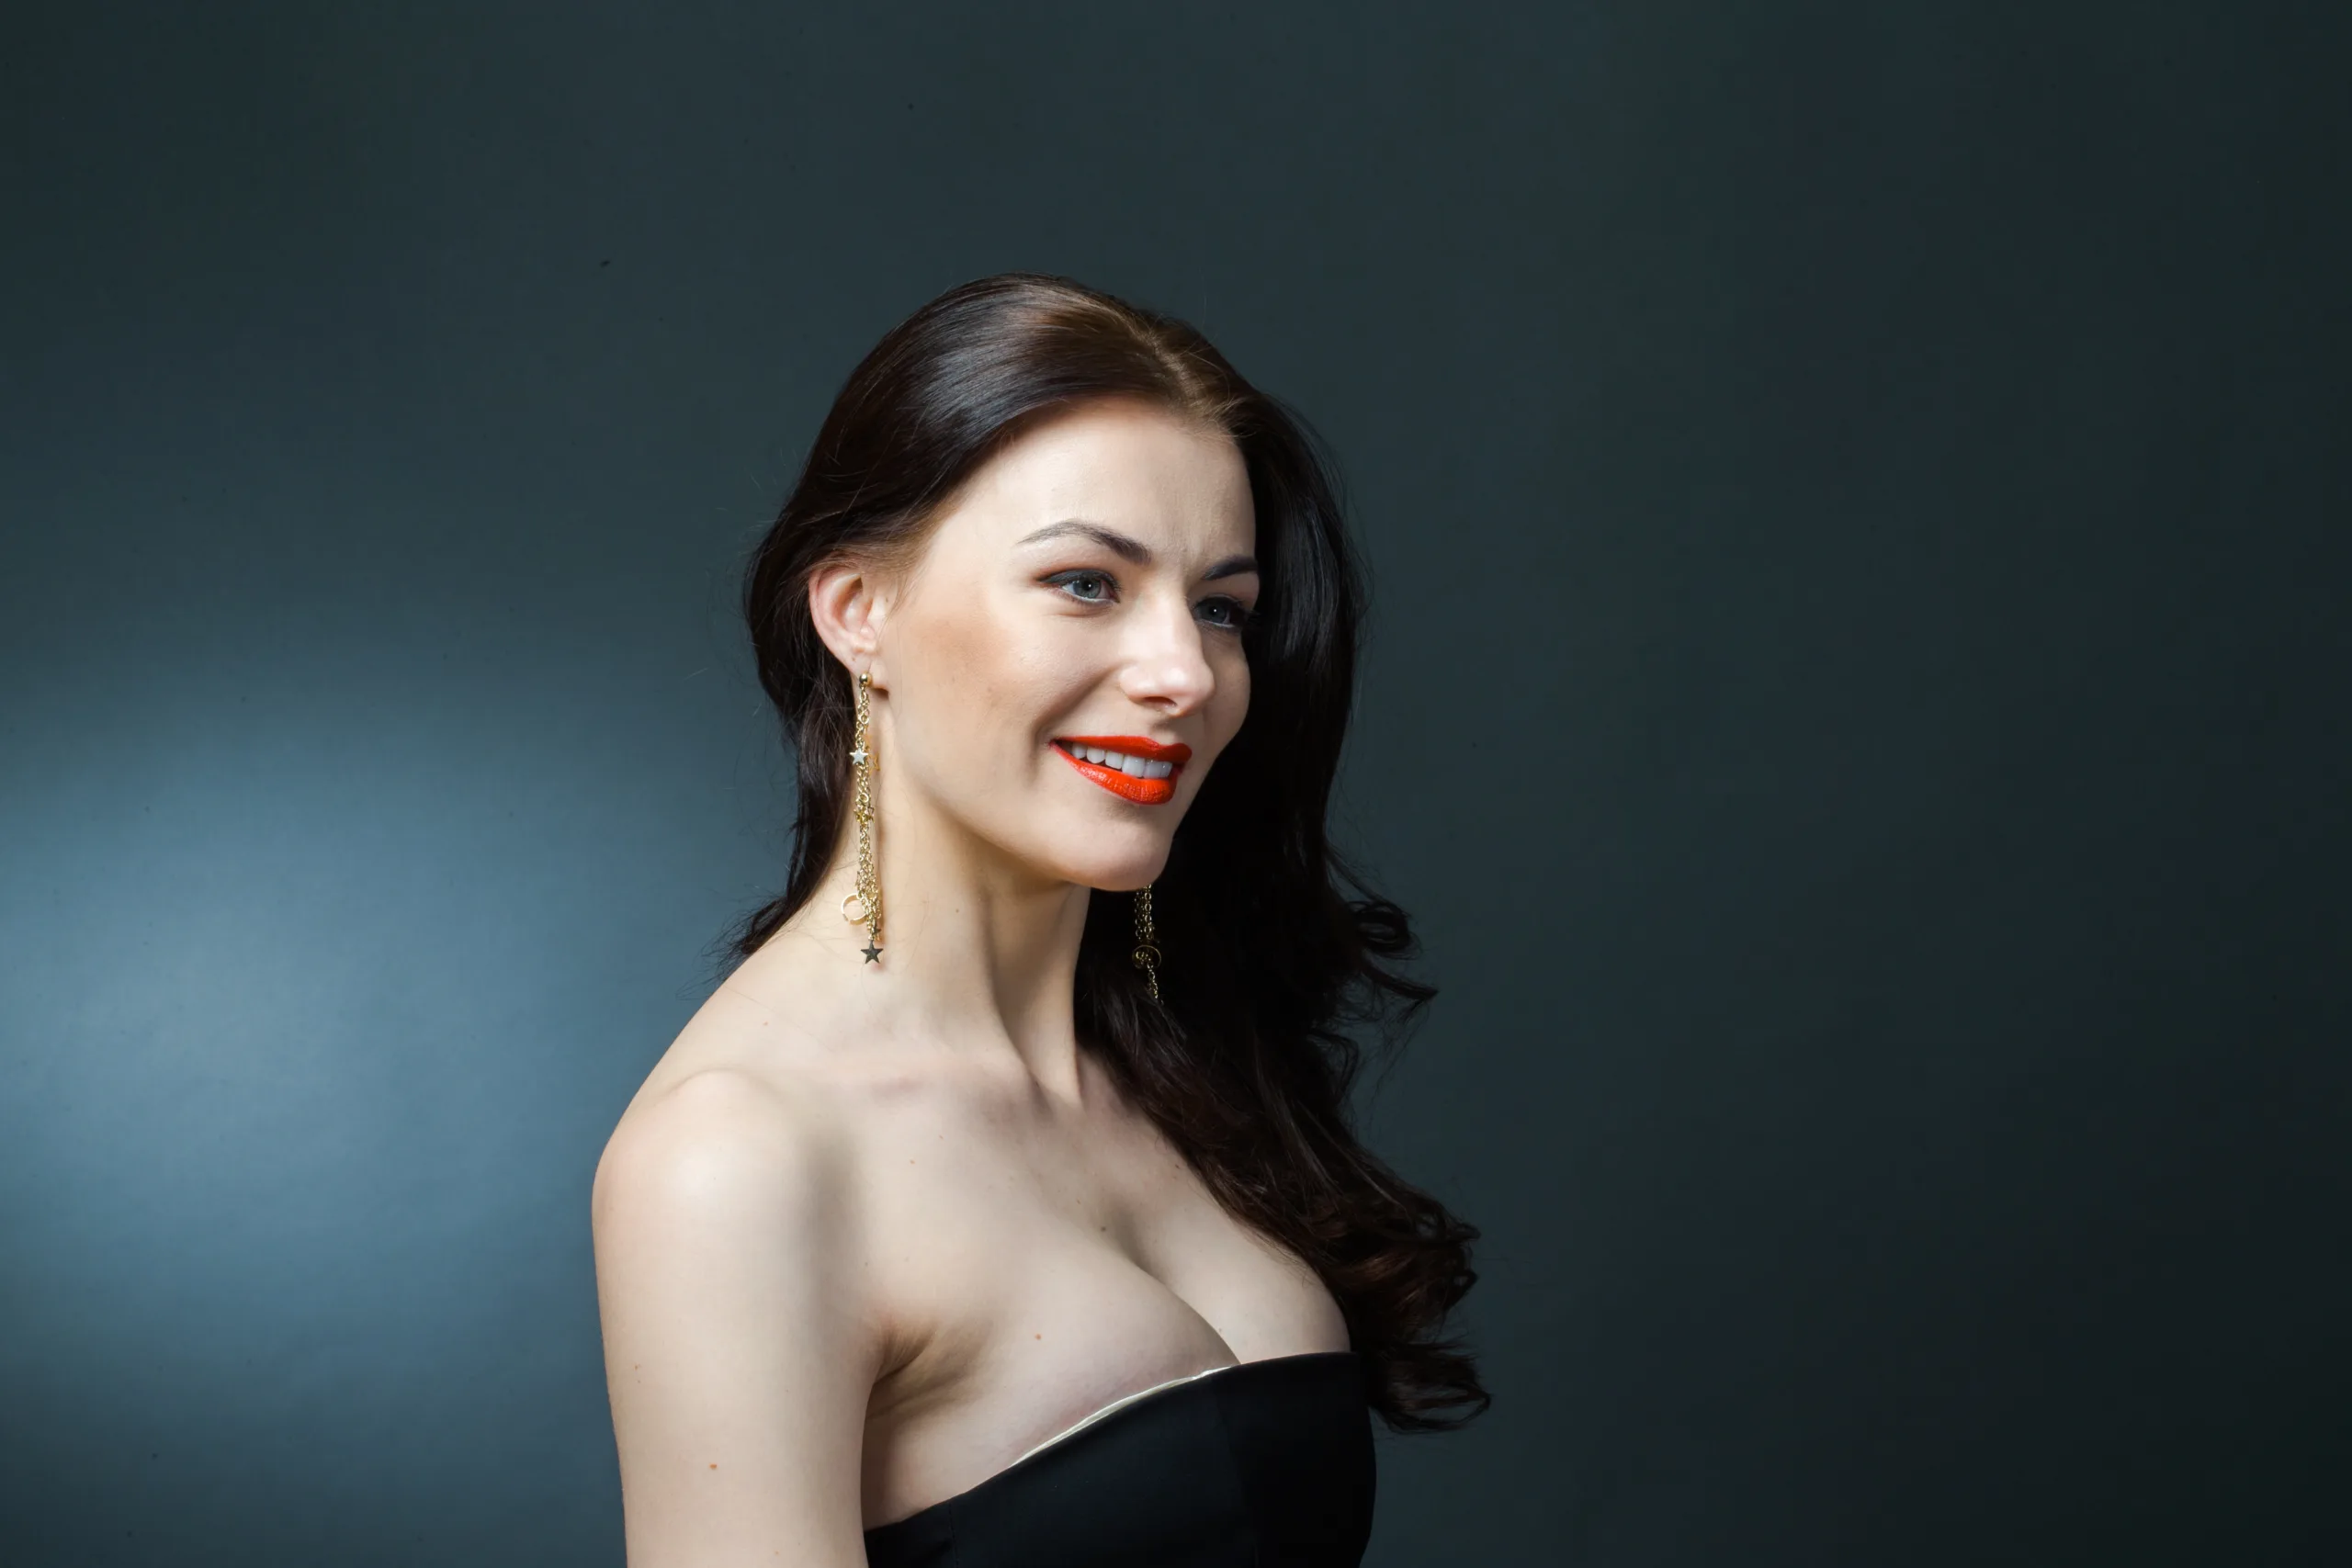
Pic 2_1-2_2. Two main profile (45 degrees) pictures
These pictures were taken after esthetic rehabilitation of the patient utilizing porcelain veneers.
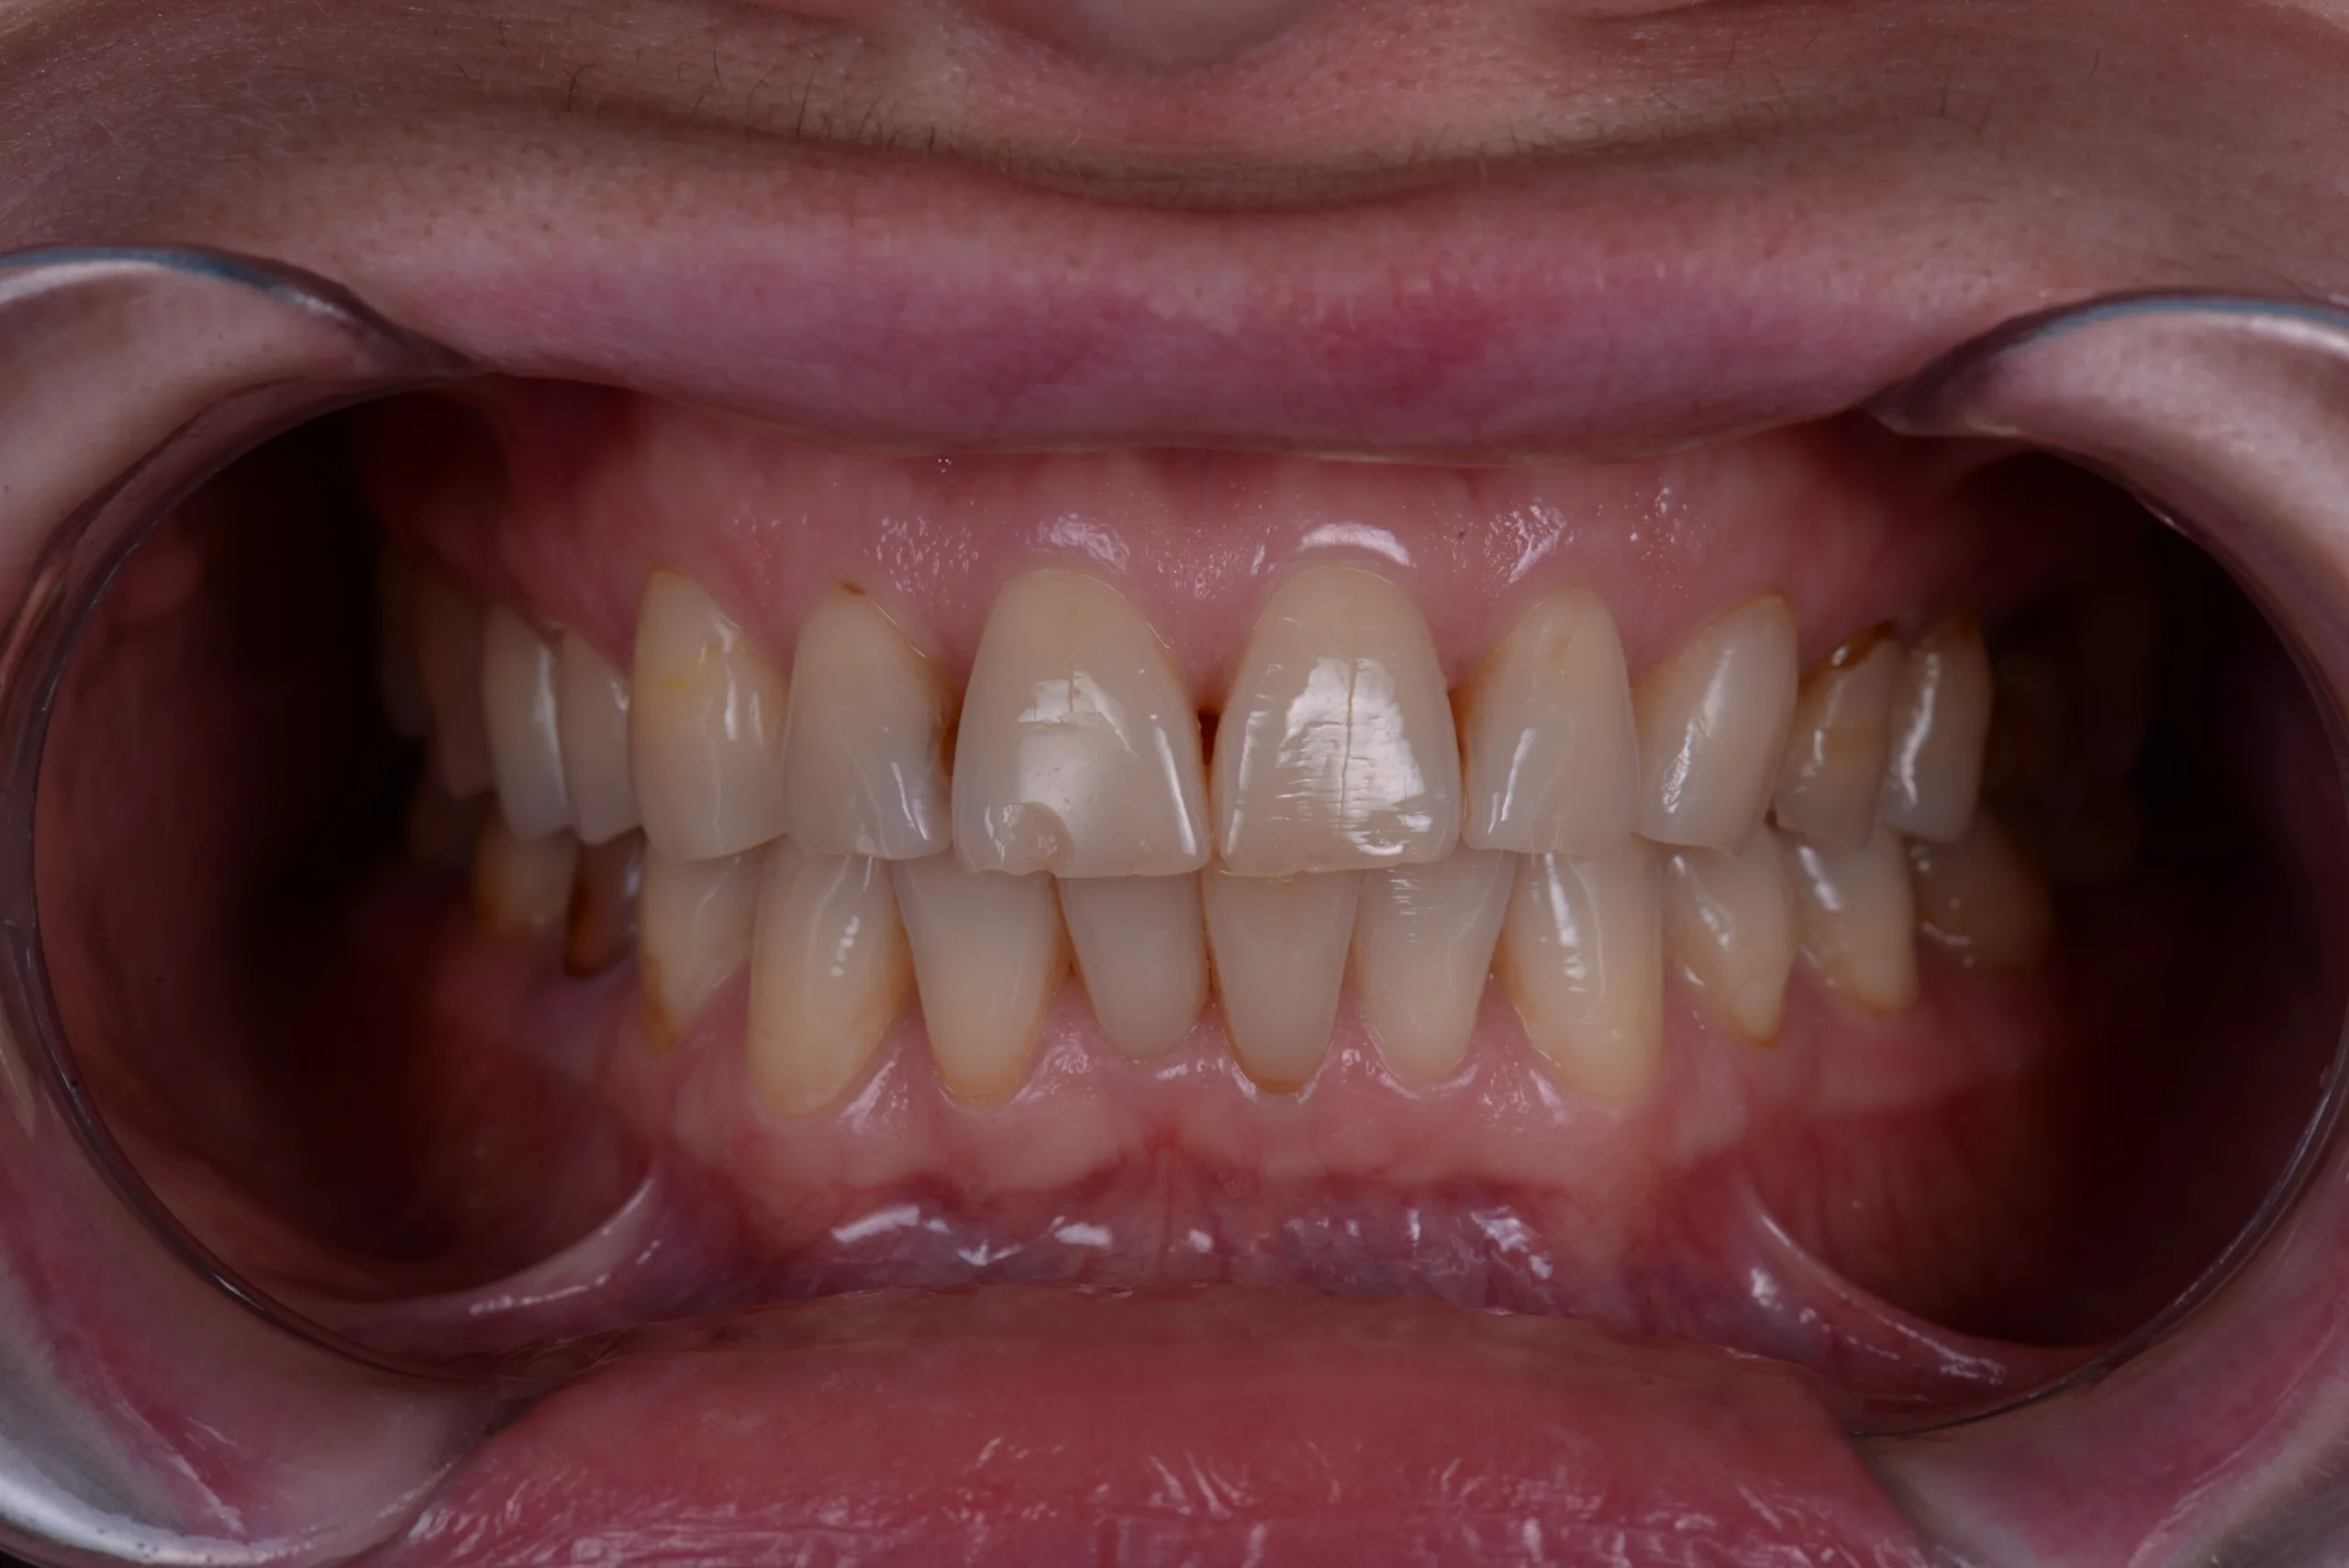
Intraoral pictures should be organized as well and to be provided to each patient with same sequence. Having this protocol we get perfect ergonomics and efficiency. As a general rule we need good retractor to remove lips for better control. First pictures are in occlusion (frontal, left side and right side) and 5-10 millimeters disoclusion Pic 3_1-3_4.
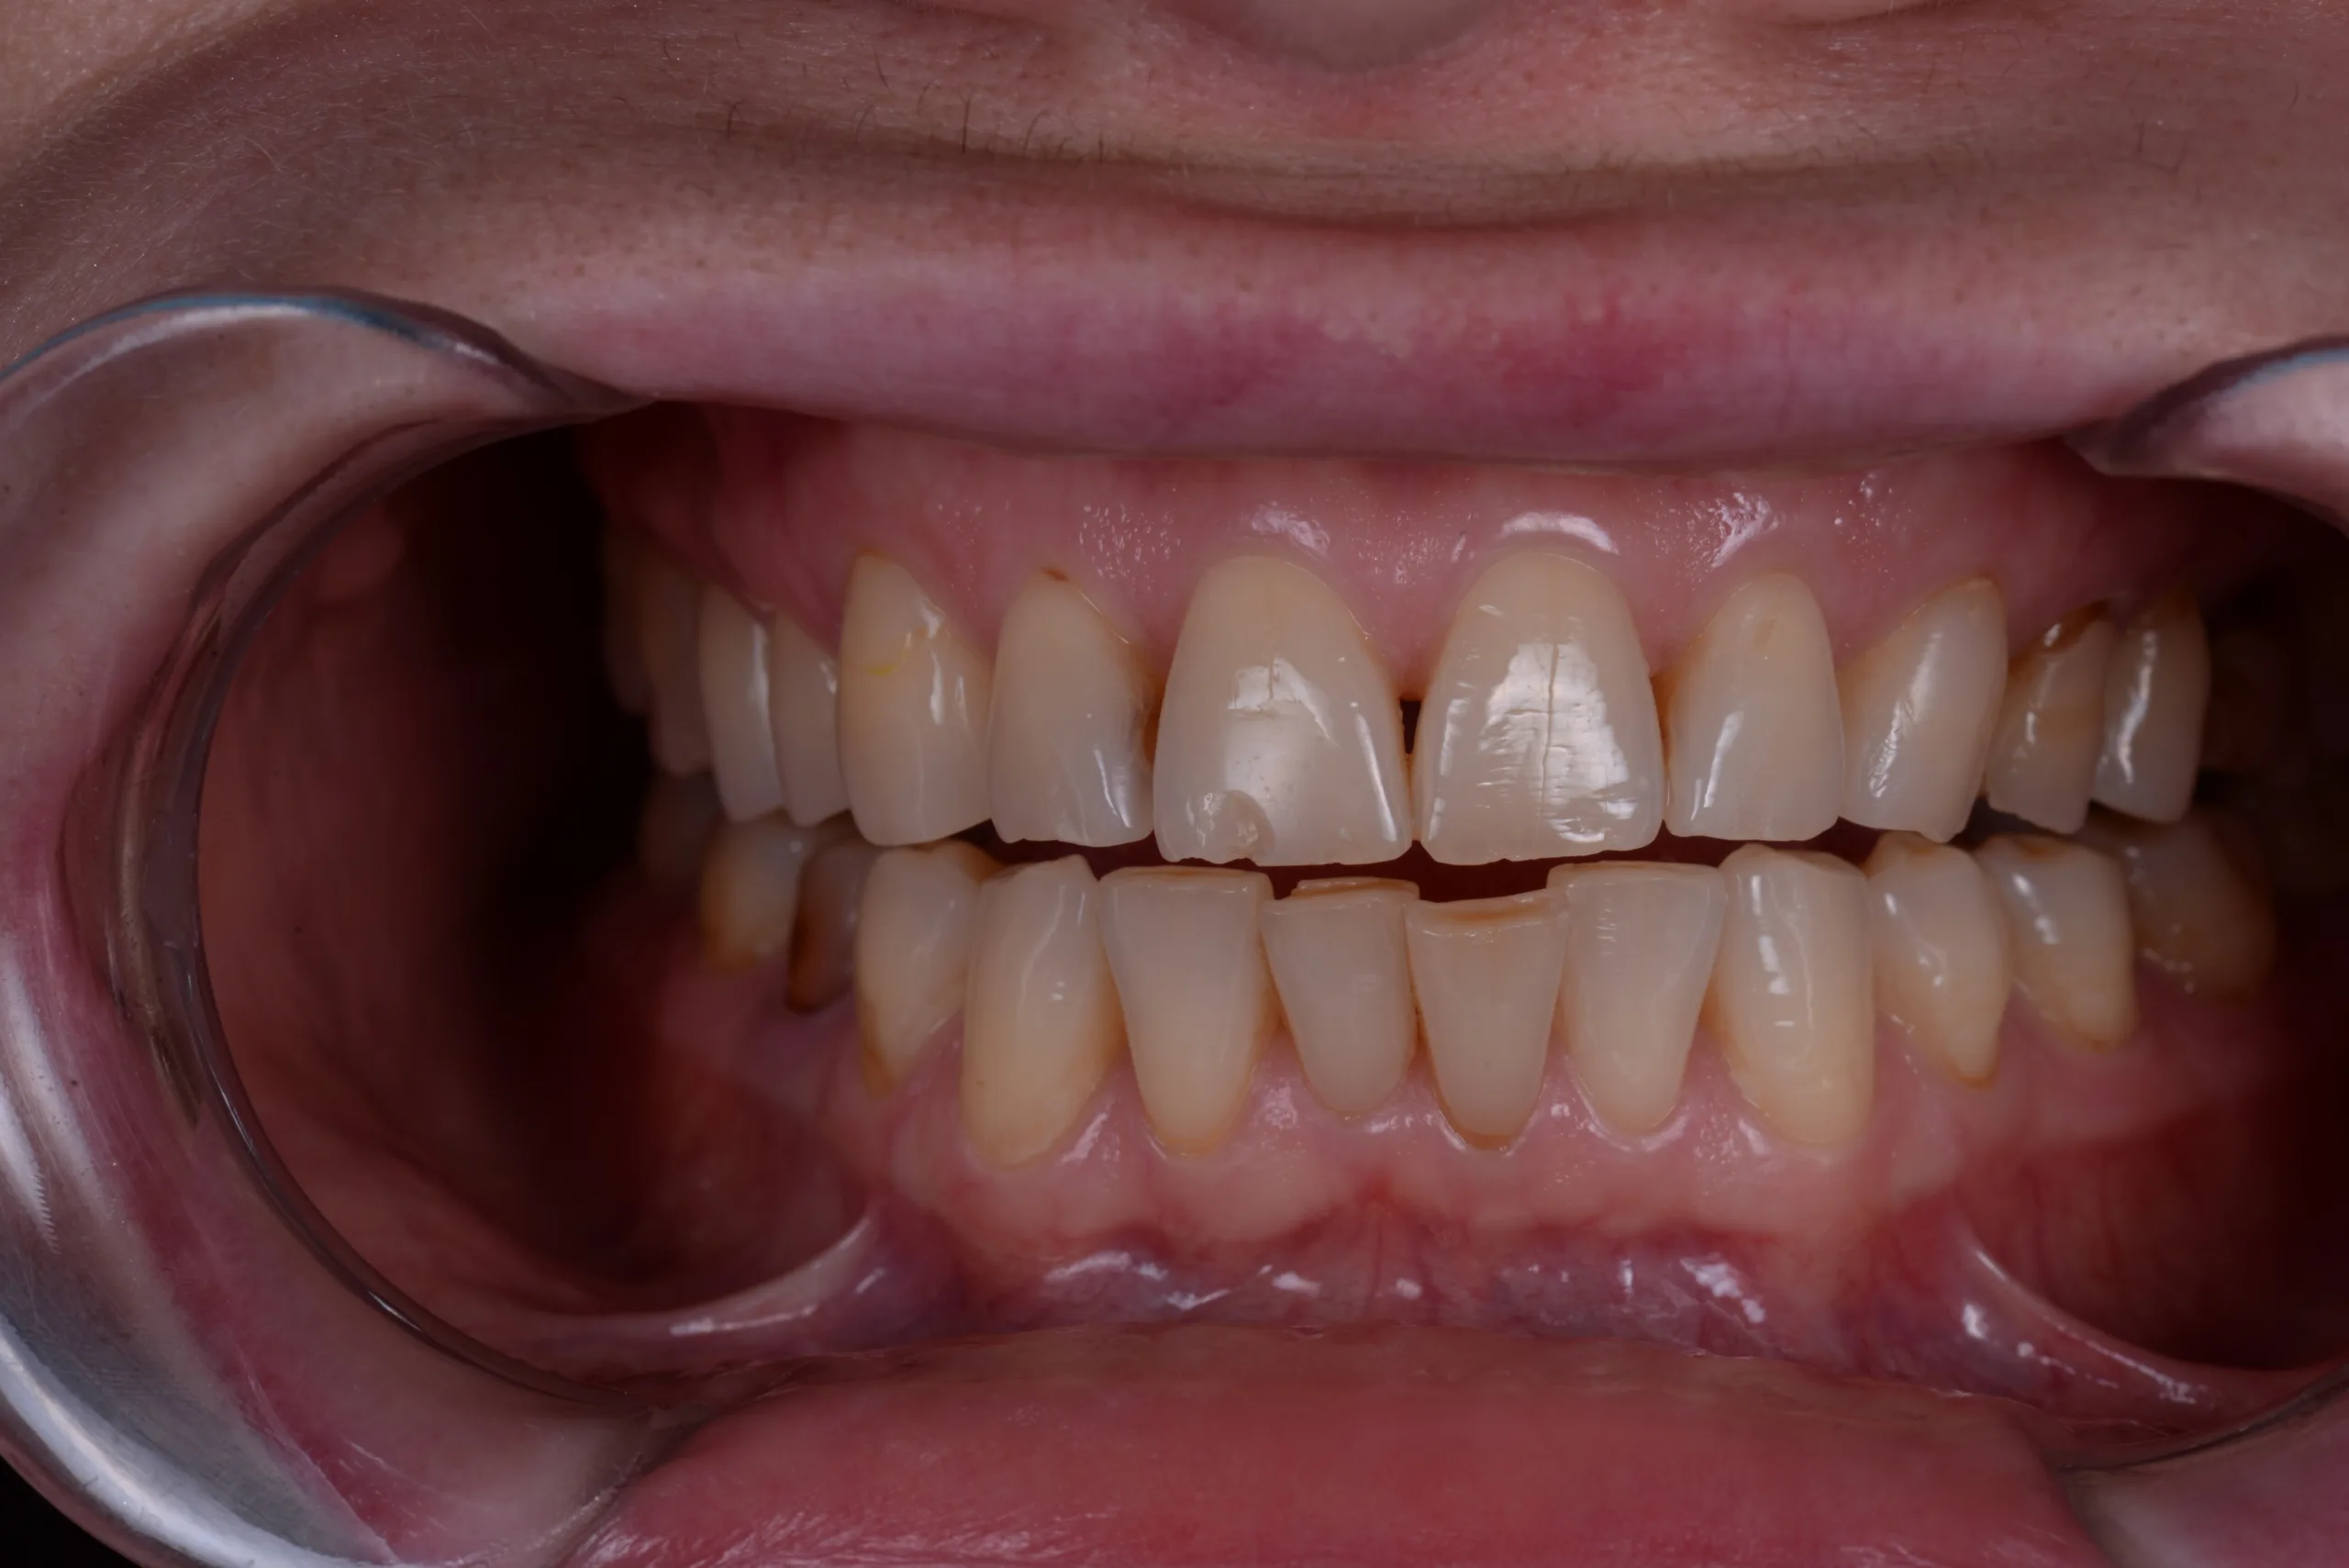
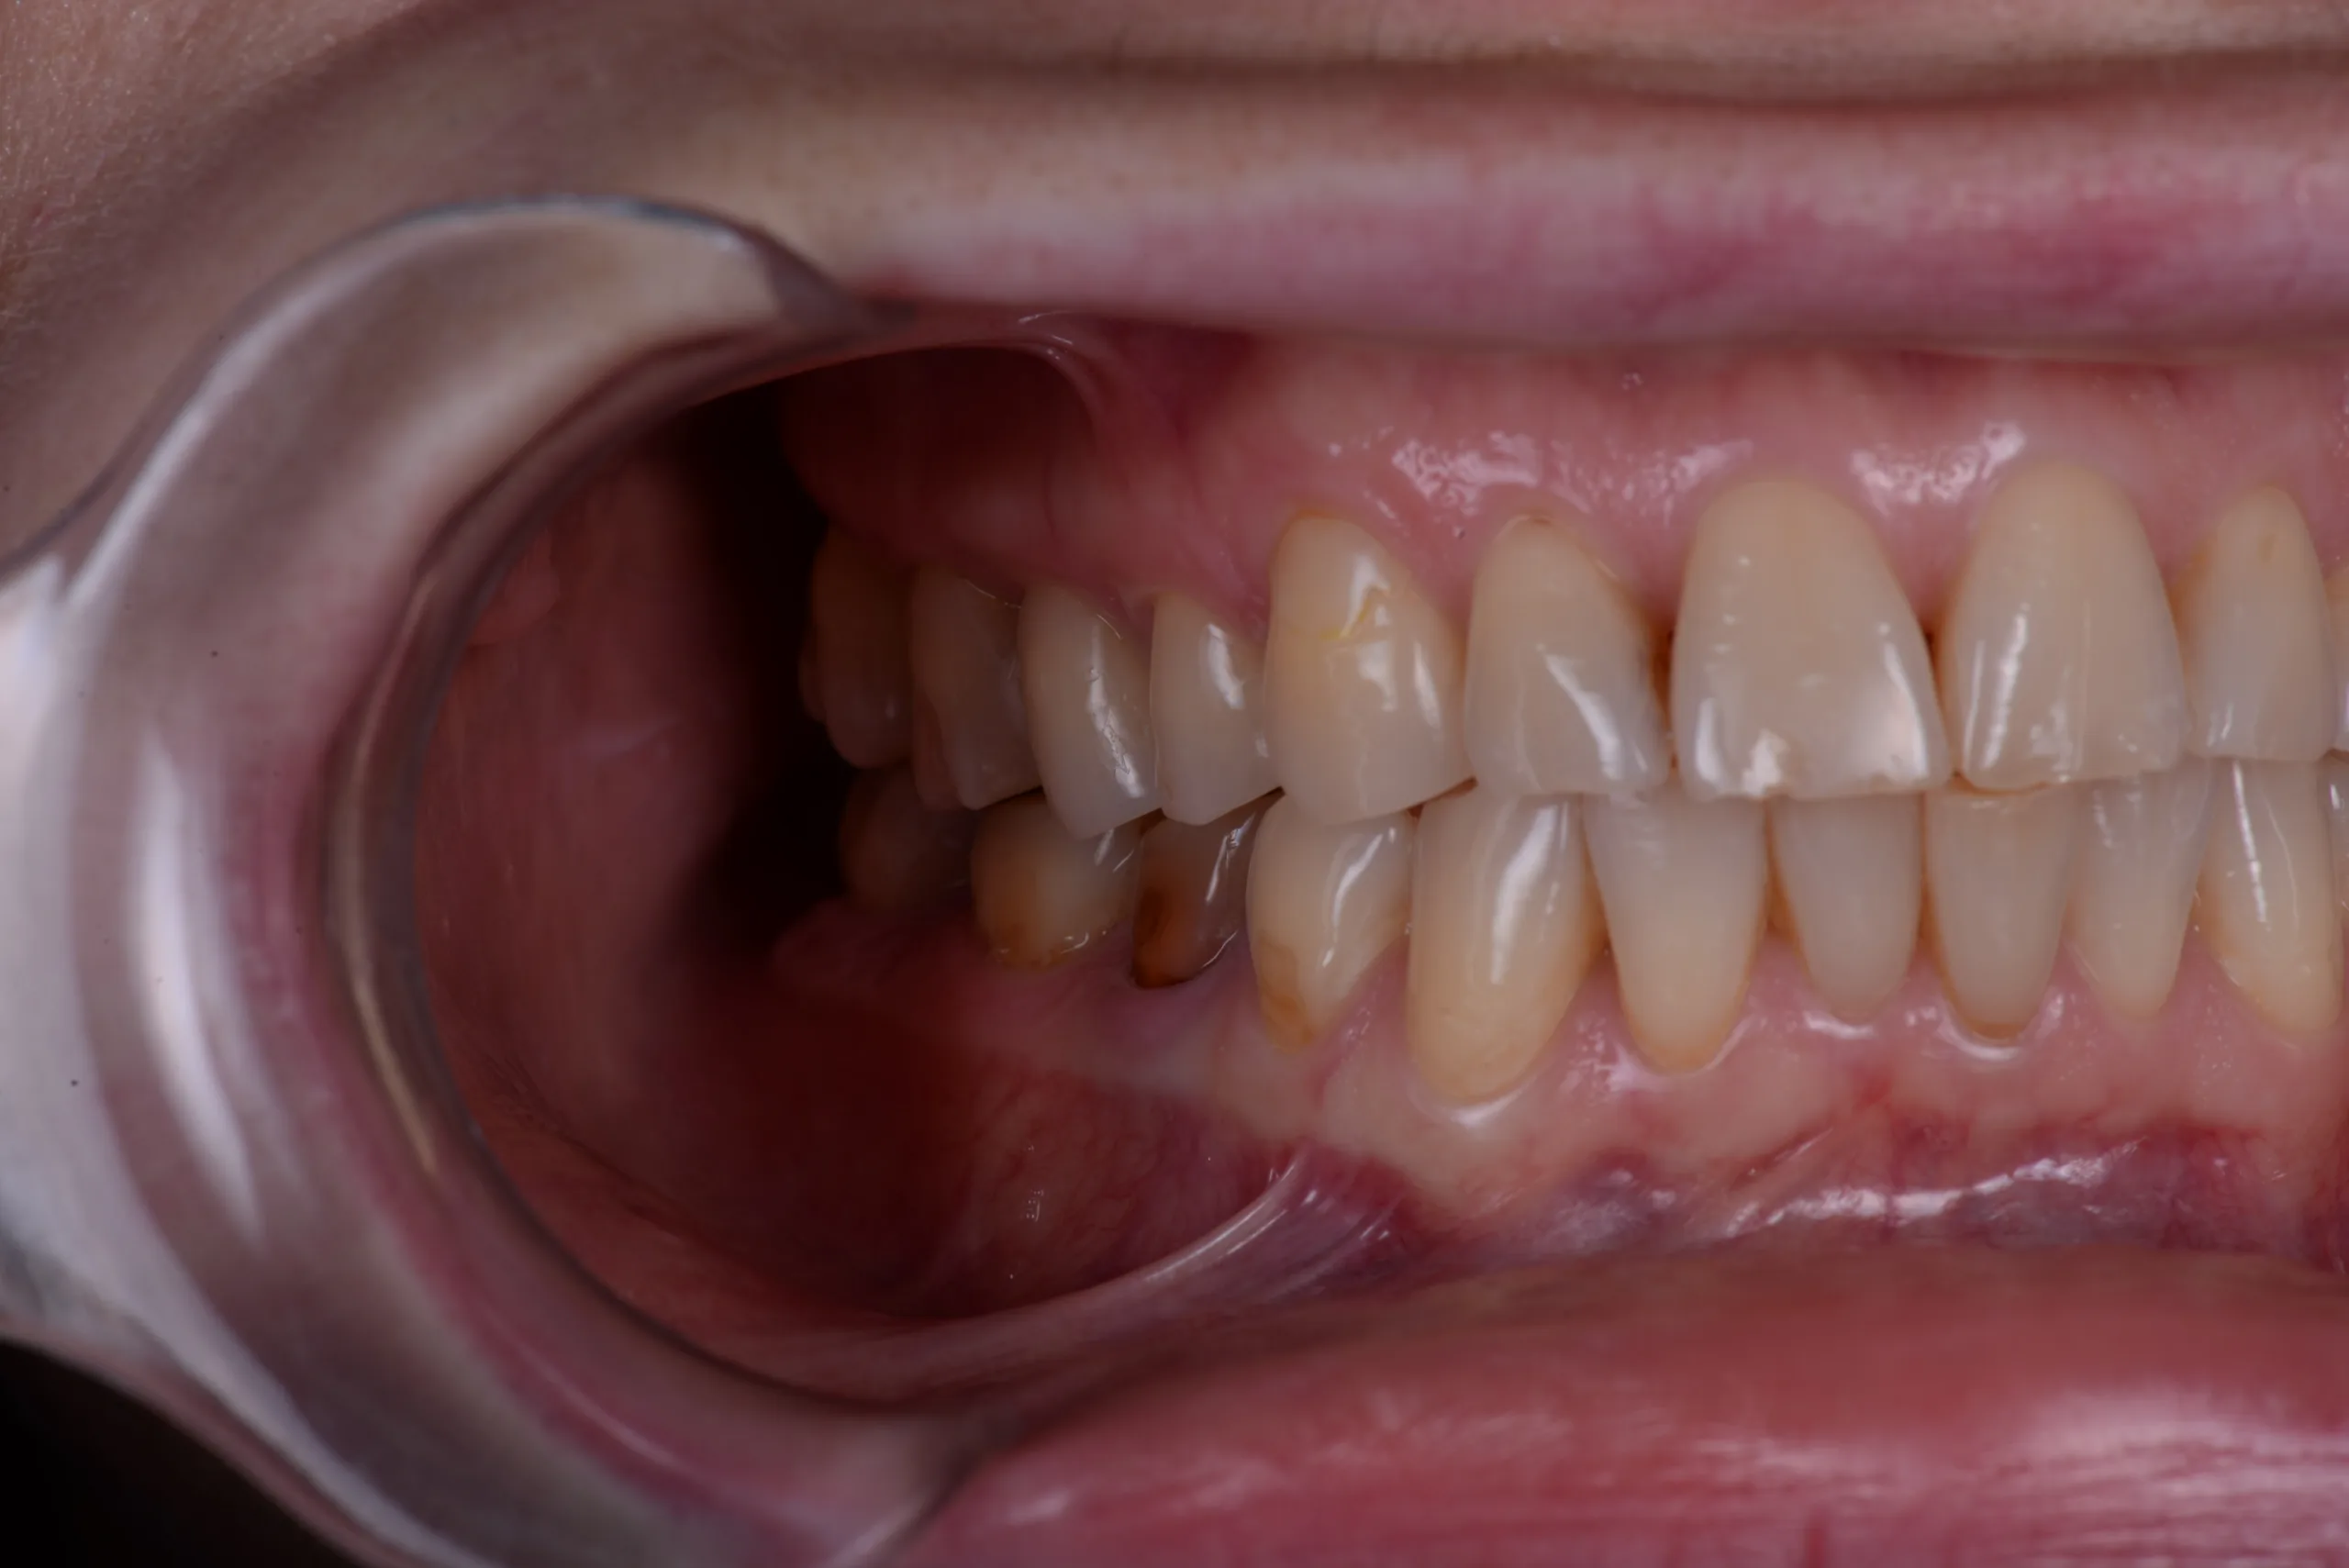
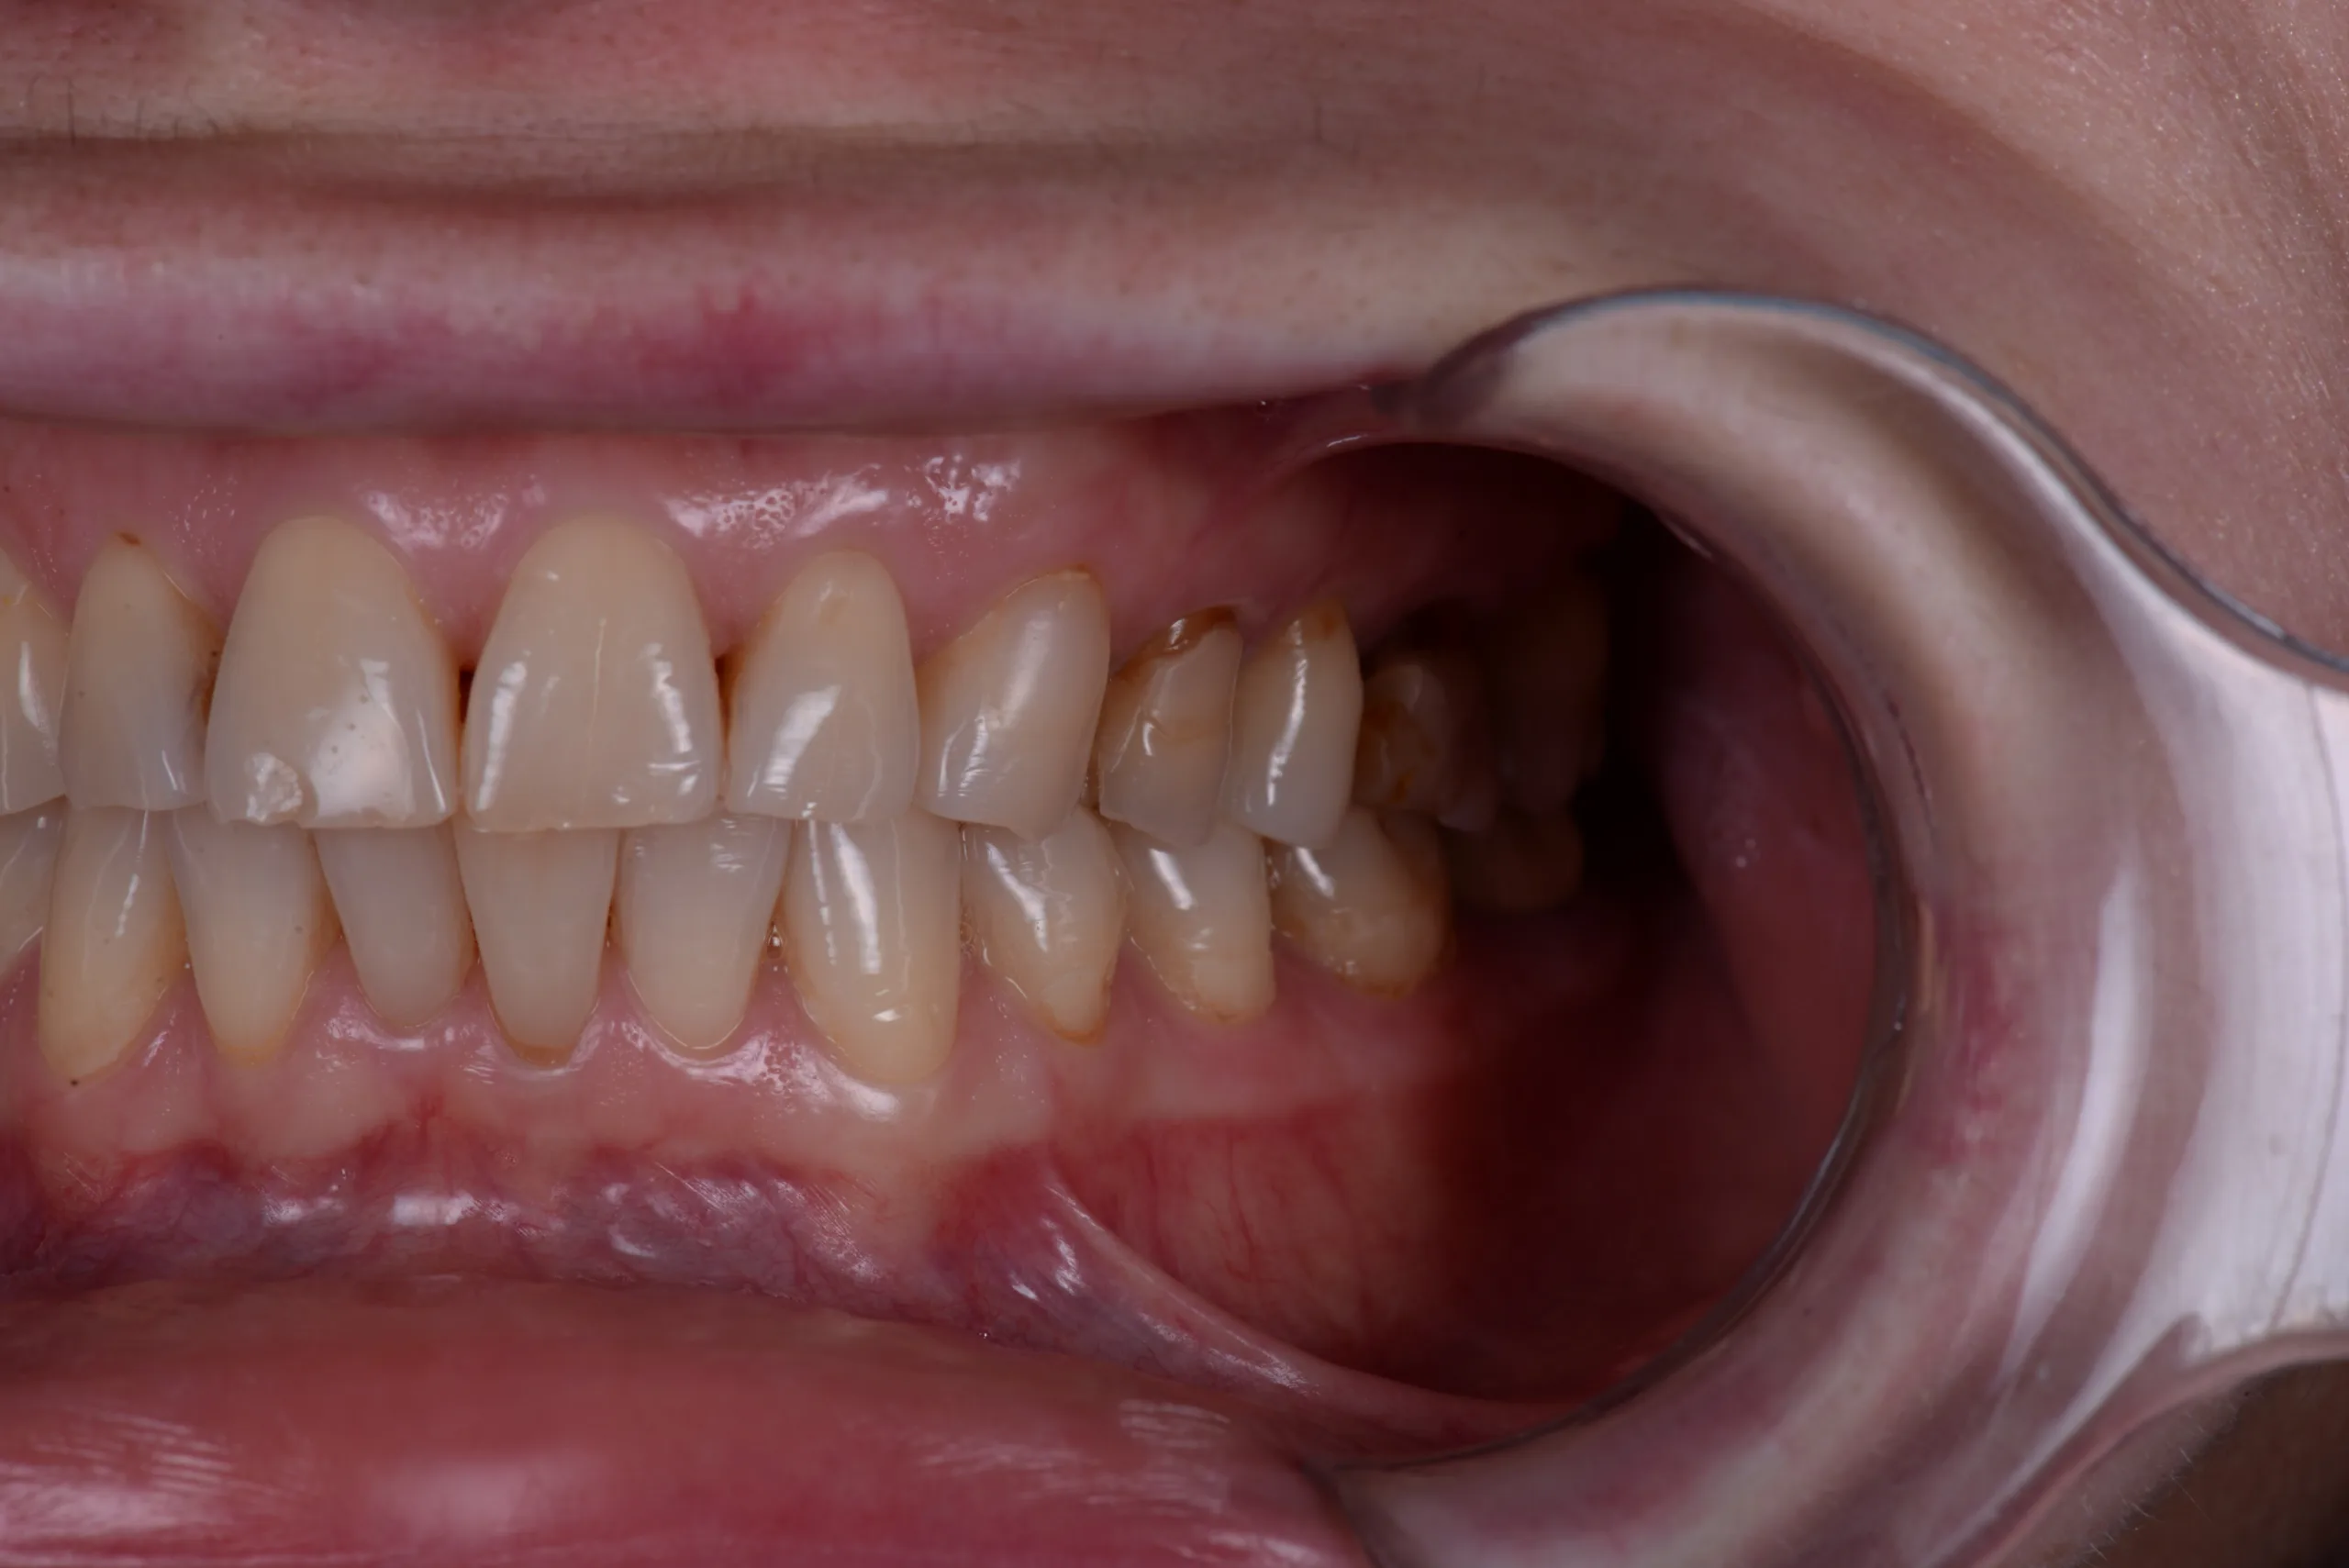
Than we are taking pictures with contrastor. Upper frontal, upper frontal left and right sides, lower frontal Pic 4_1-4_4.
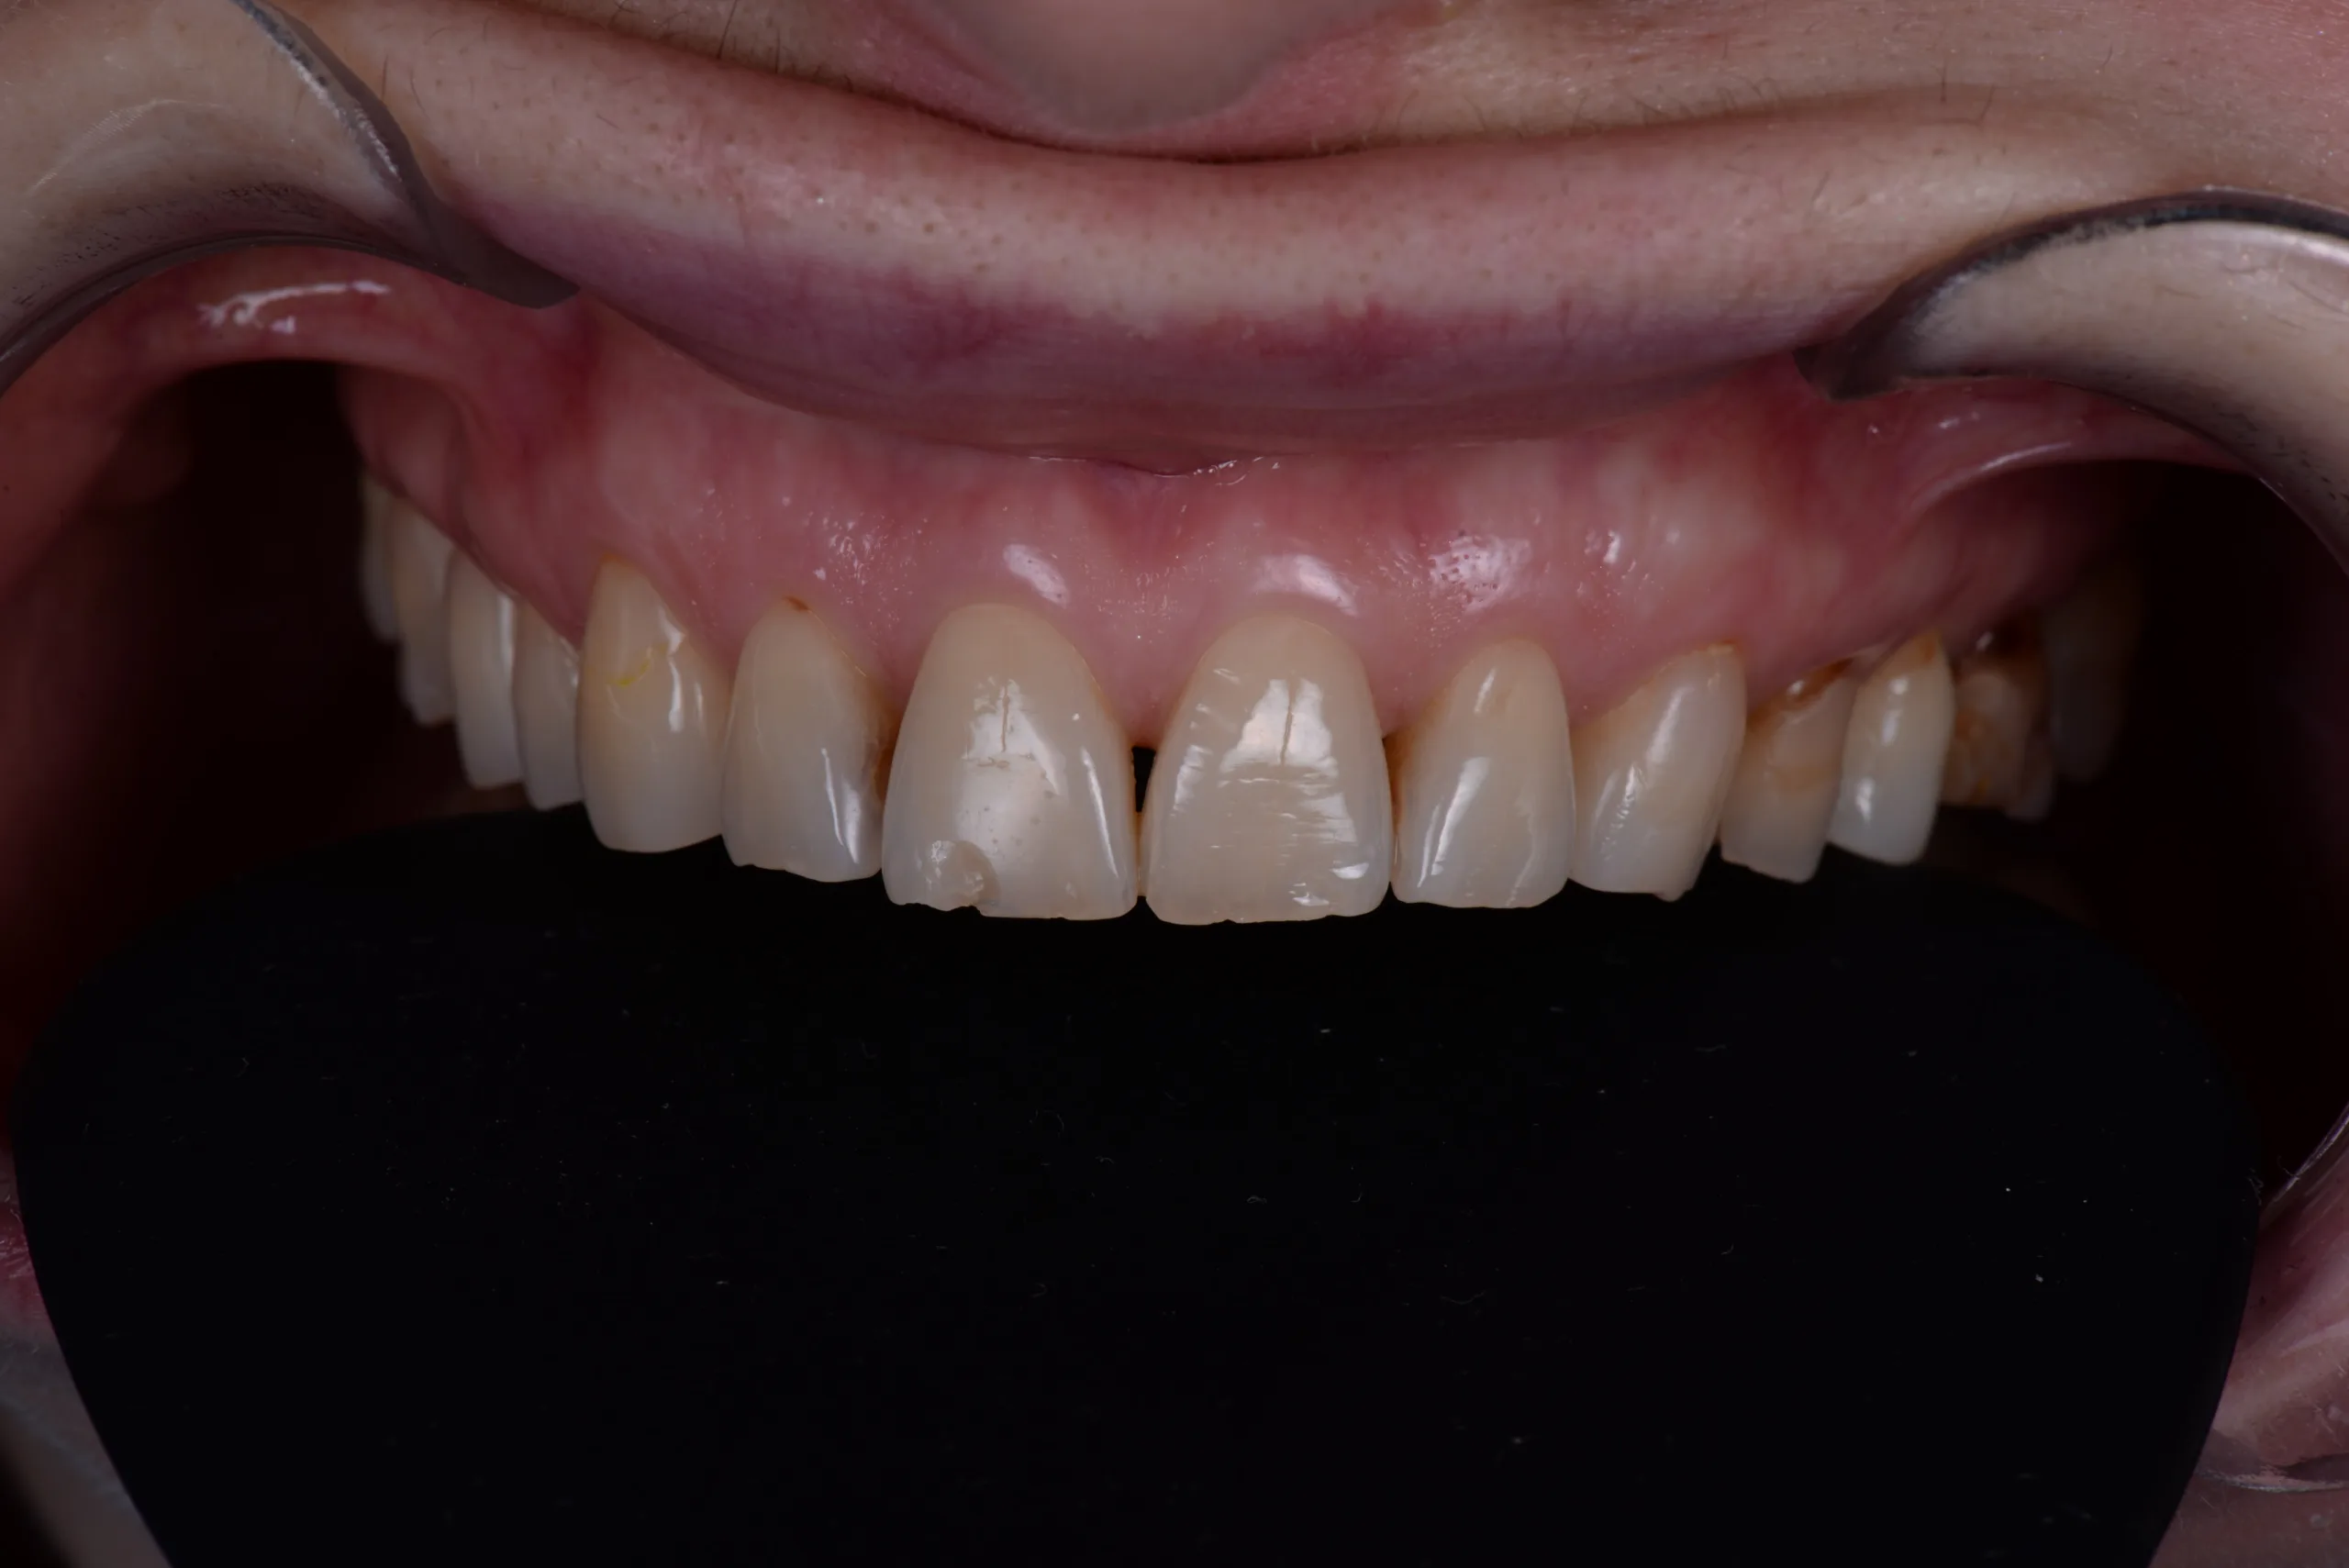
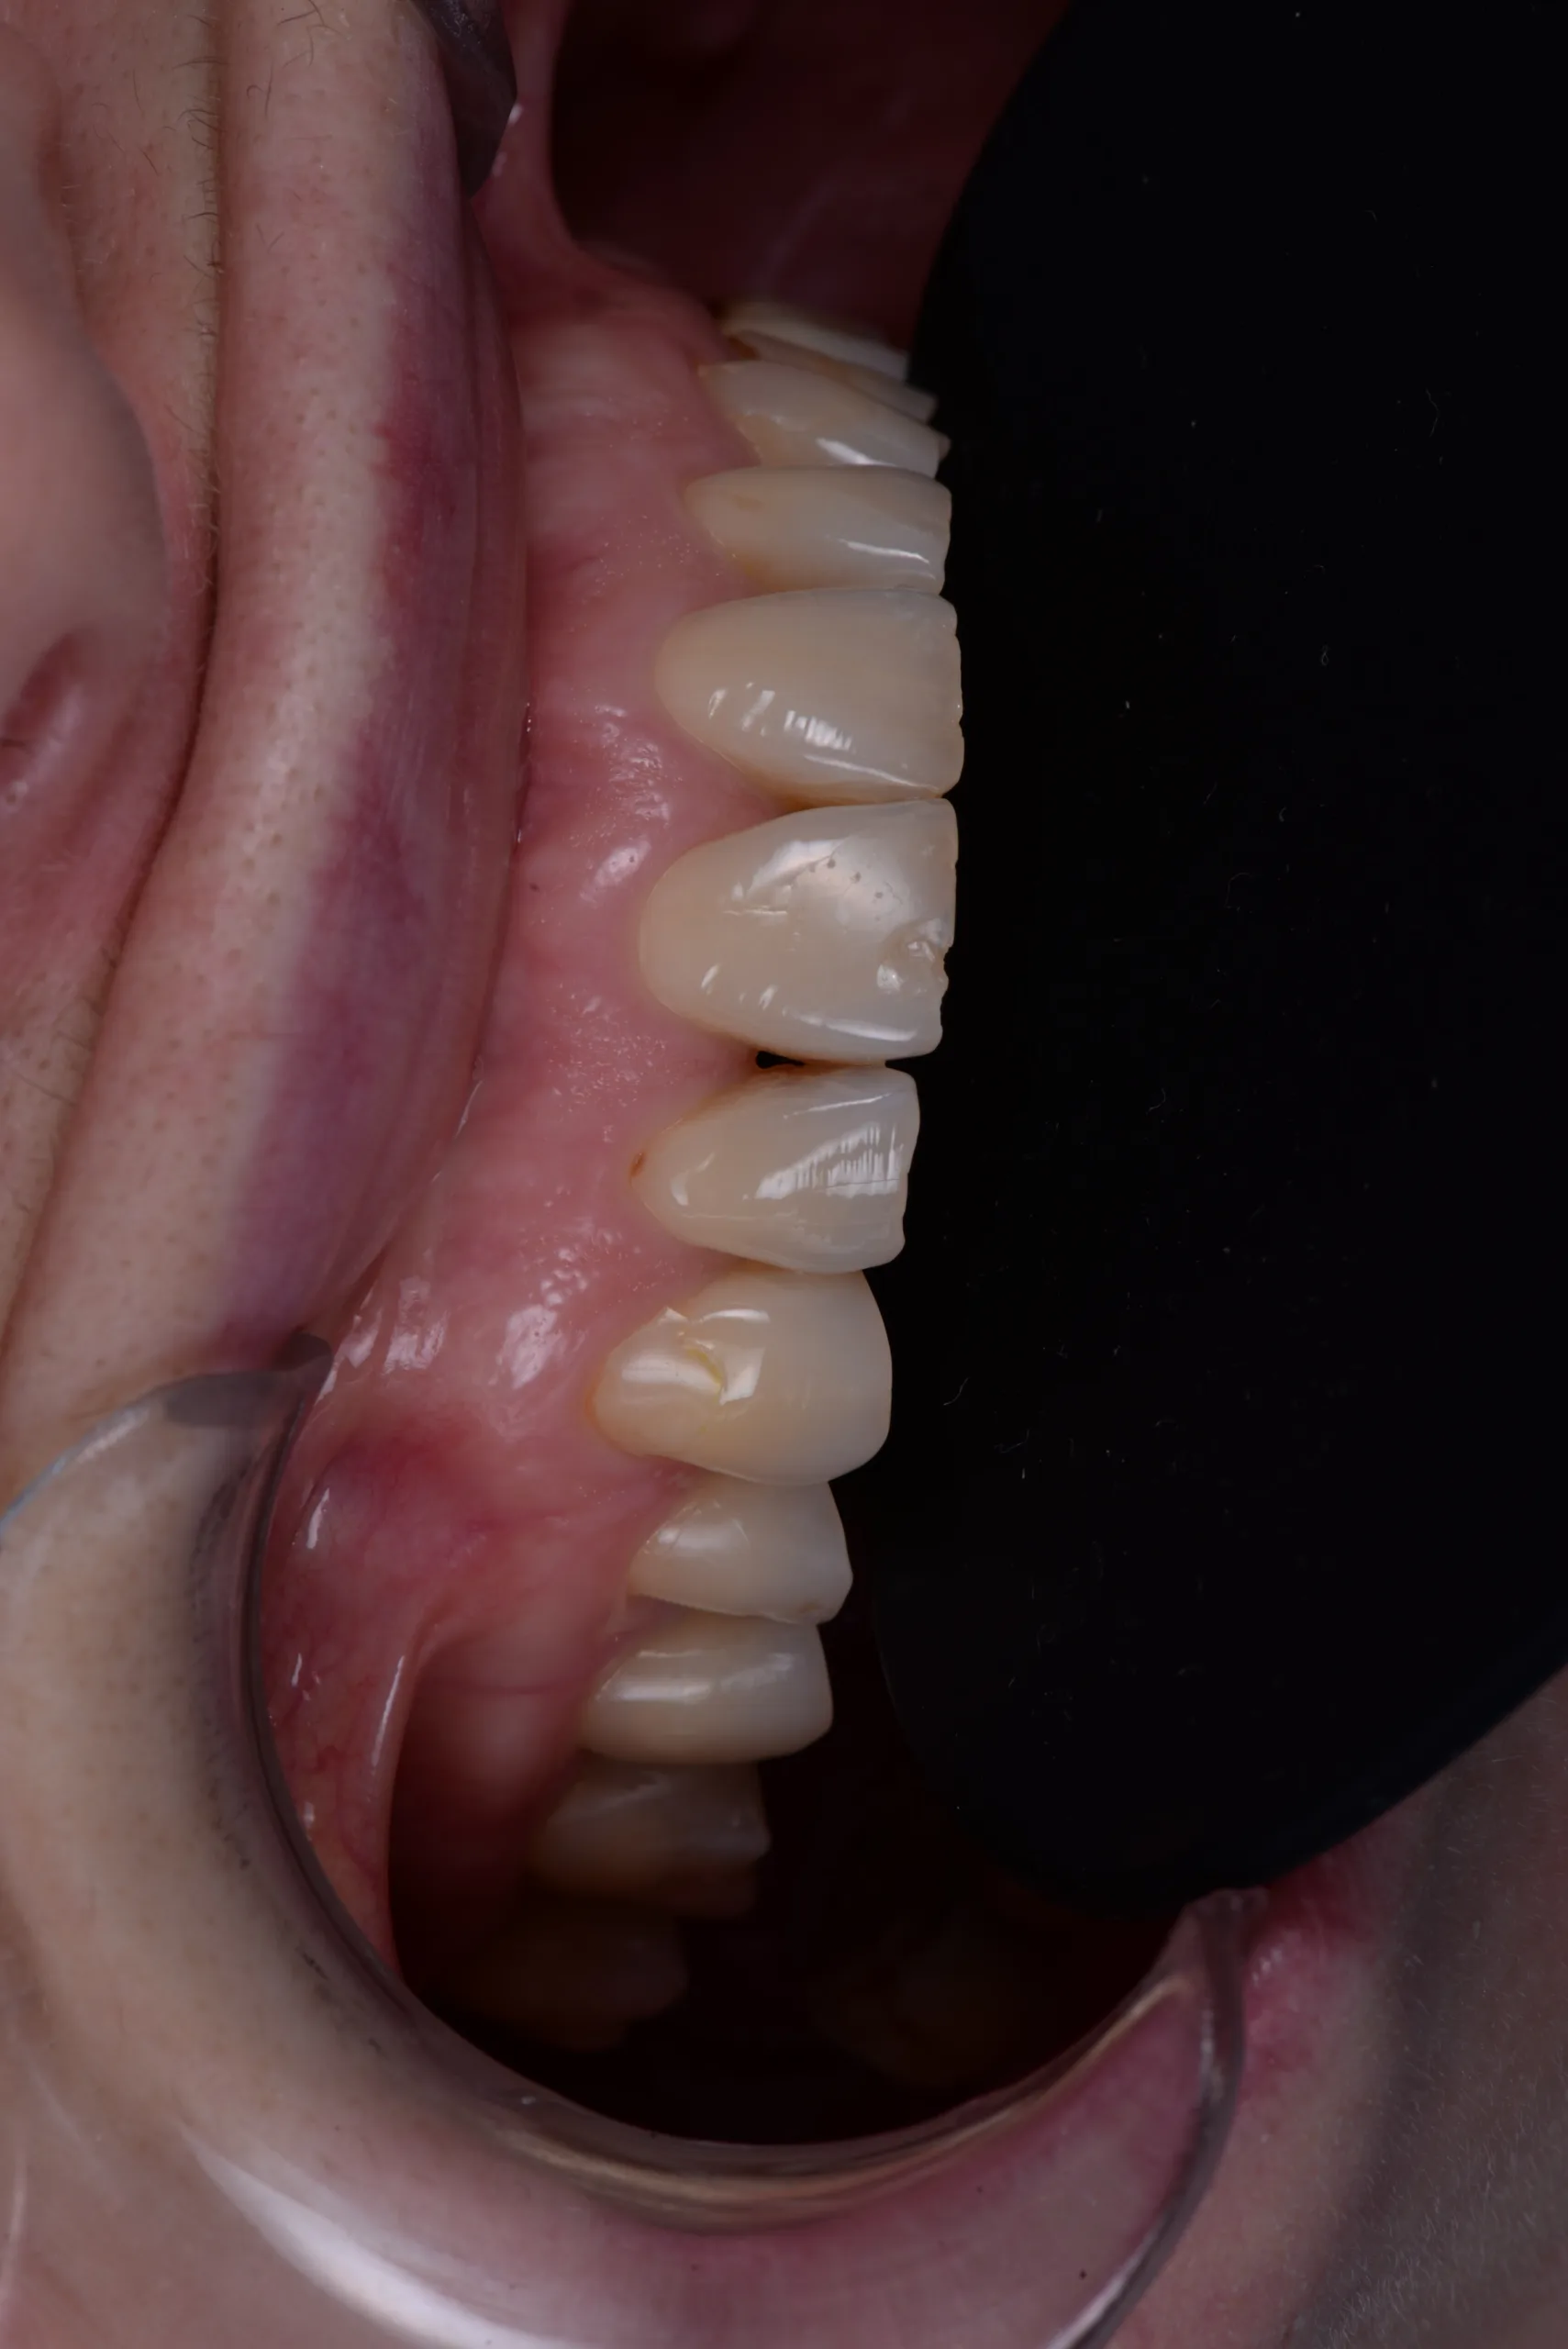

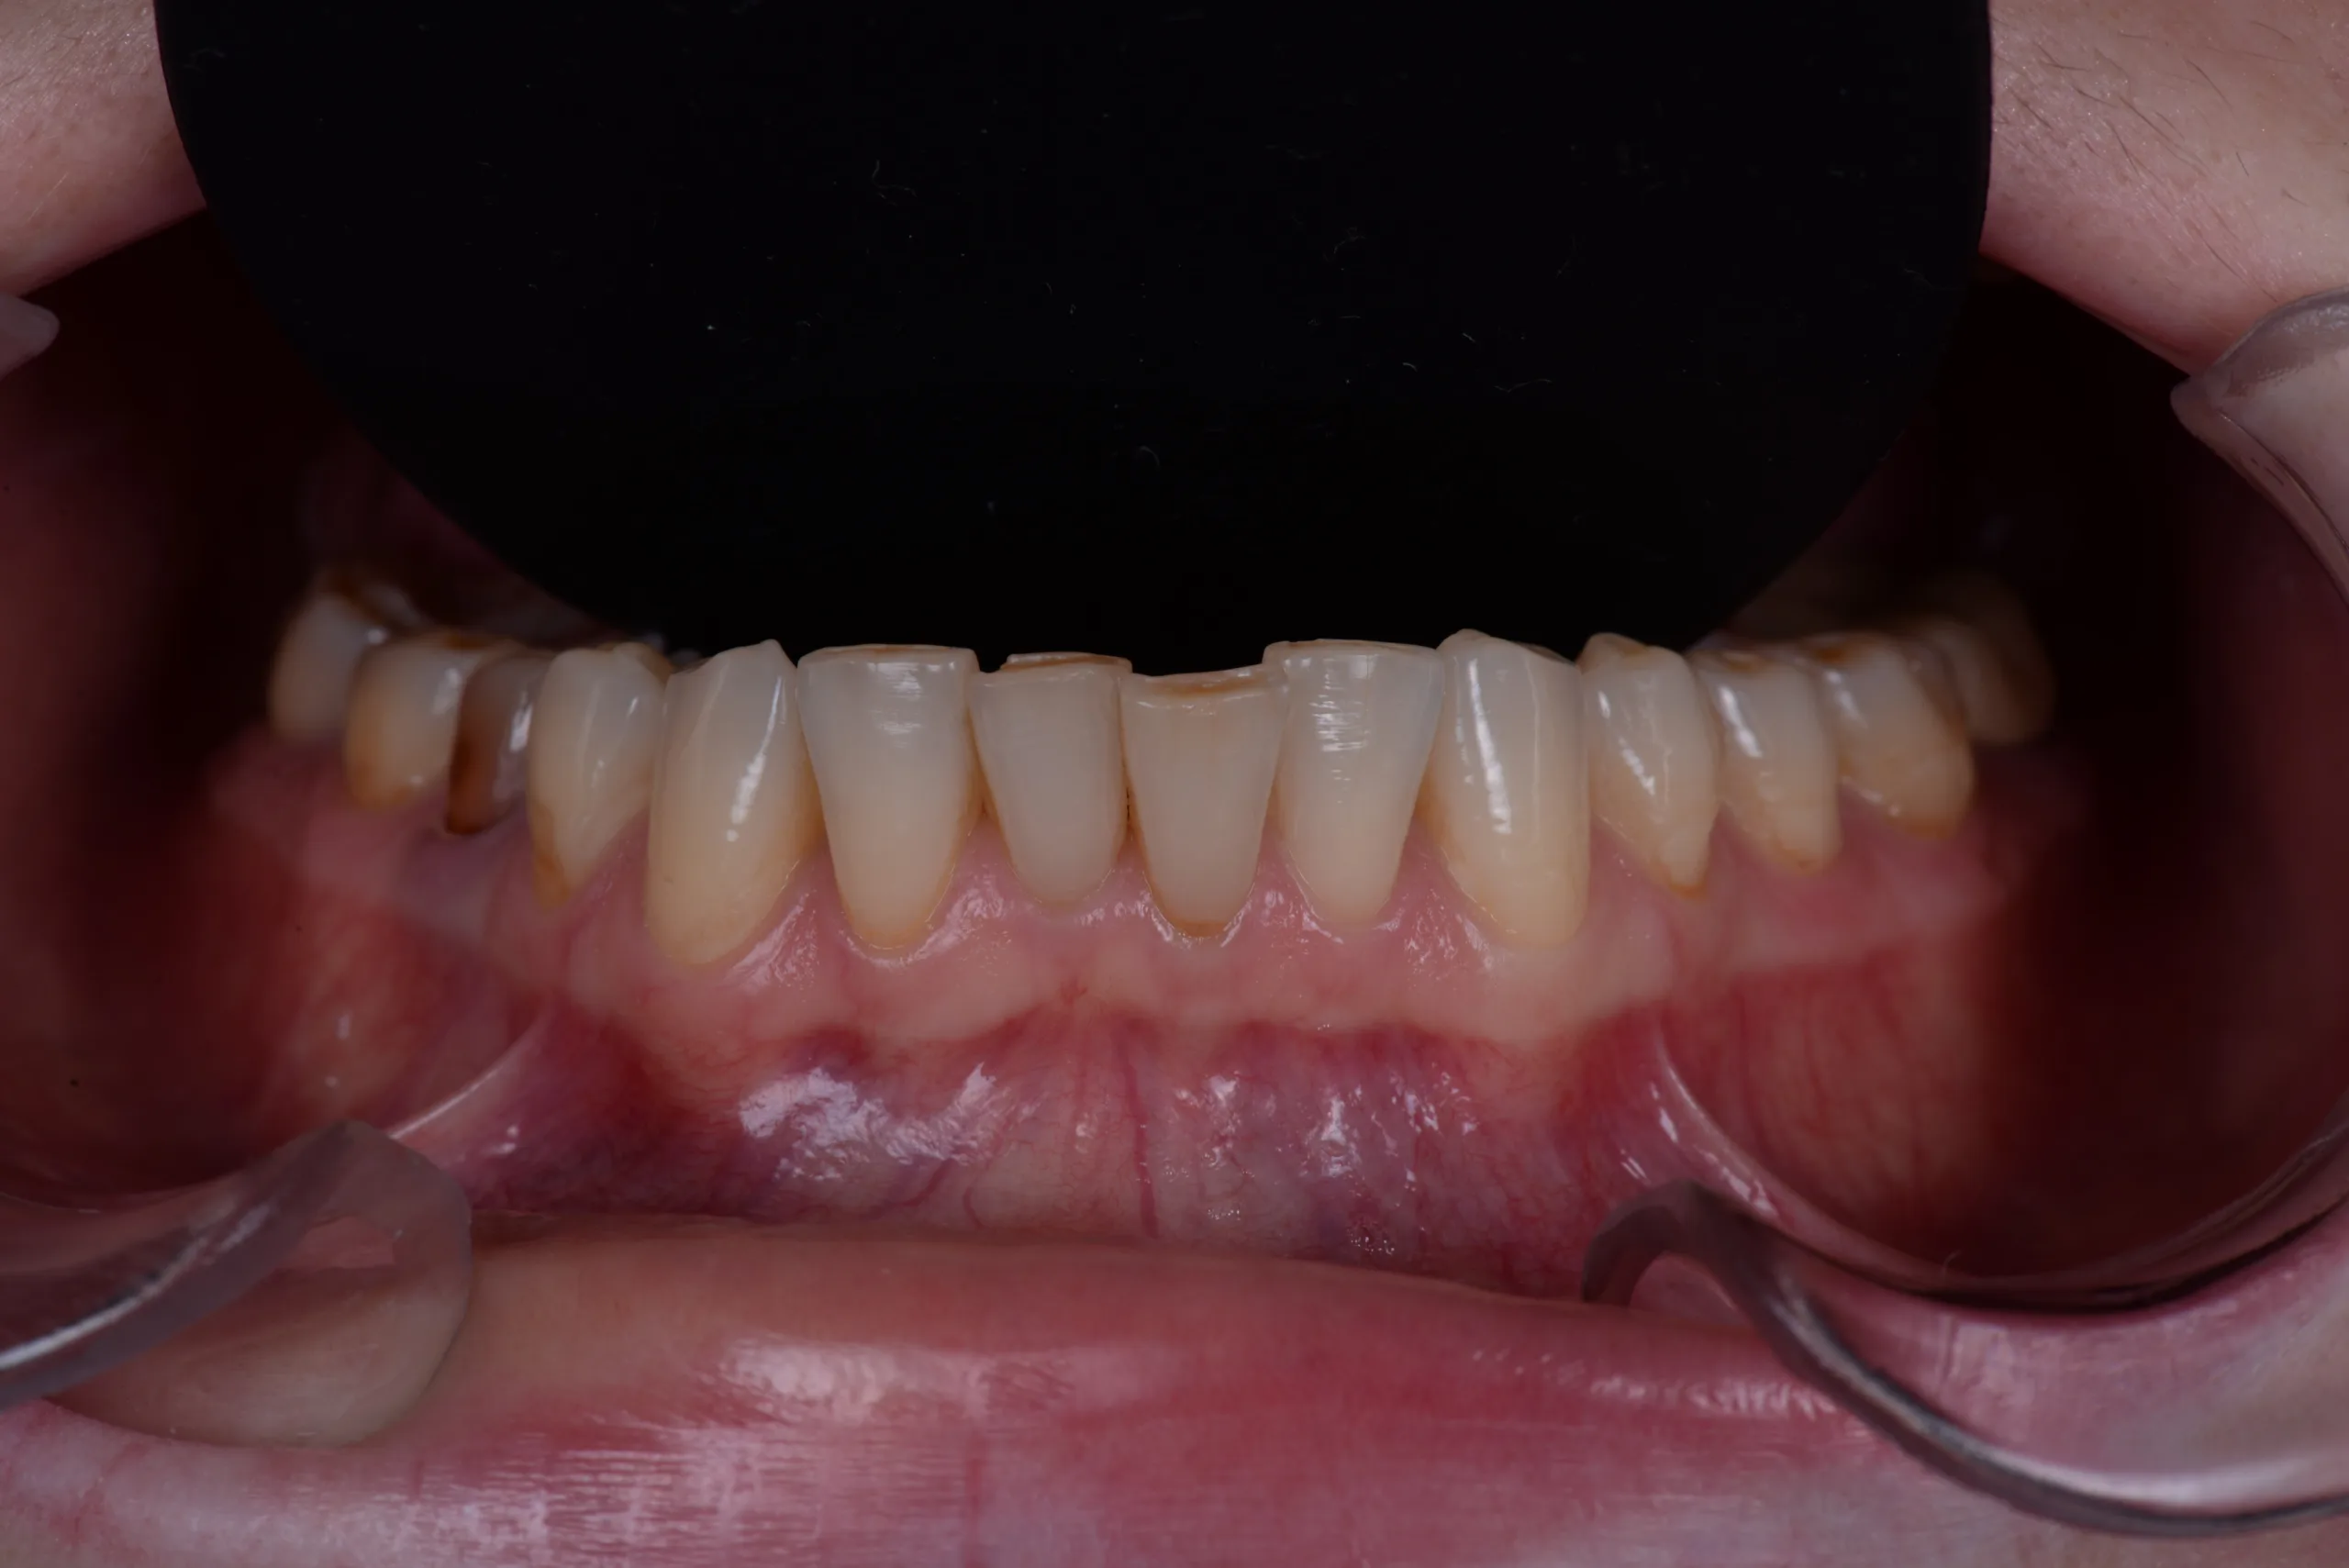
Pay attention how side photos can help us to visualize different defects and to show them to patient as well.
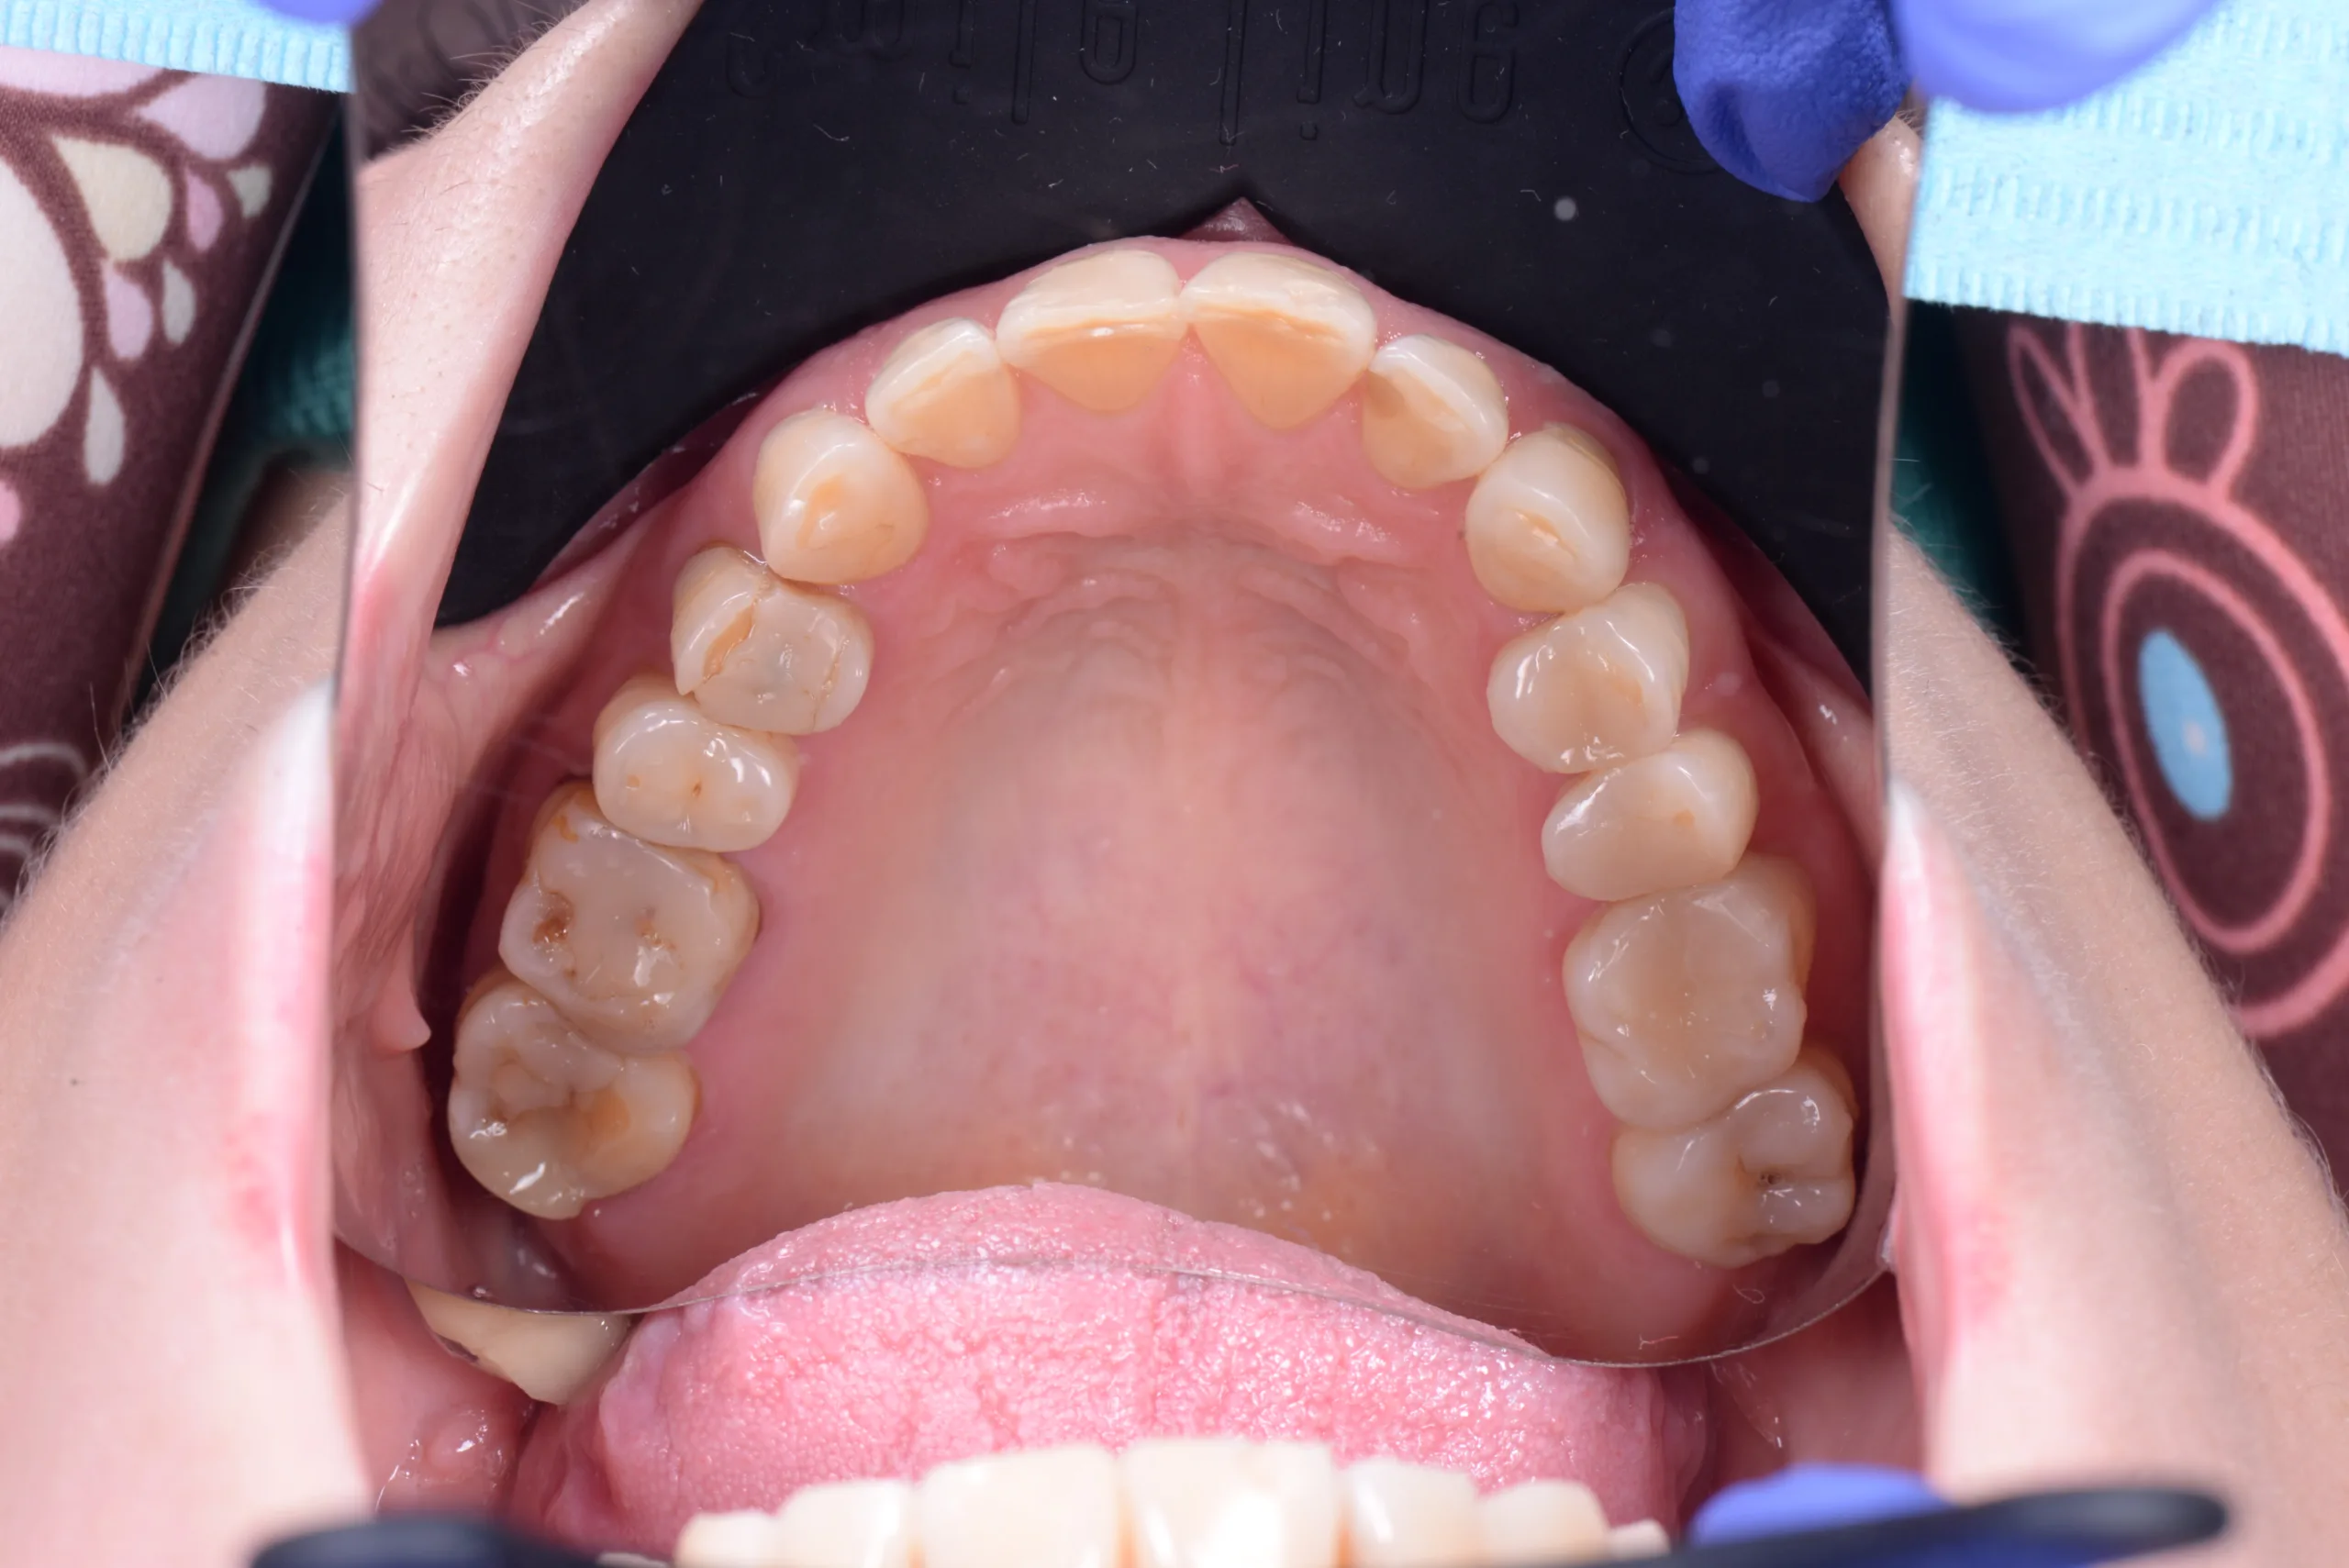
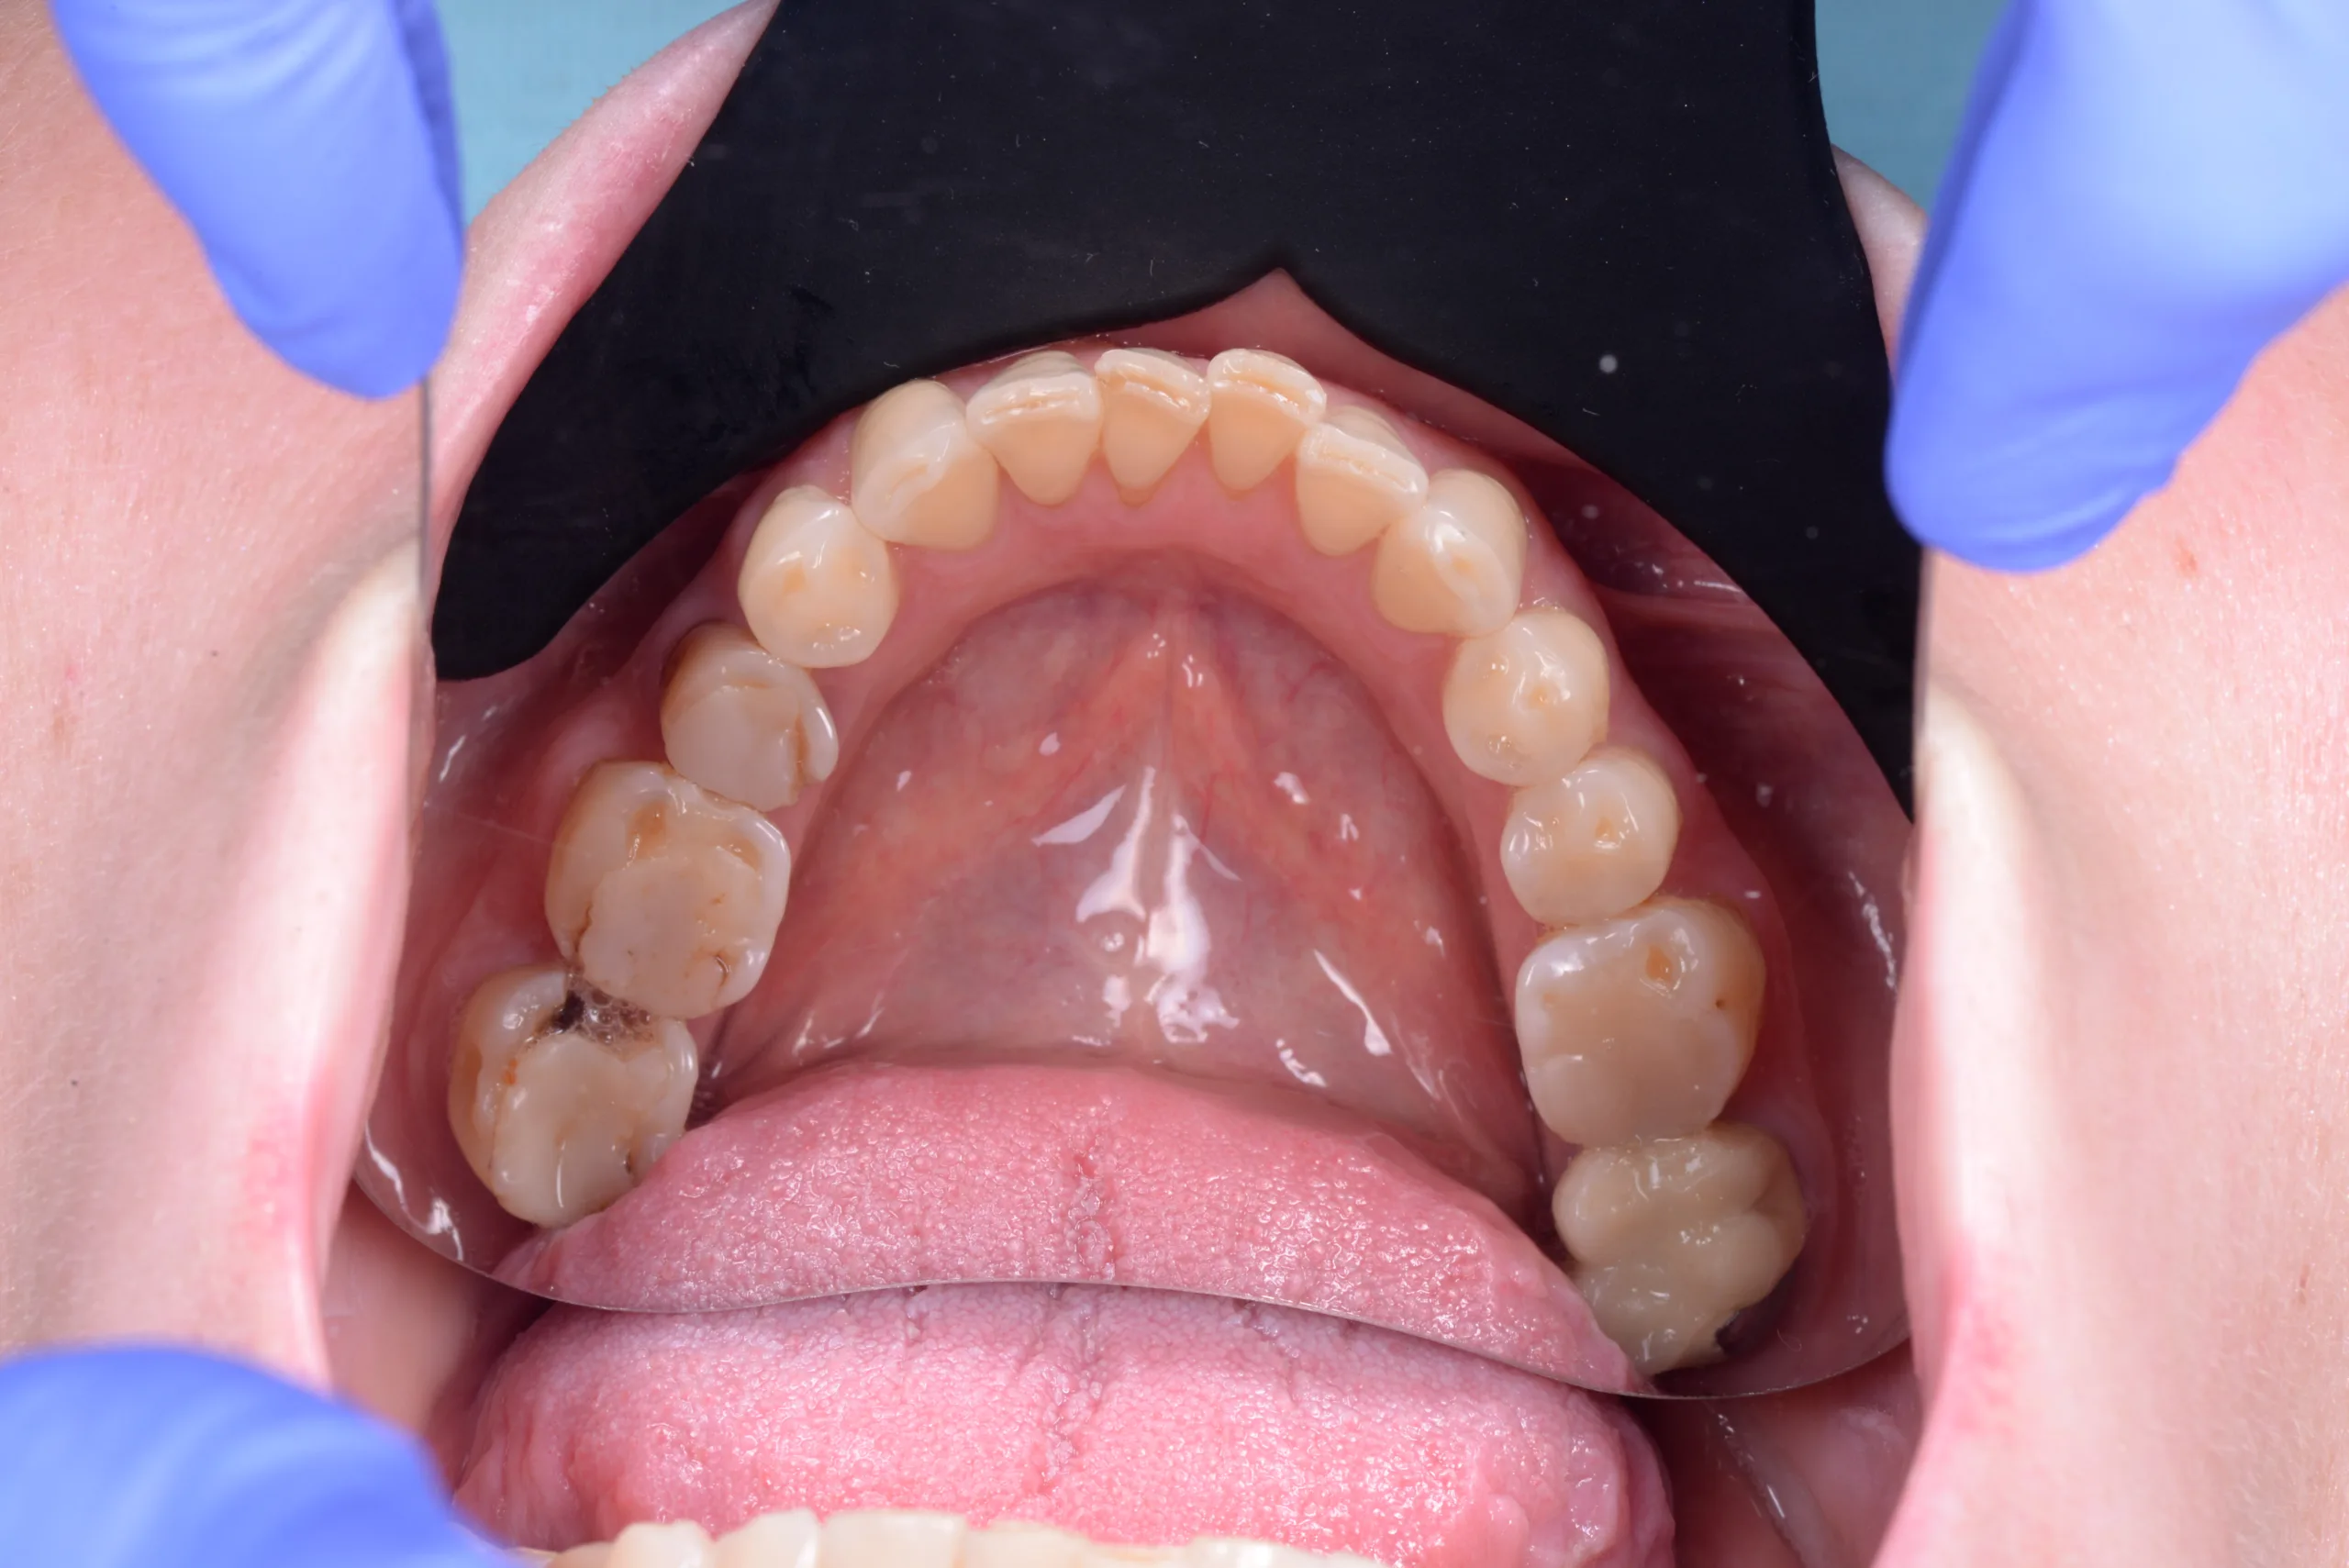
Last two pictures in simplified protocol are occlusal photos from upper and lower jaw Pic 5_1-5_2
