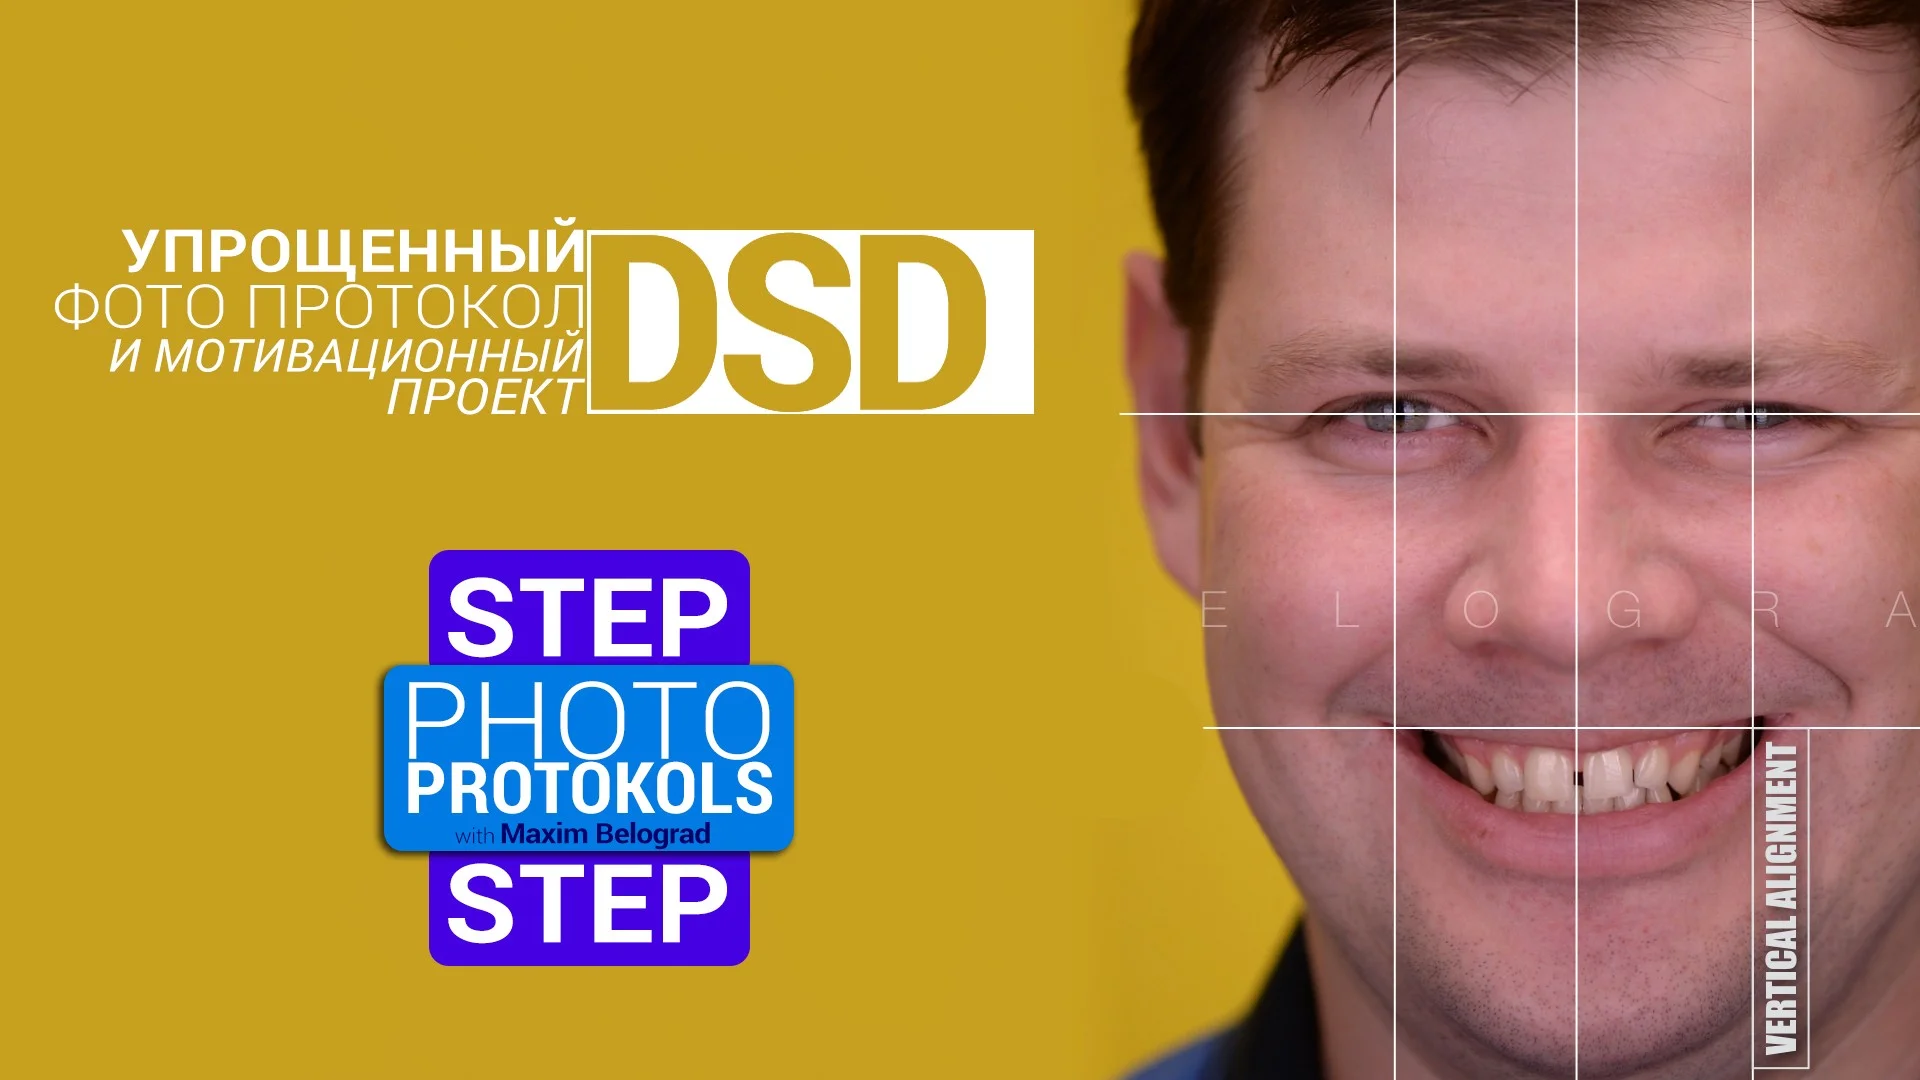
This presentation is about how to save time during photo-documentation and how to create motivational smile project to our patient.
*Need to point that we divide DSD into 1) quick motivational part for patient and 2) clinical part for detailed analysis and work project.
Dental photography is strongly introduced to professional life of every dentist who follows modern protocols. One of the most popular directions where dental photo and video capturing are used is smile design.
We will discuss easy and simple protocol for motivational smile design as well as for clinical planning. Firstly, we recommend to watch our small video where you may find protocol for portrait pictures and video registration.
Image 1. Four main portraits and smile close-ups
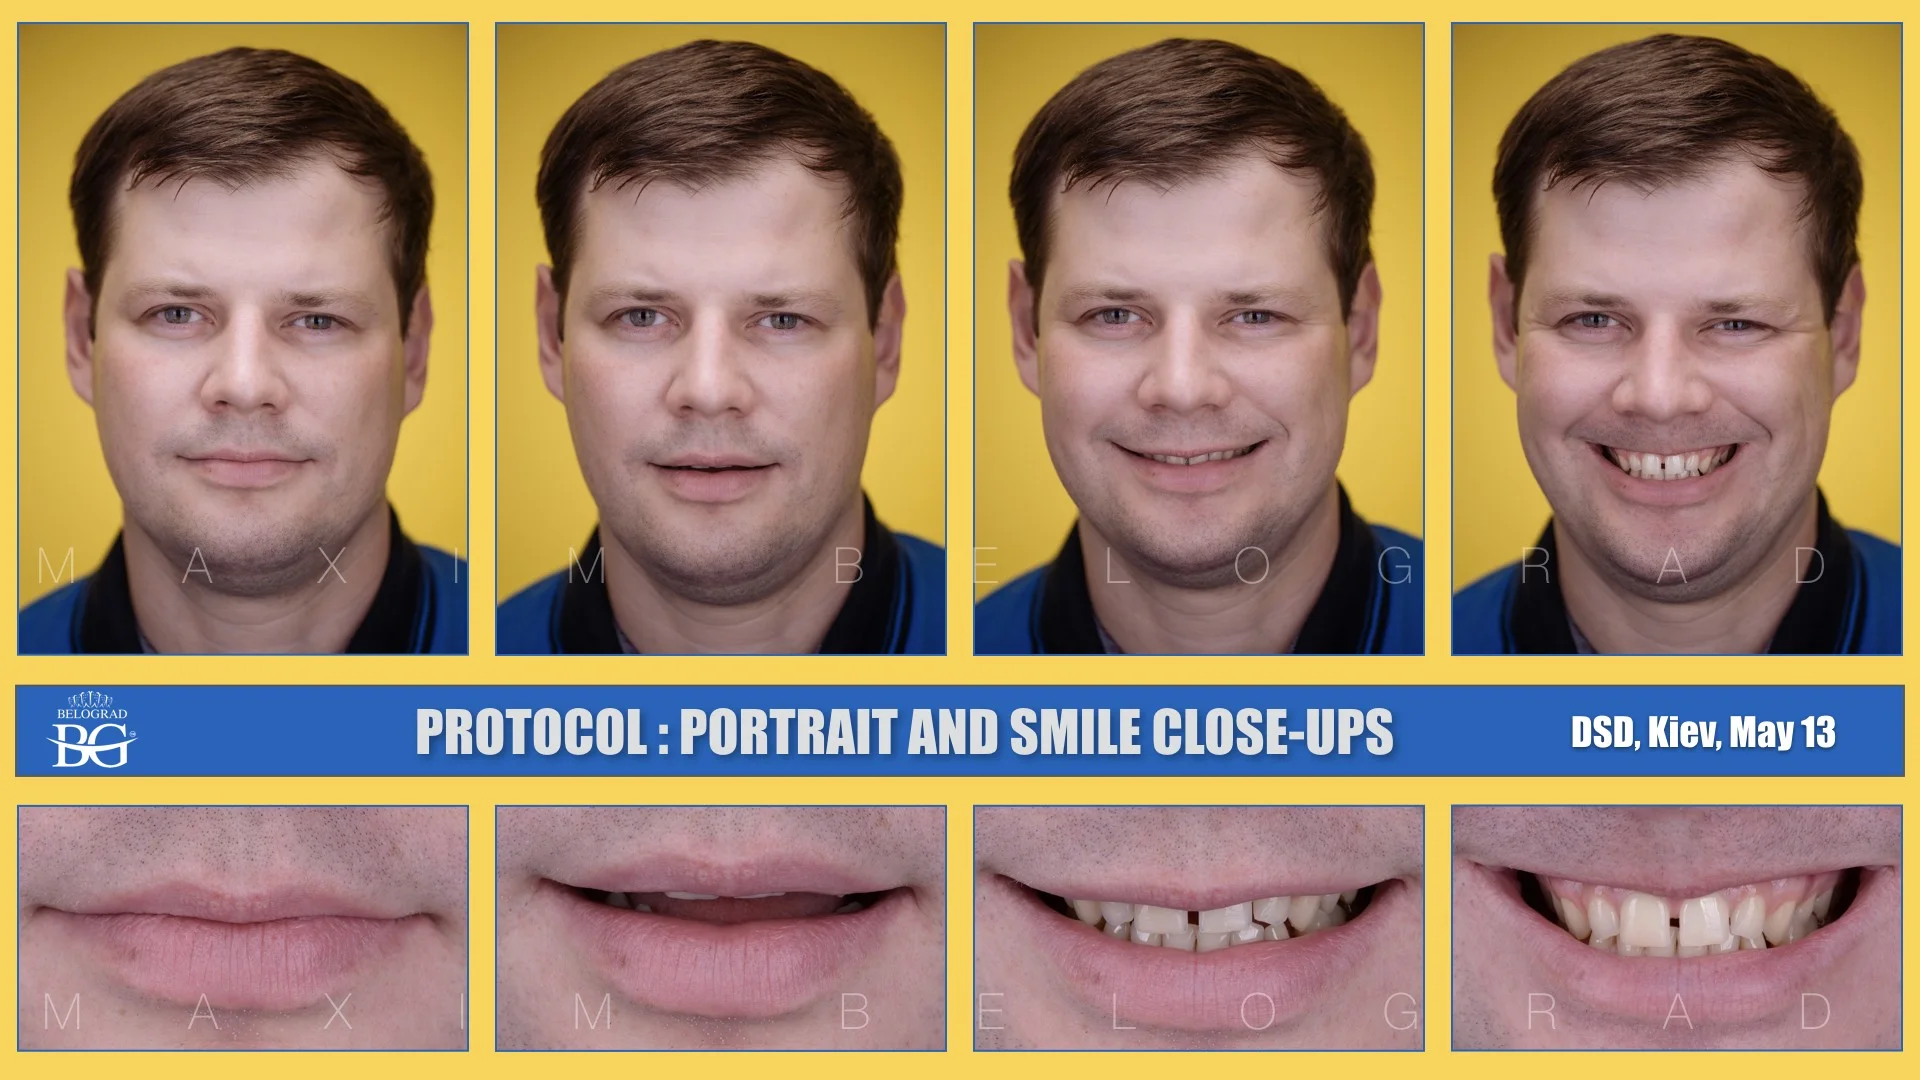
Image 2. 45 degrees’ pictures. They visualize profile and frontal teeth position as well as possible aesthetic problems of smile in distal projection
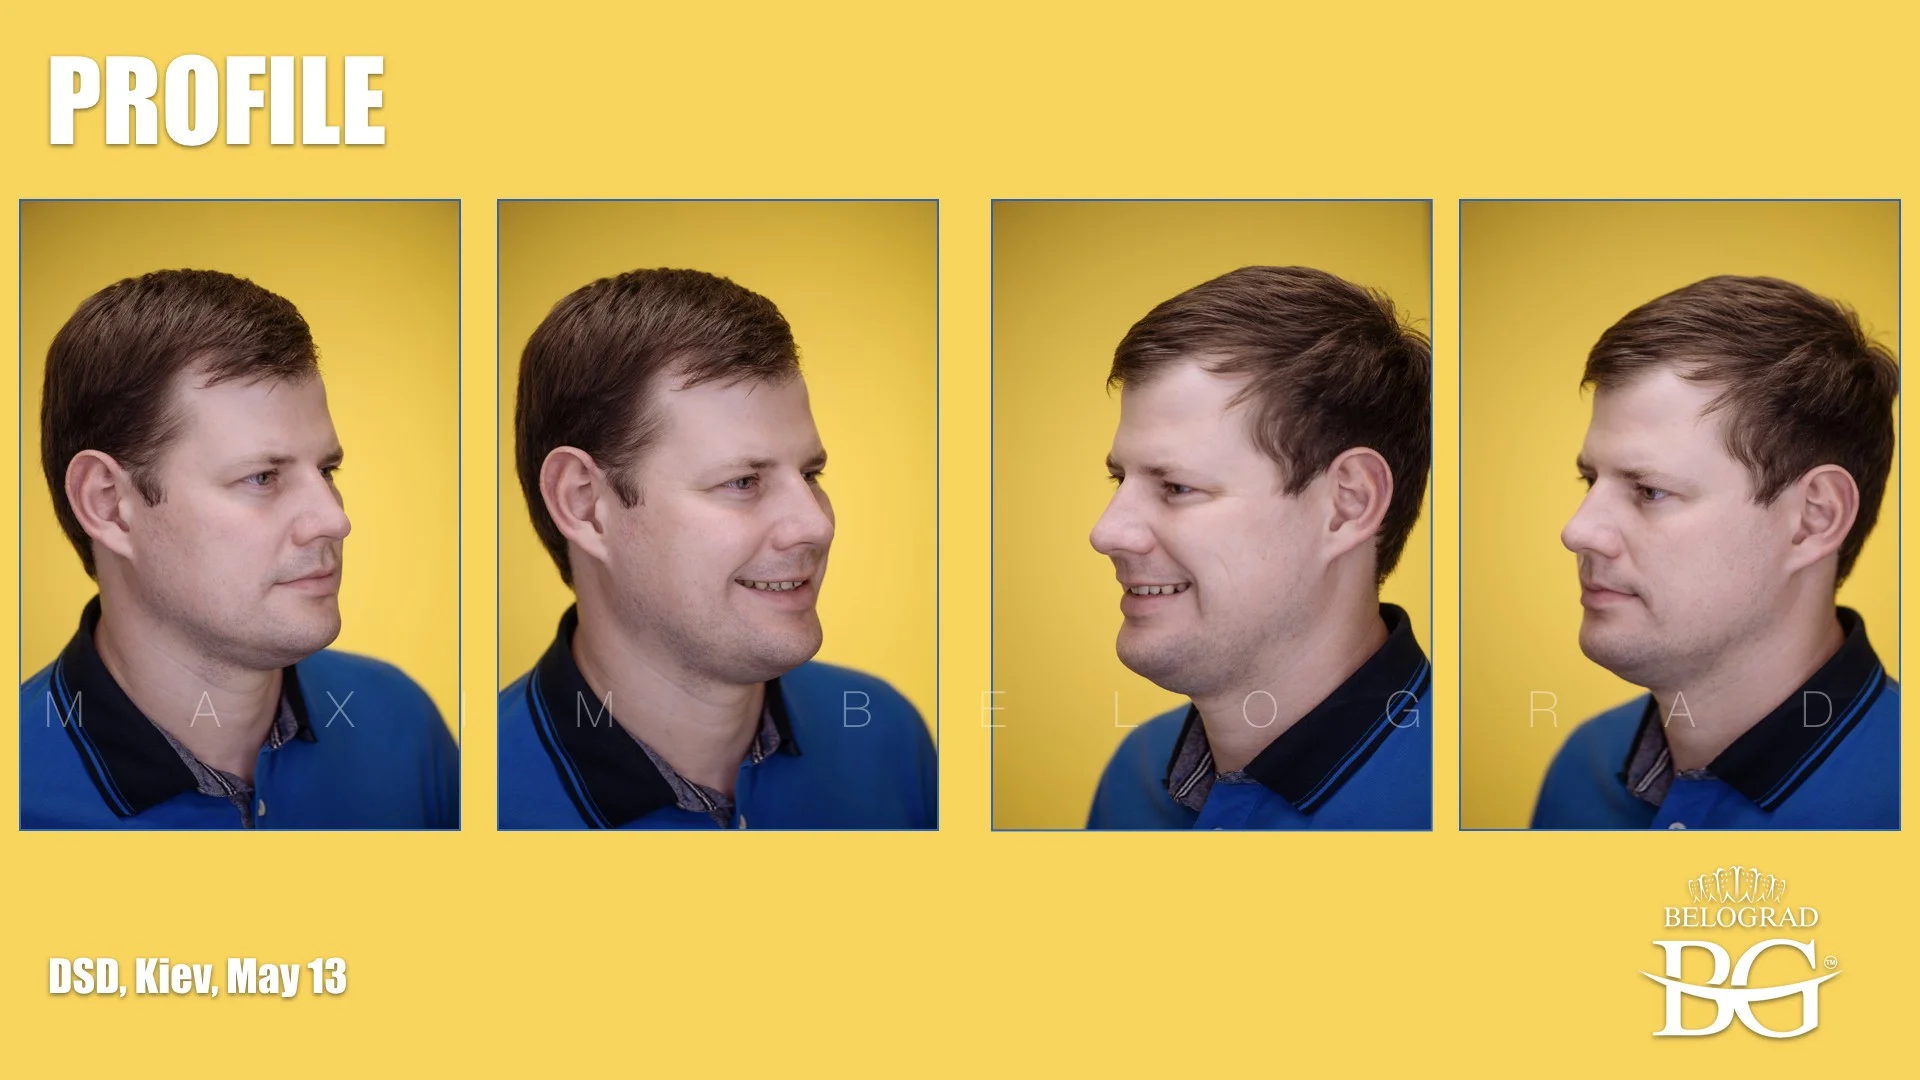
Image 3. Close-up
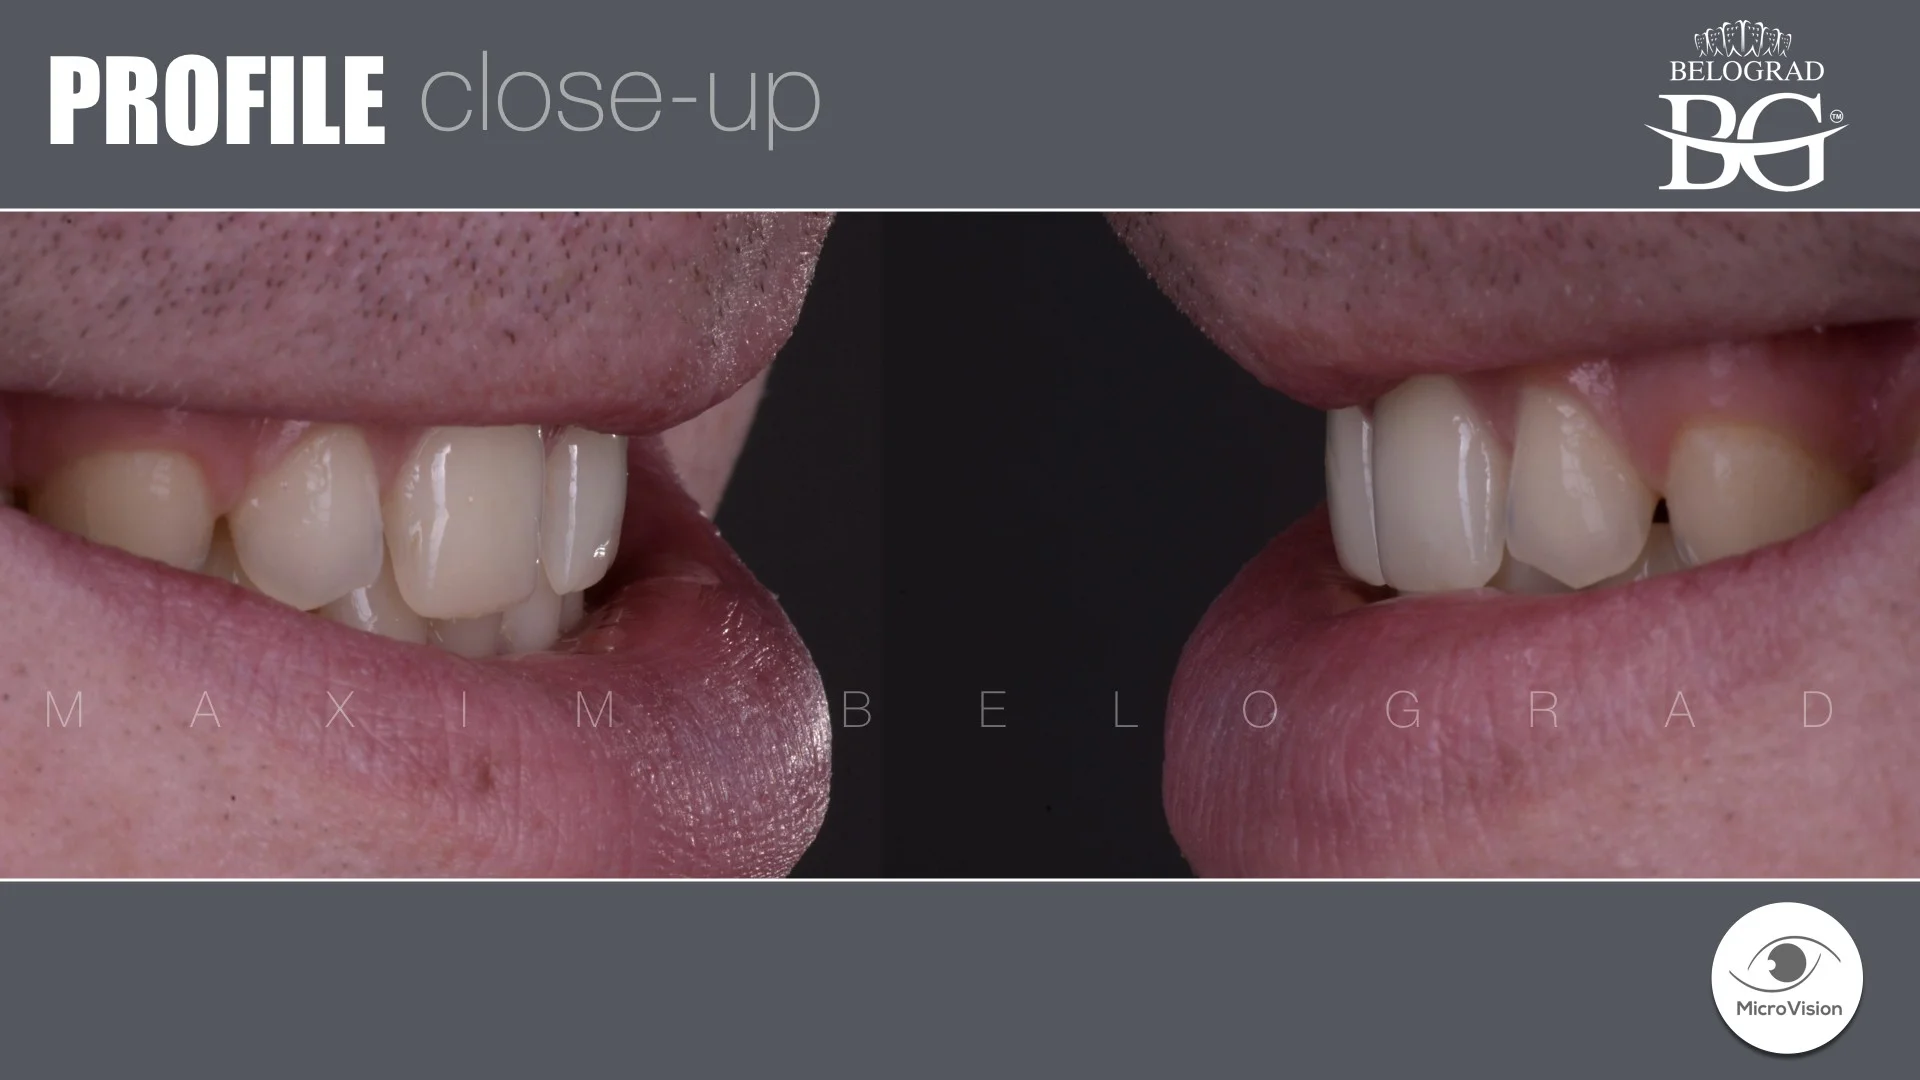
Image 4. Intraoral photos and retractor which is comfortable for patient
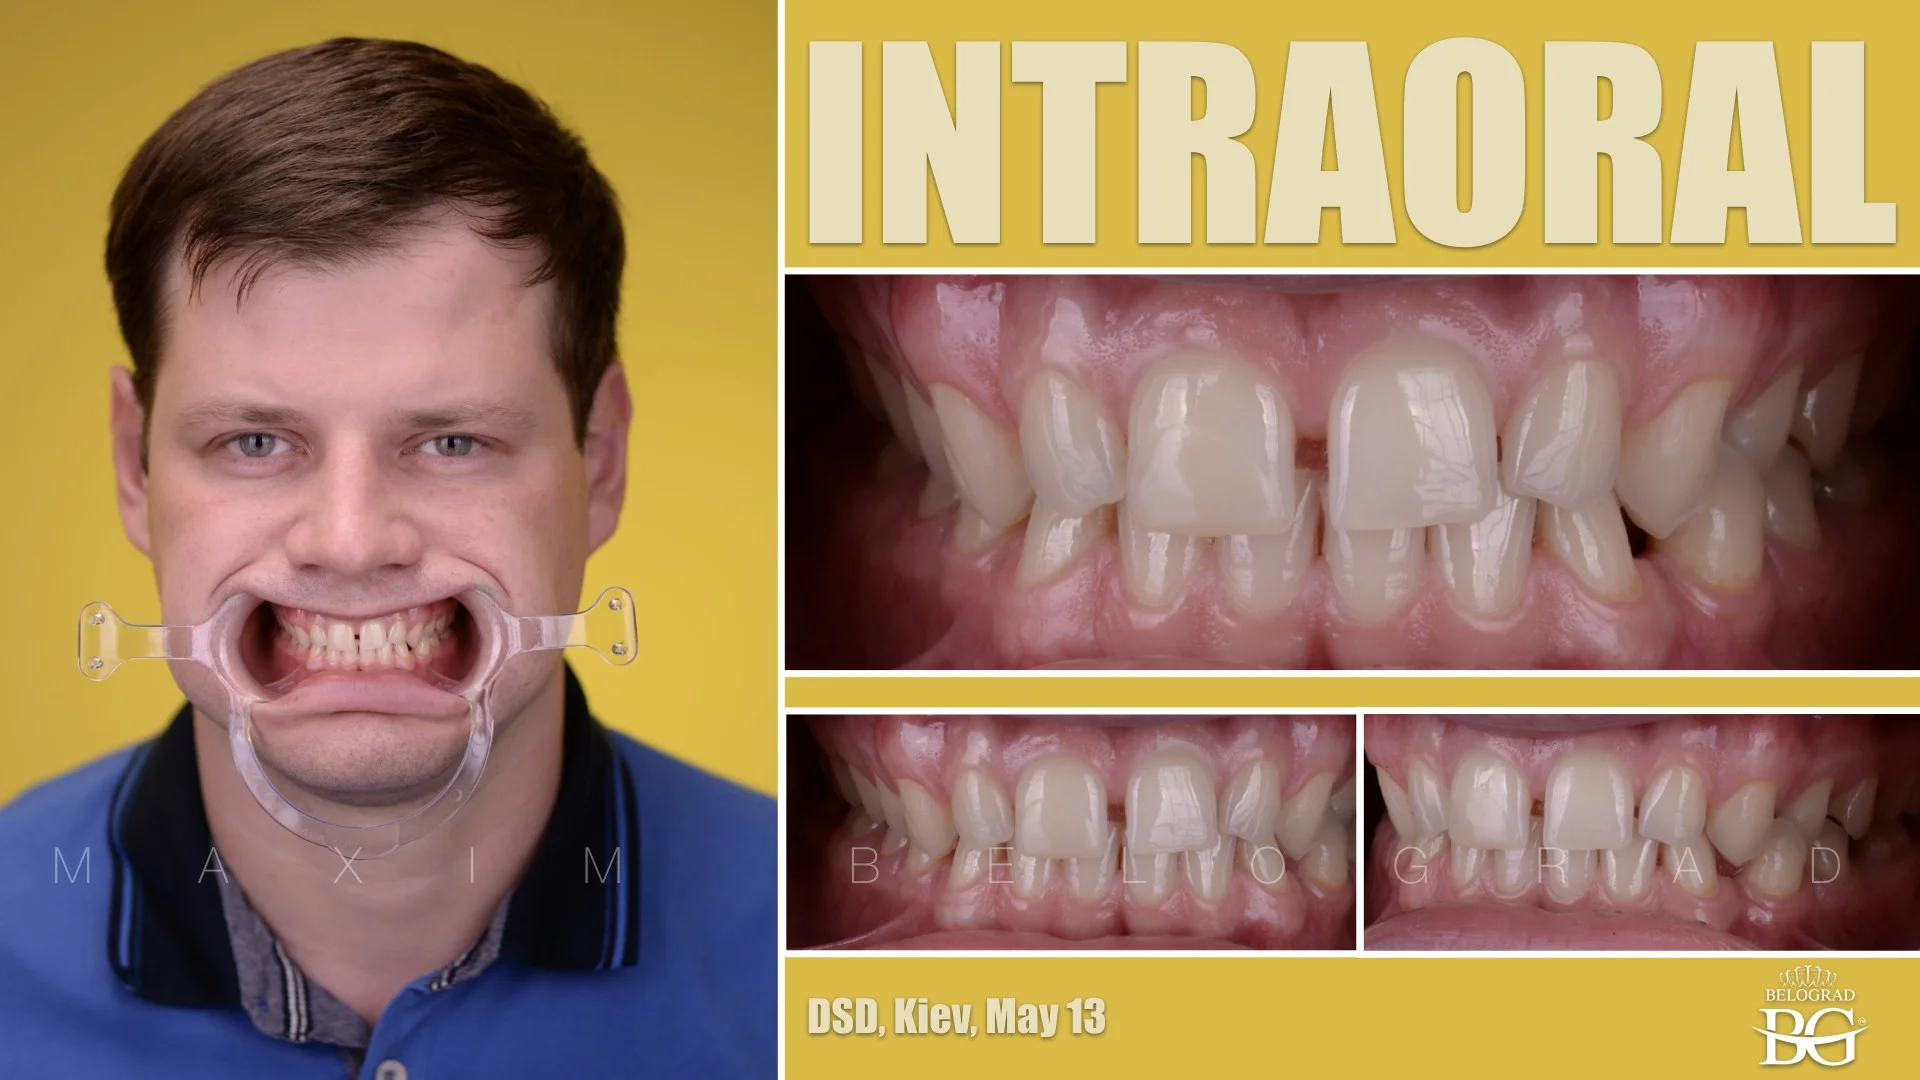
Image 5. Teeth in occlusion close-ups
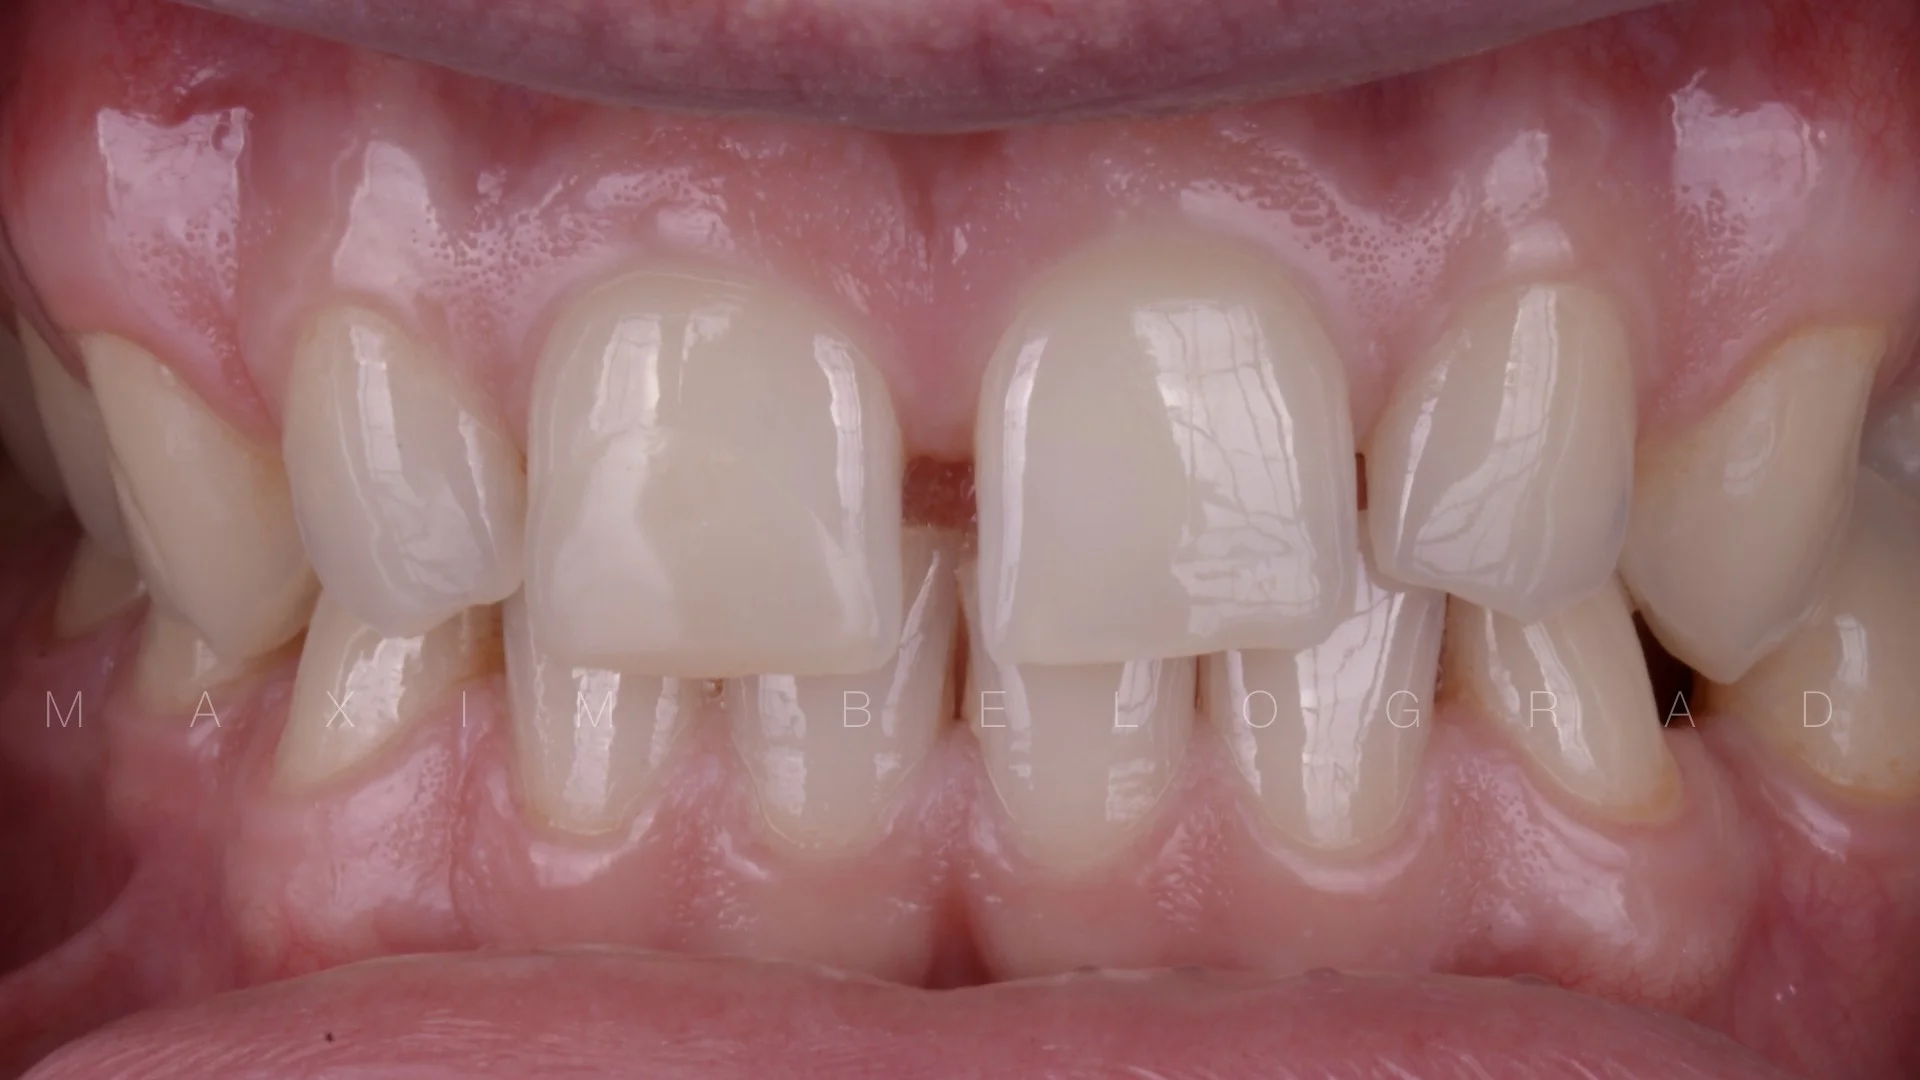
Image 6. “Dynamic” pictures
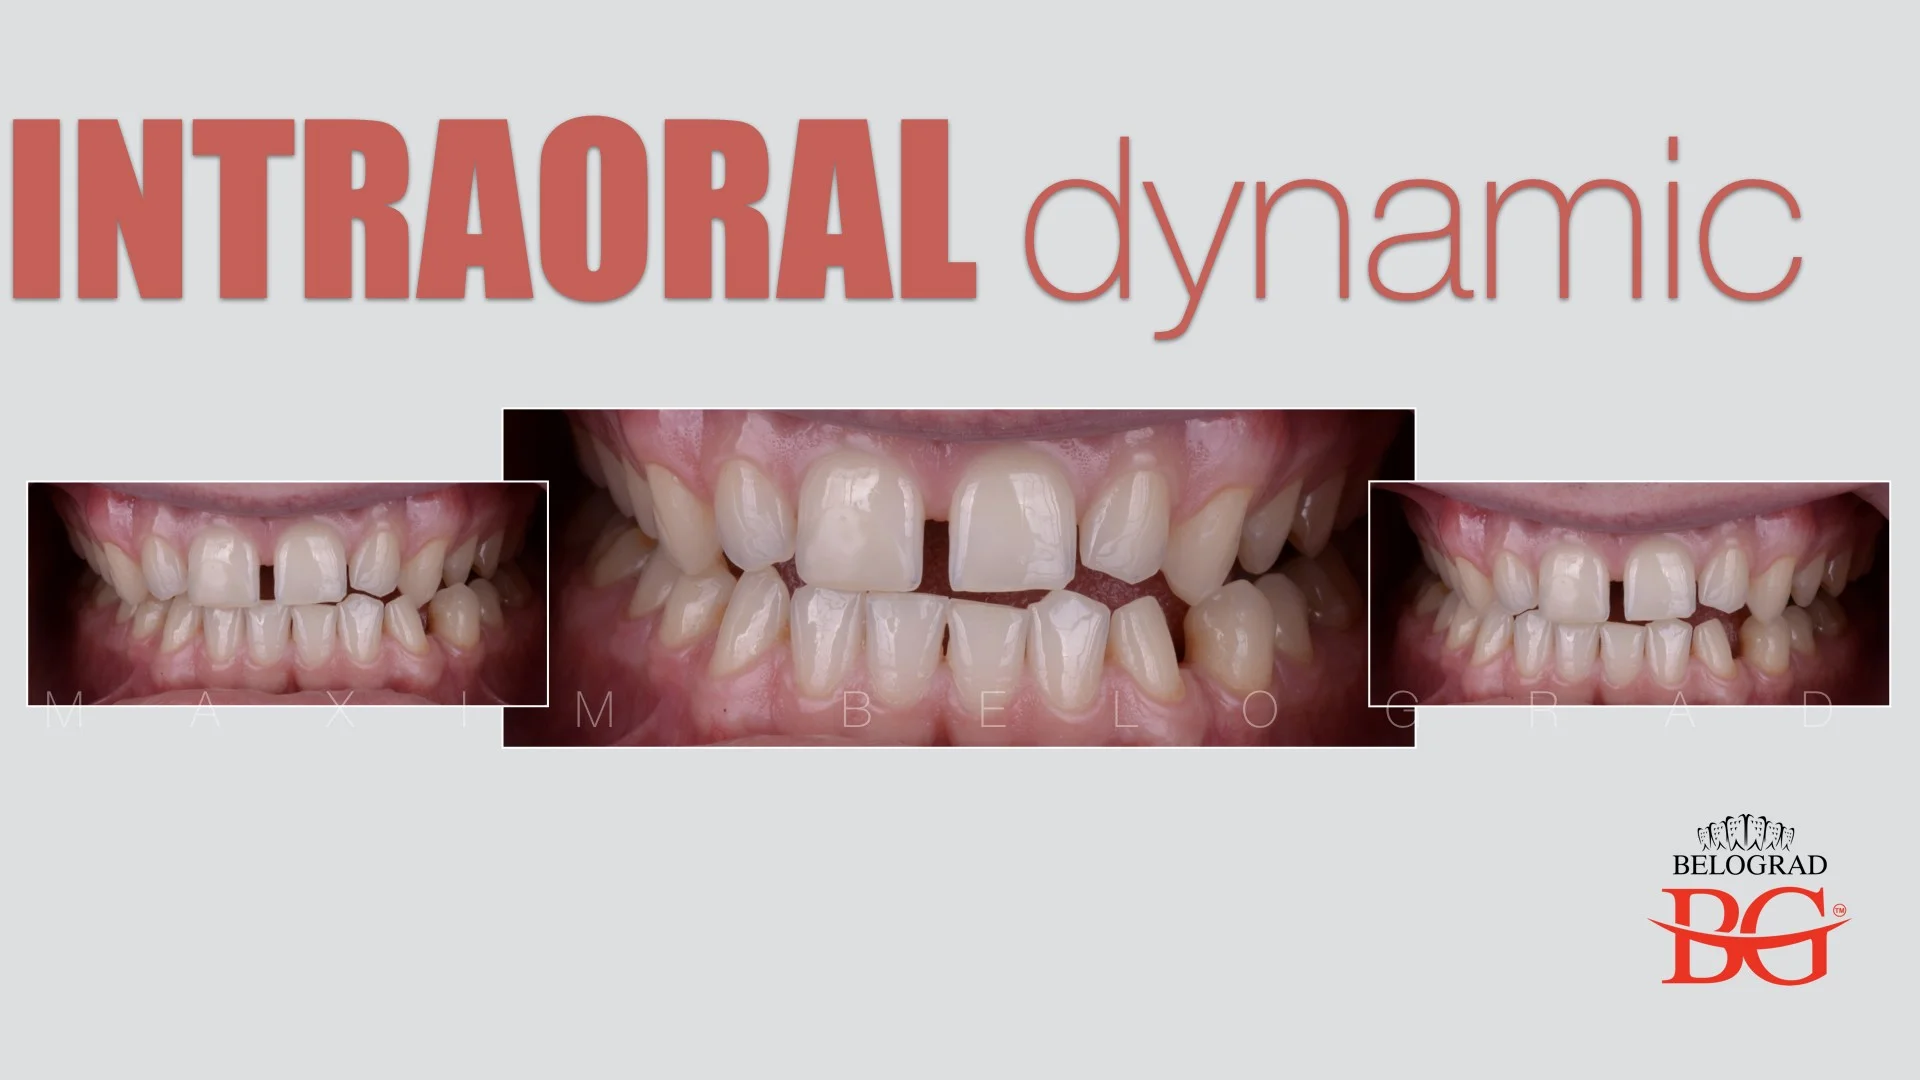
Image 7-8. Photos of anterior teeth with contrastor. This picture will be used for clinical design after horizontal positioning
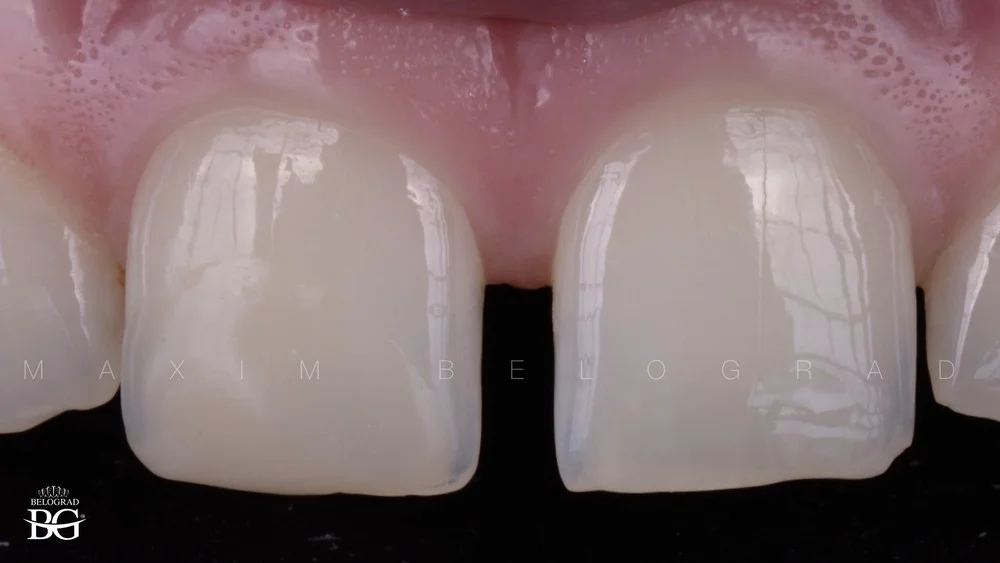
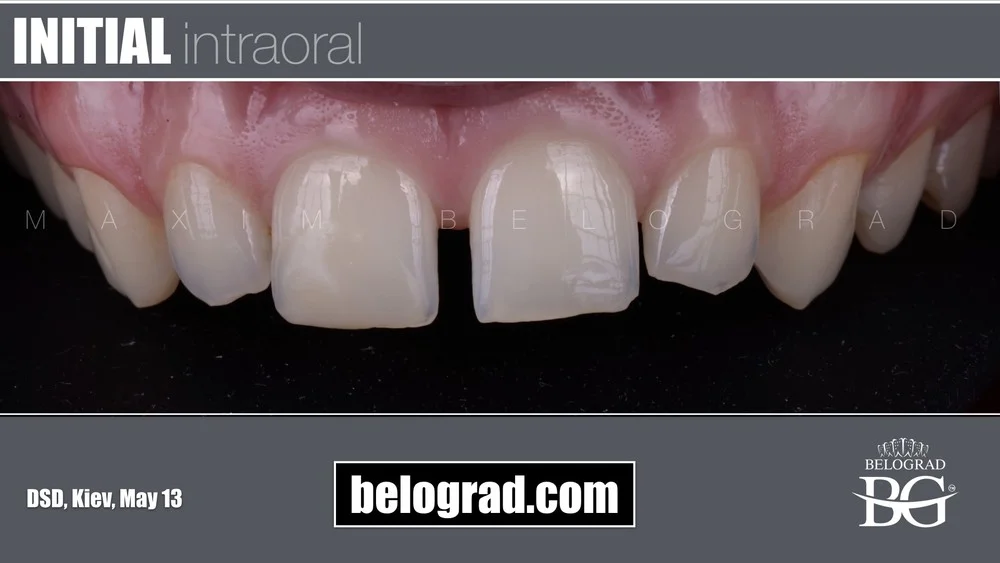
Image 9-11. Portrait with wide smile in direct projection. This photo is used for DSD. Step 1 – positioning of the picture regarding horizon. This step will allow to work with teeth in order of aesthetic rehabilitation
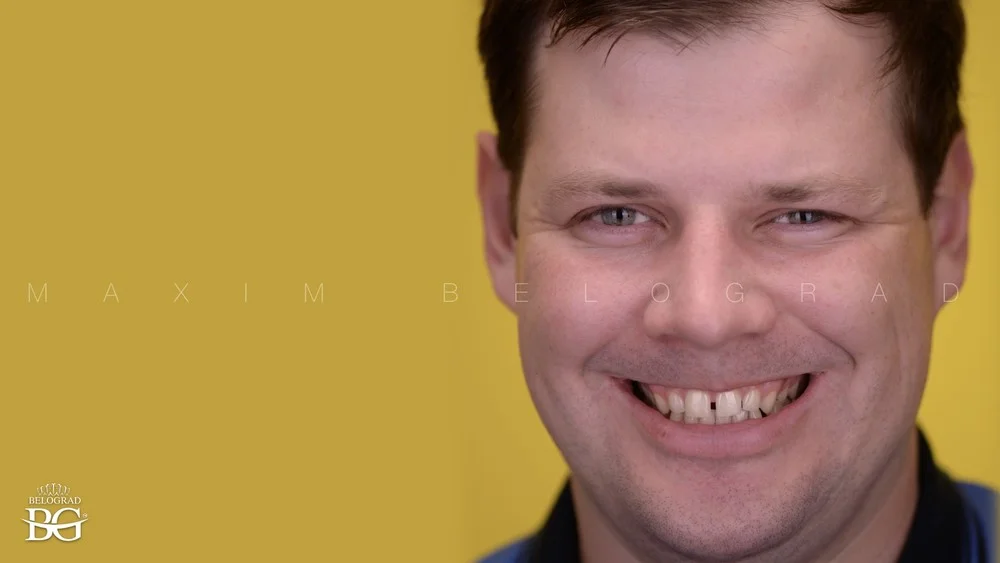
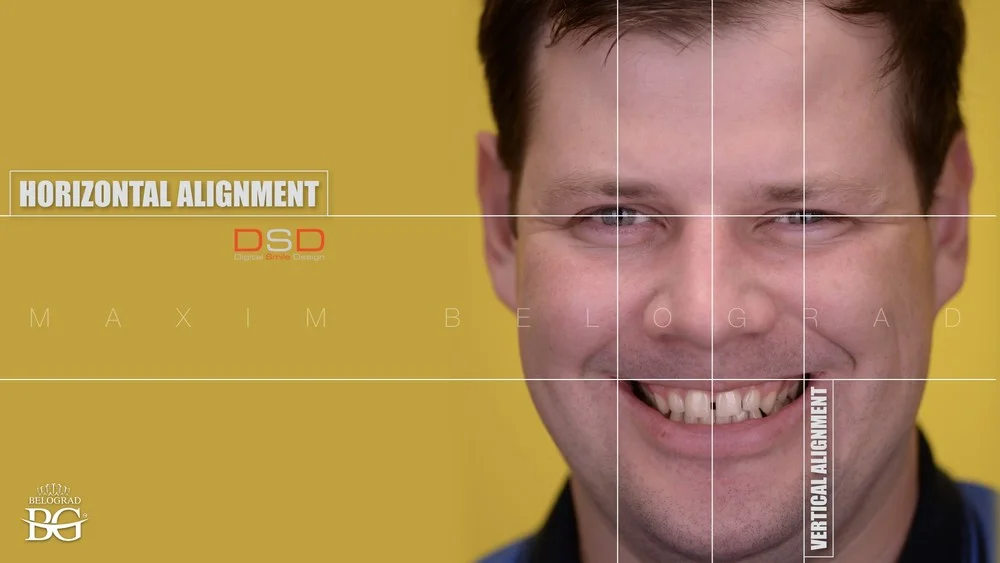
Image 12. Smile close-up. Now we can start design
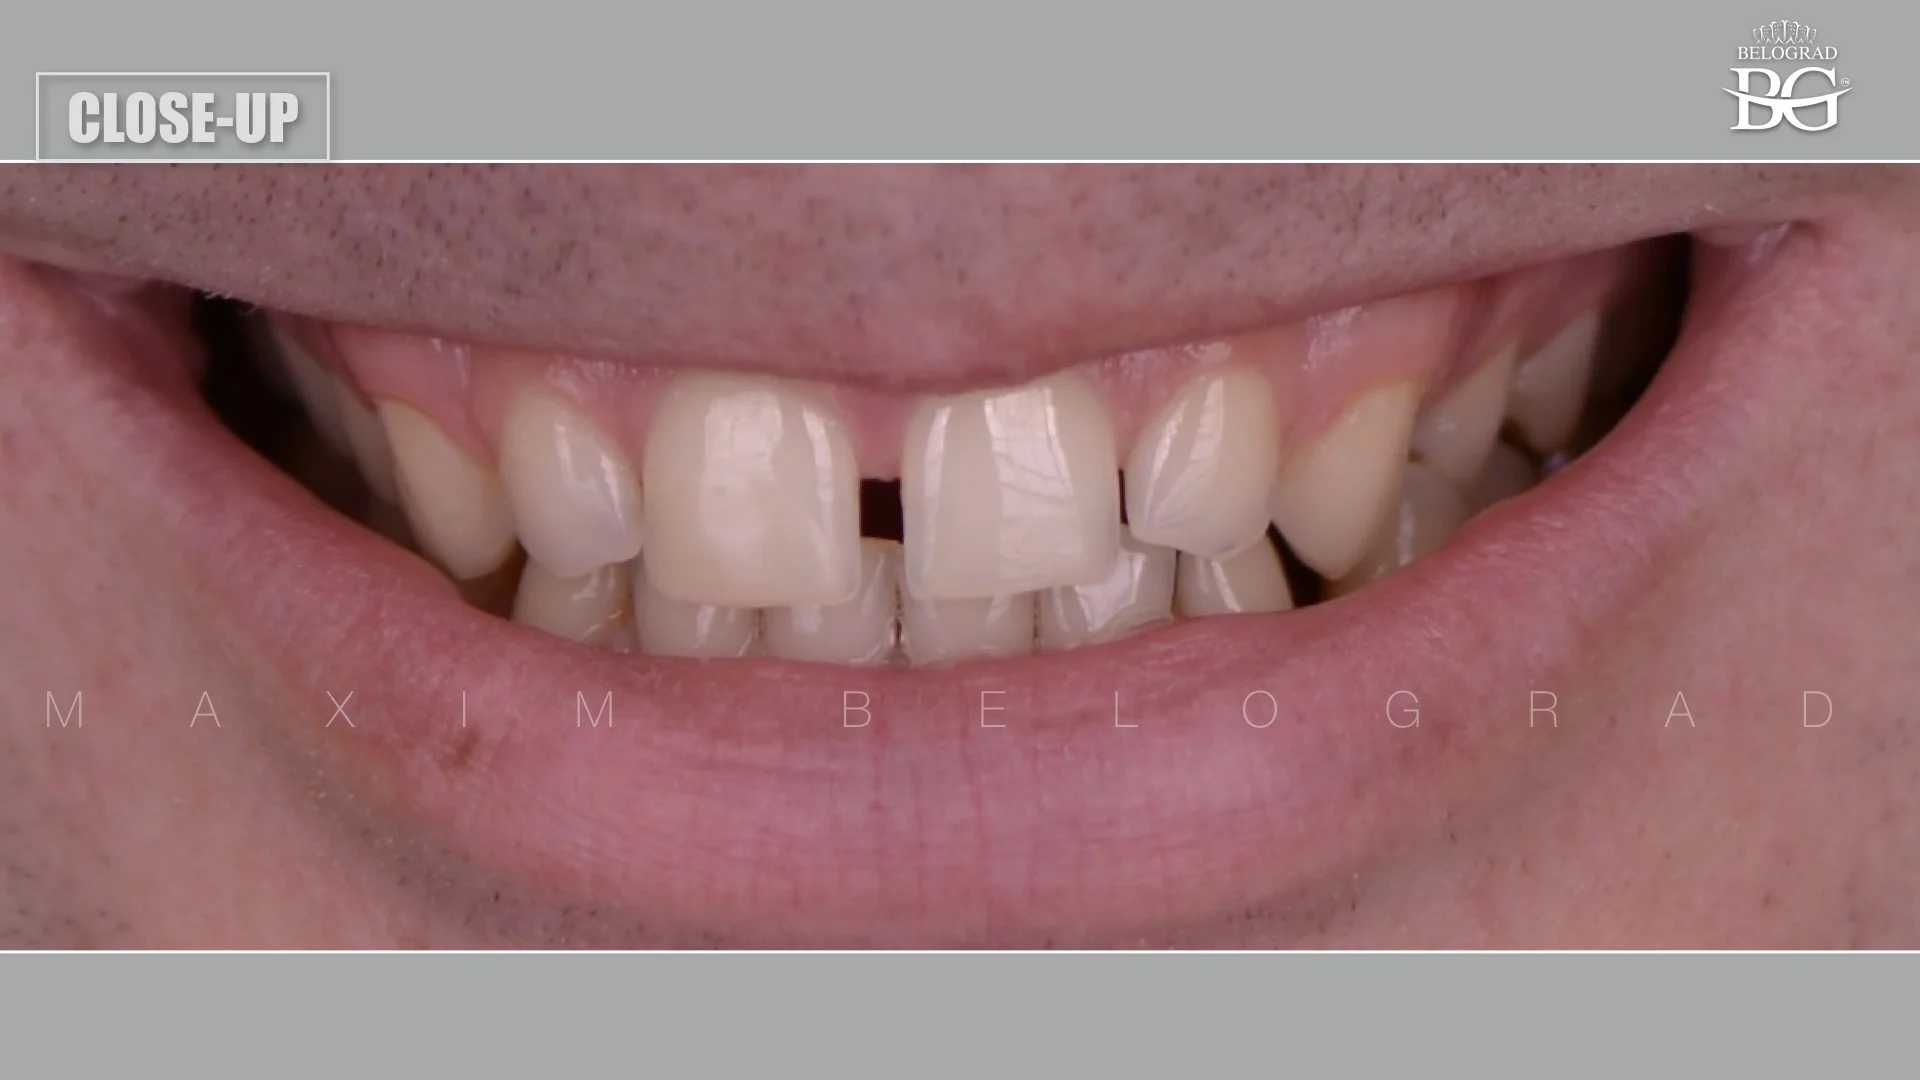
Image 13. The most efficient and quick way to provide demo-project for patient is to determine future length and width of central incisors. We can use special template for this step (golden proportion between width and length)
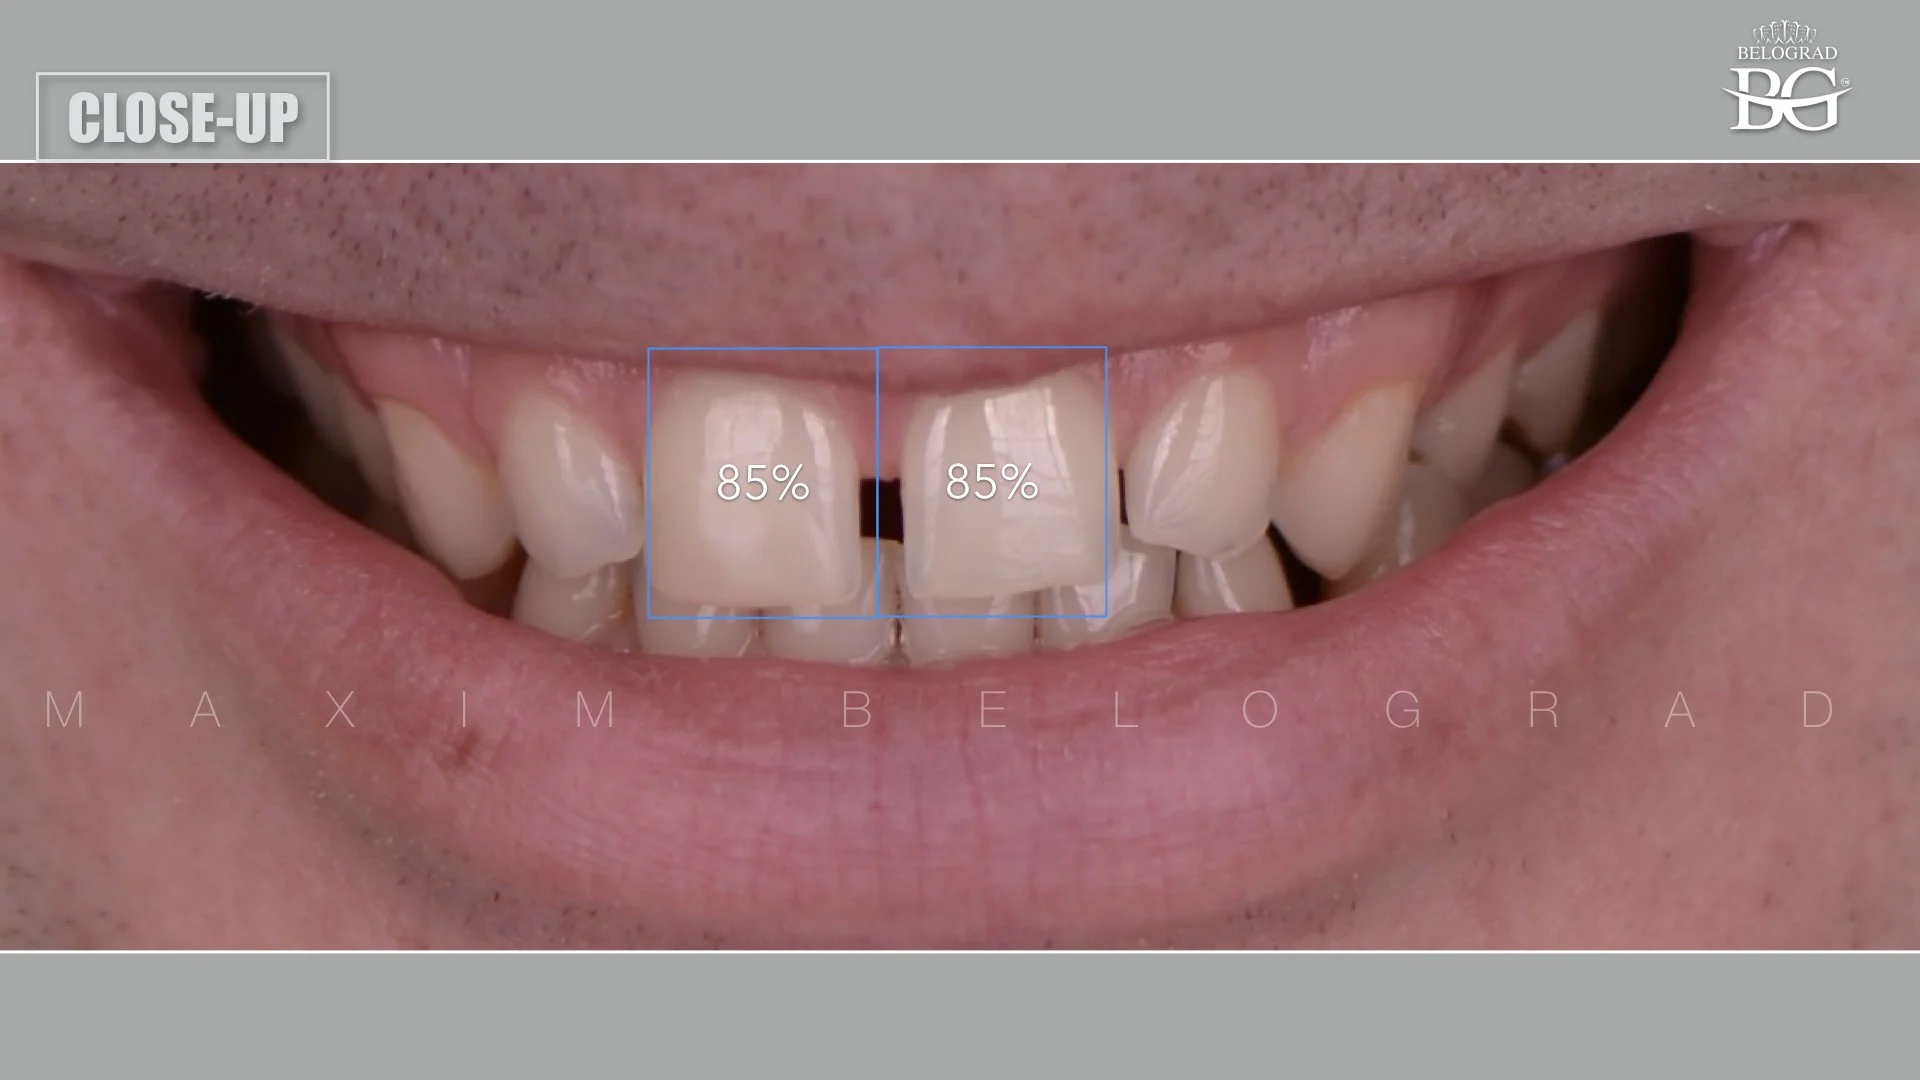
Image 14. Once central incisors are ready we can quickly design other teeth using templates
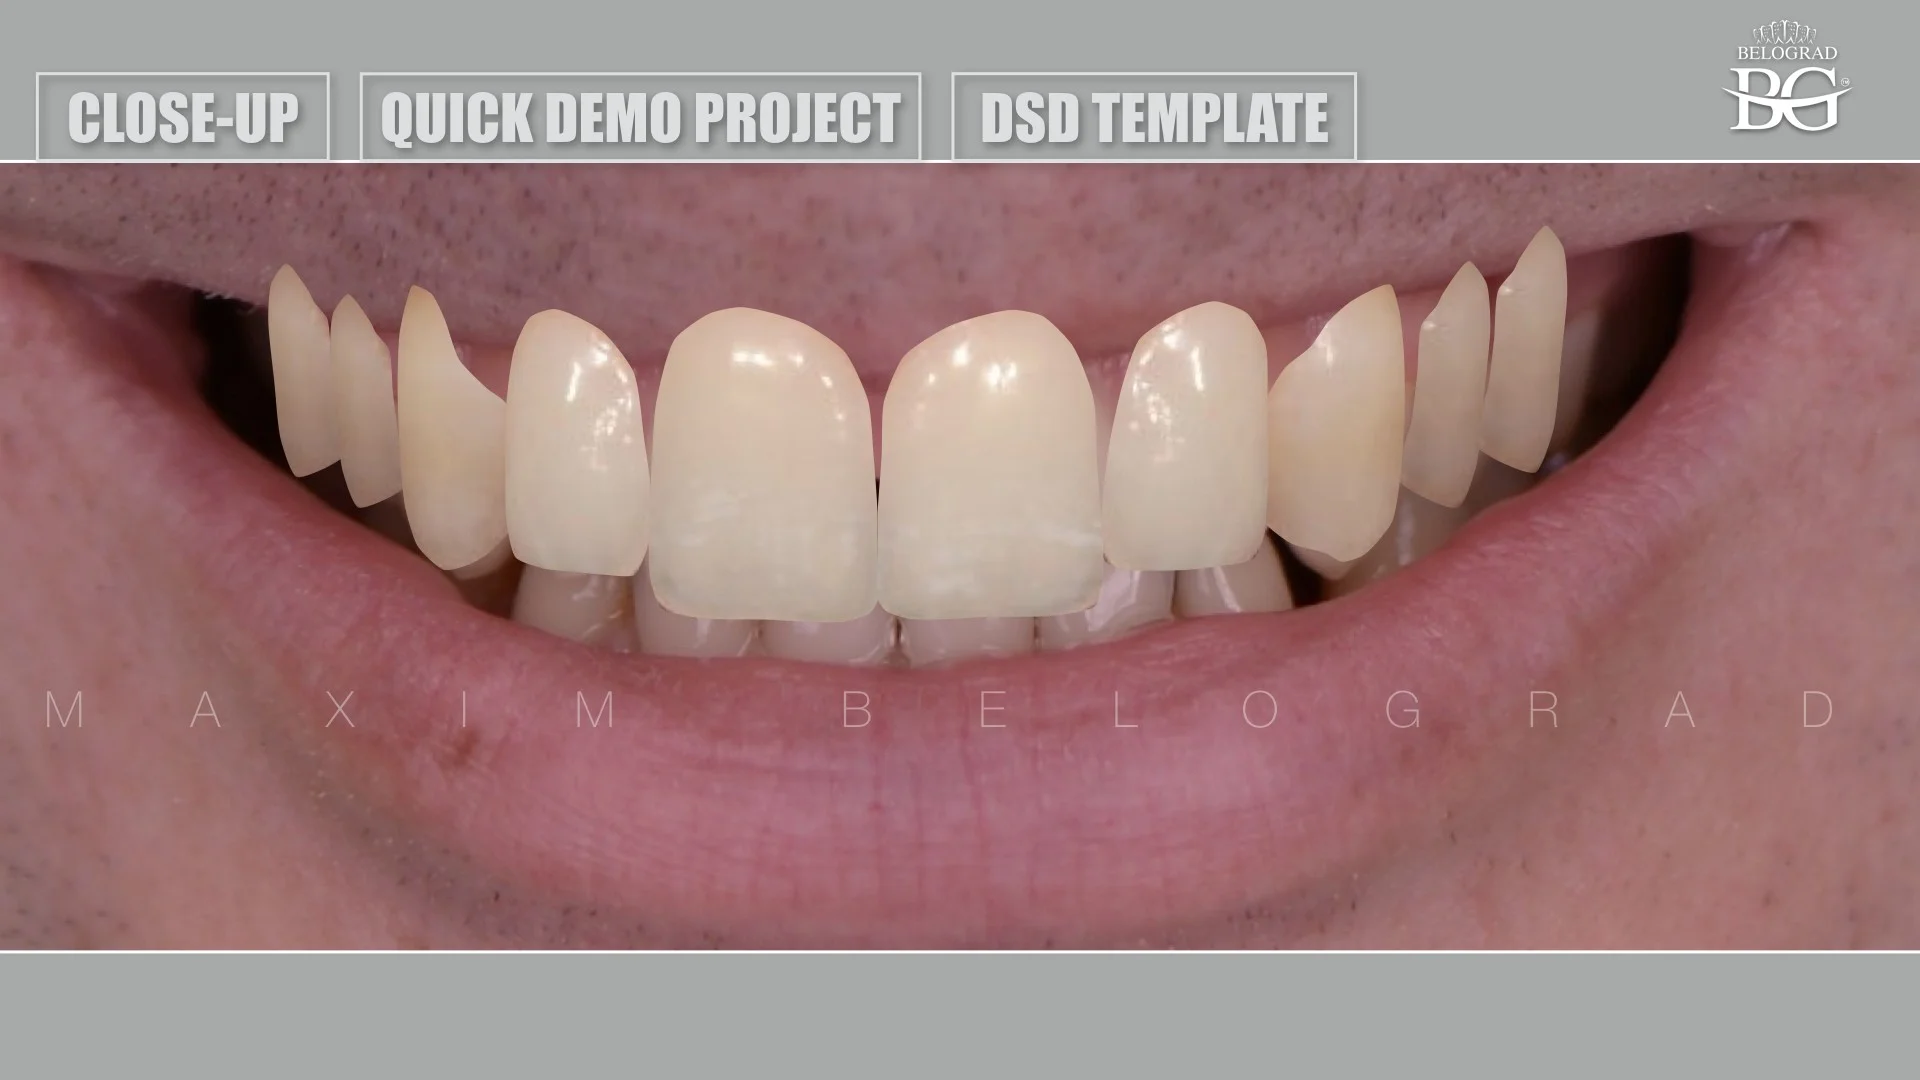
Image 15. Let us point one more time: this is quick demo project for patient that takes only 5-10 minutes but is important for communication and motivation.
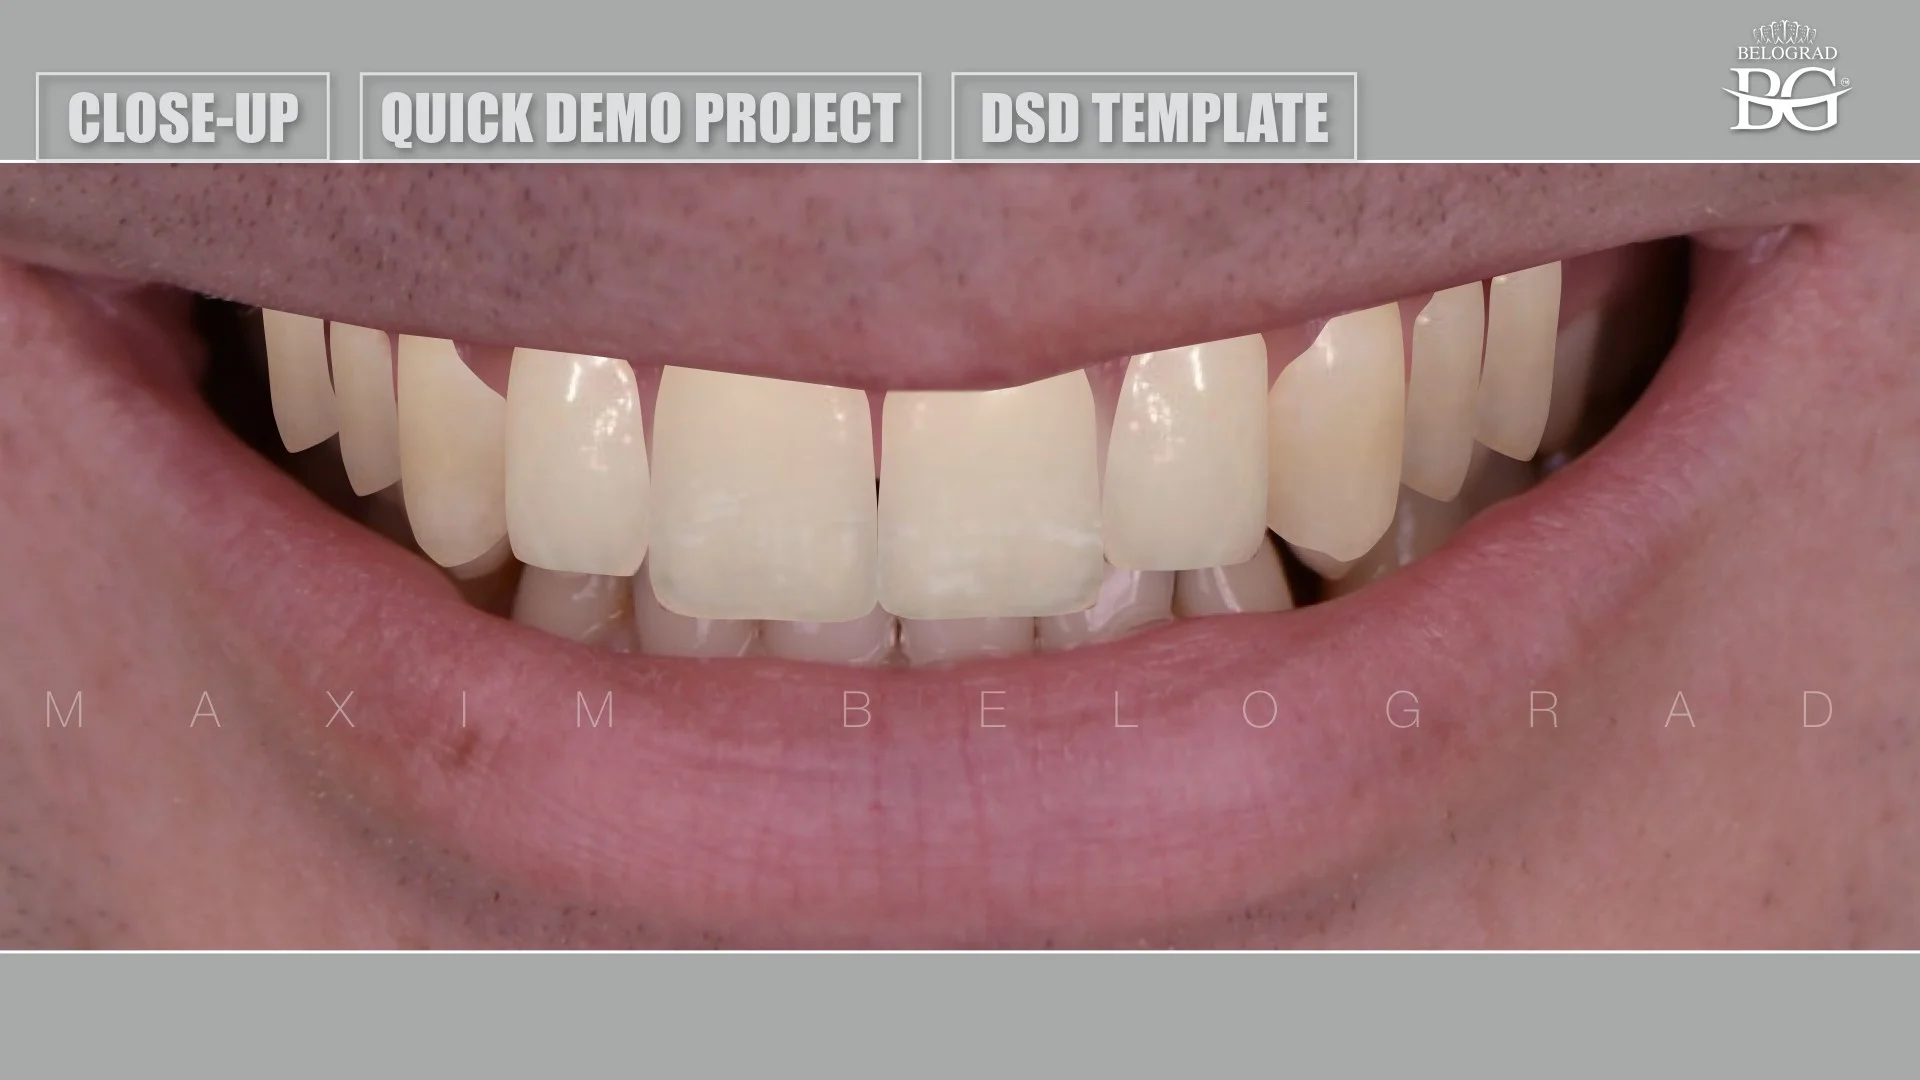
Image 16. Before and after design
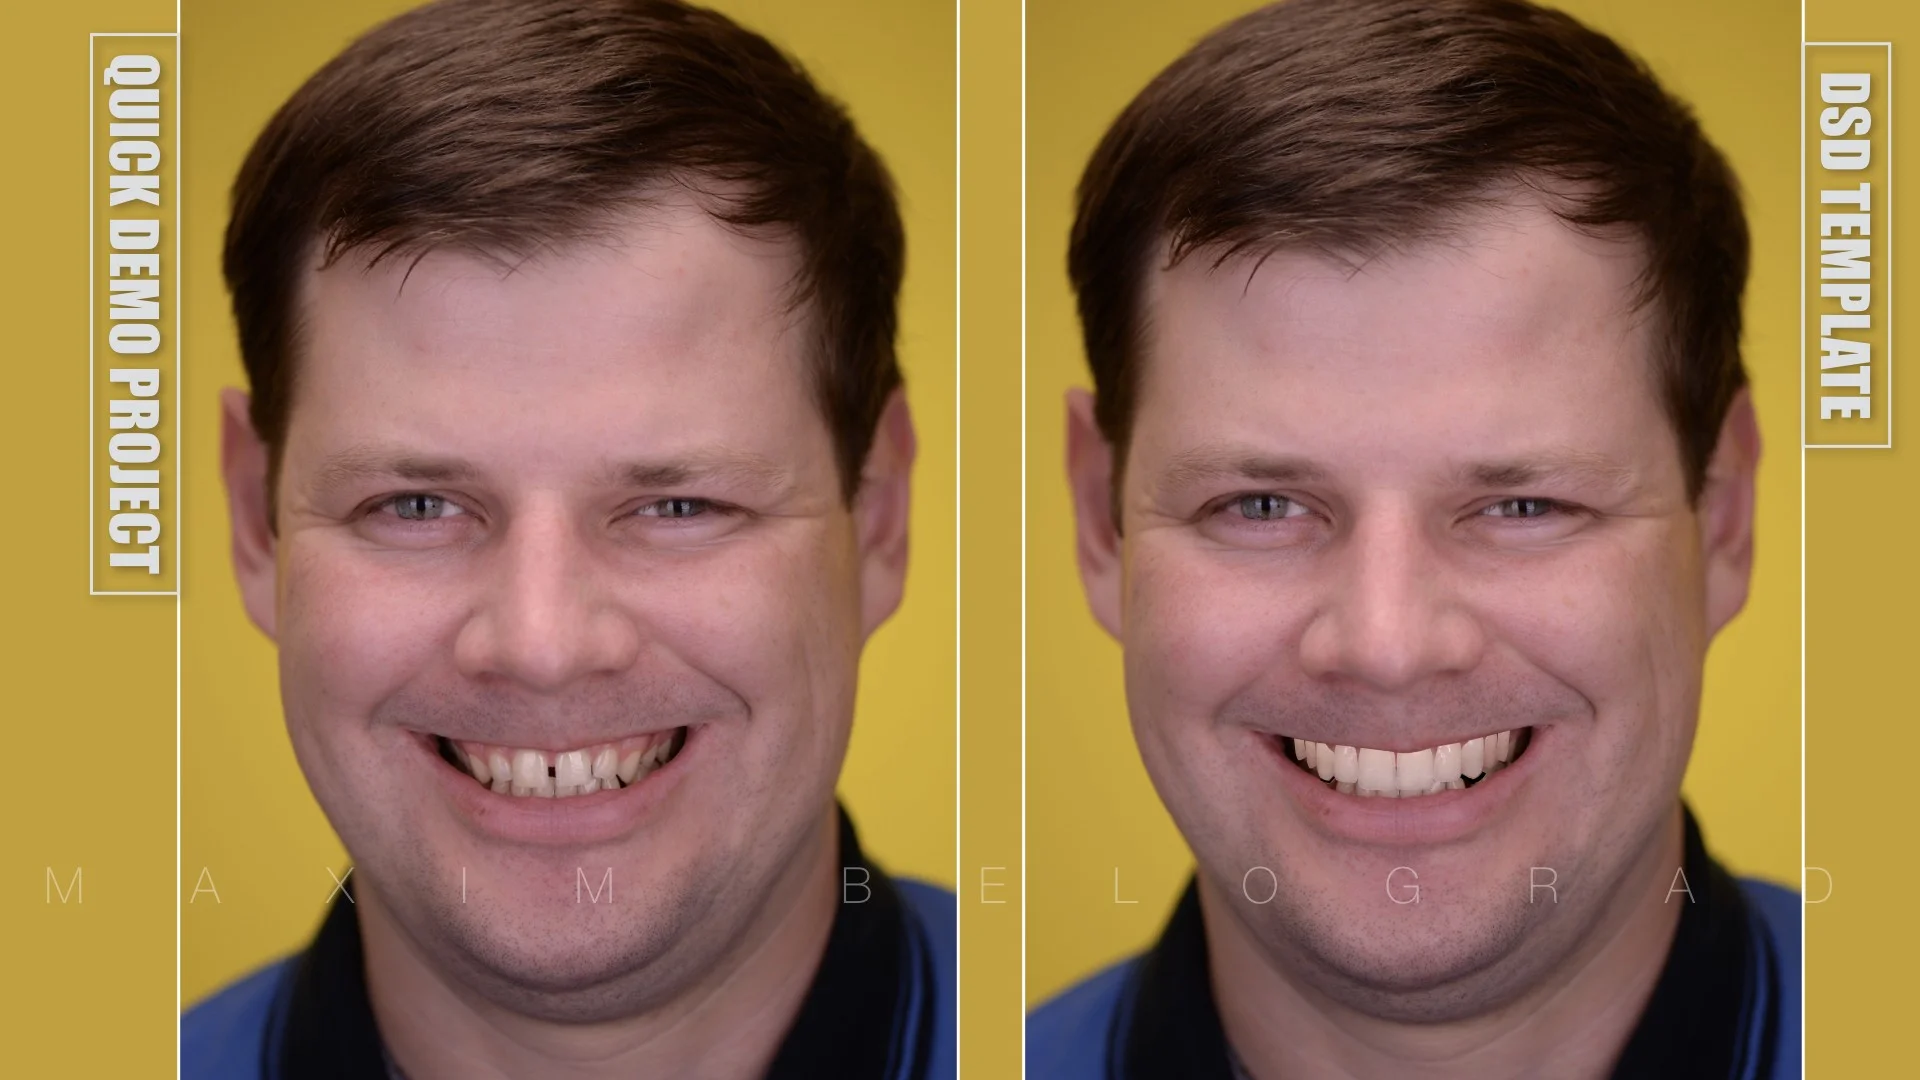
Image 17. Now we can proceed with clinical design. First step is the same as for quick project – positioning of portrait picture (it was already done so we keep our time)
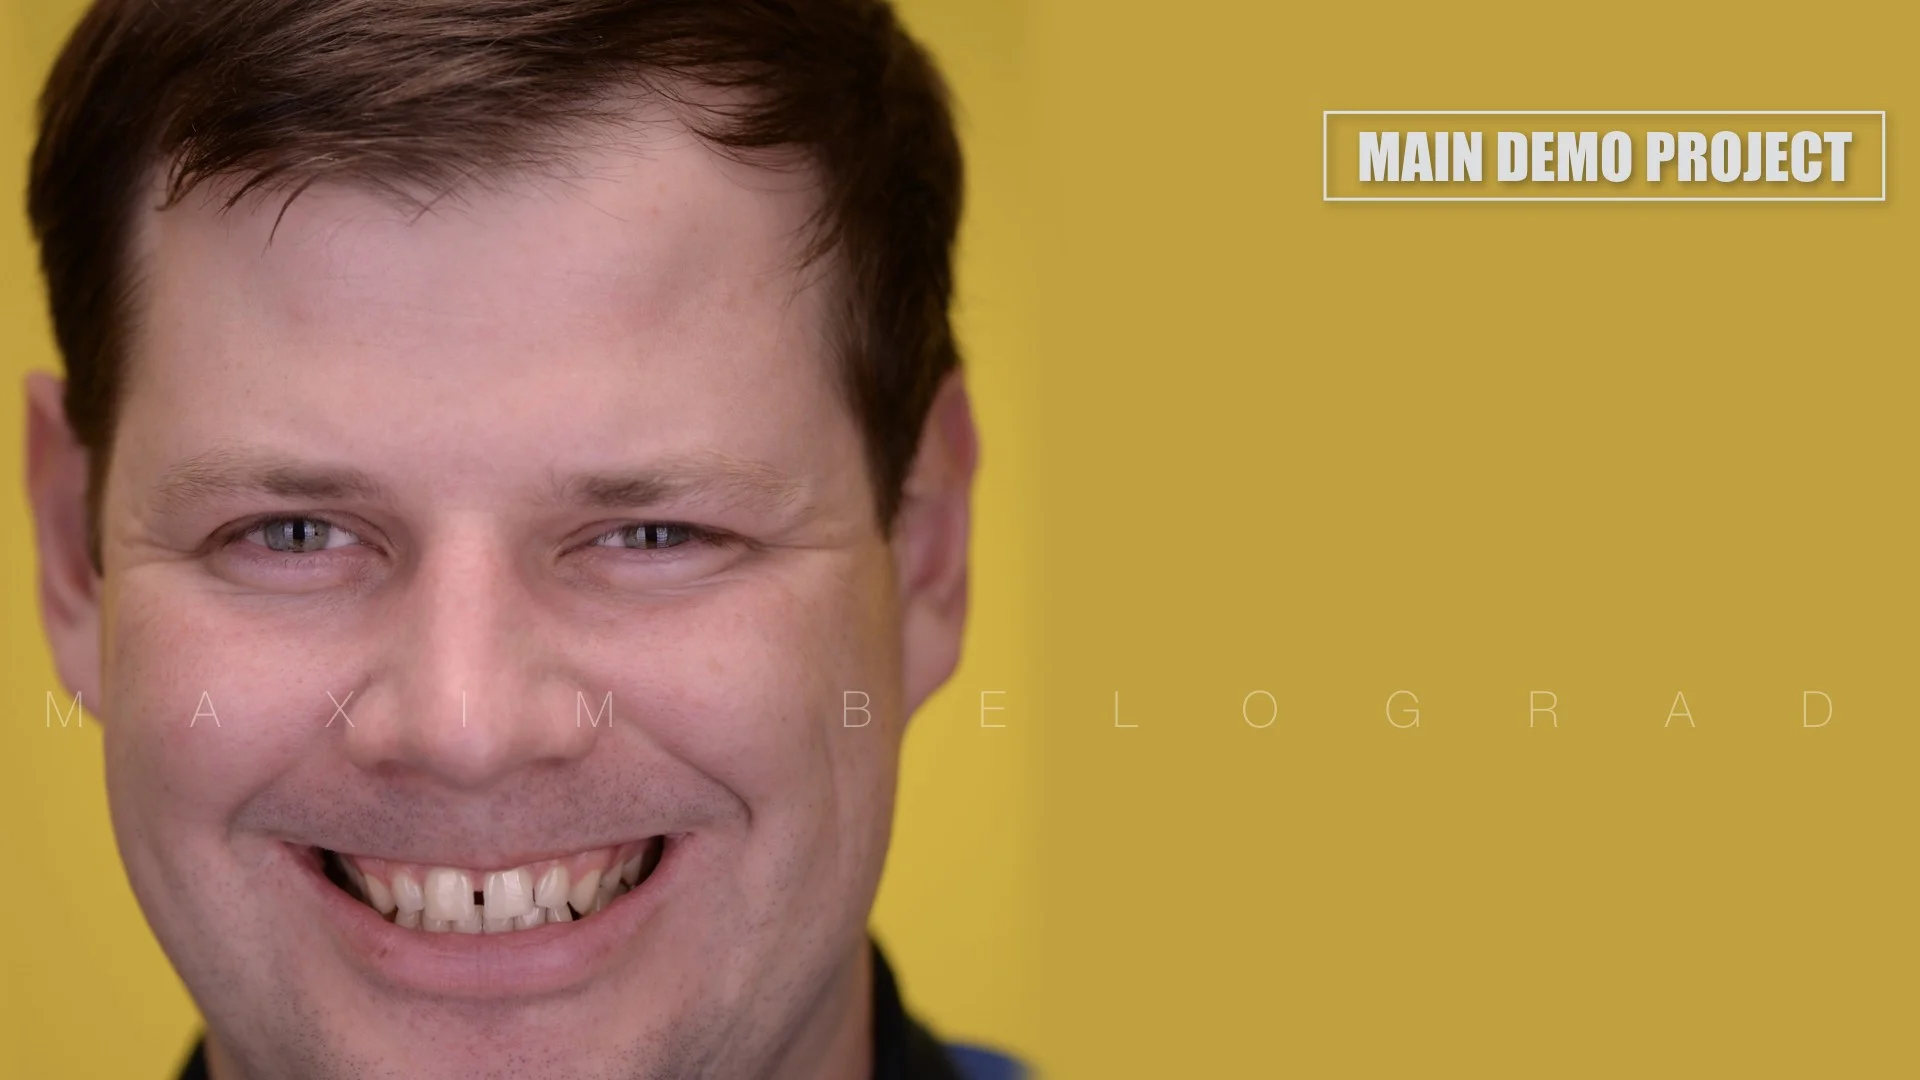
Image 18. Smile close-ups. This fragment of picture is not detailed enough for clinical project. Important elements are missed – cervical zones and gingival contour of all frontal teeth.
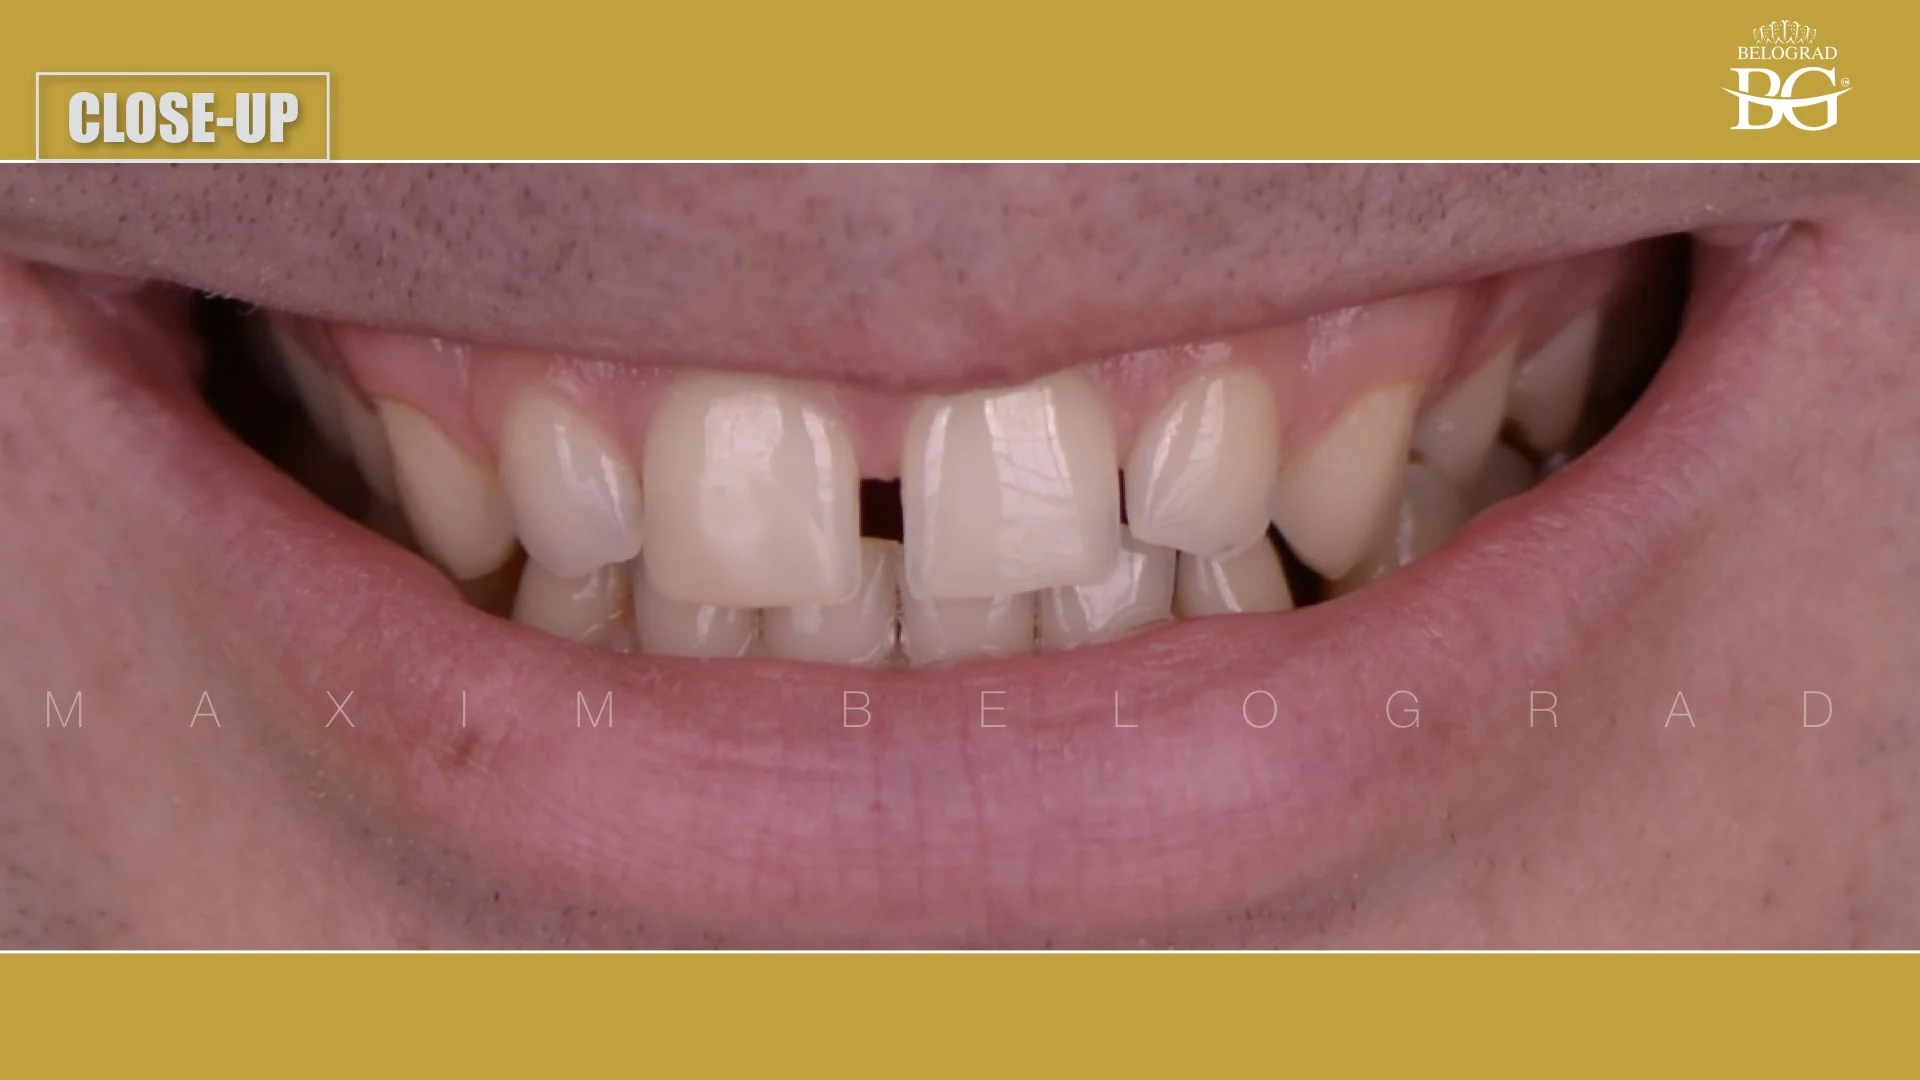
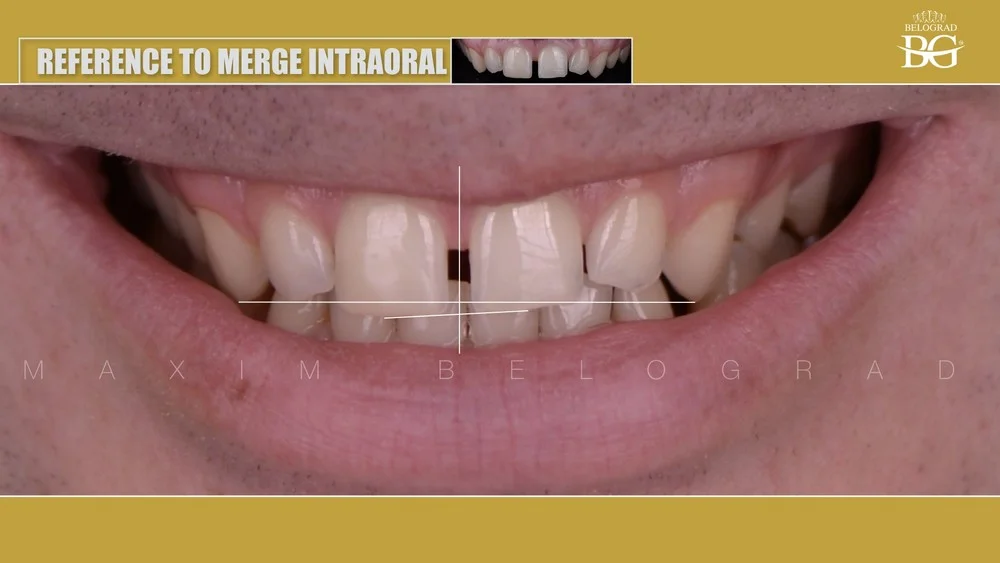
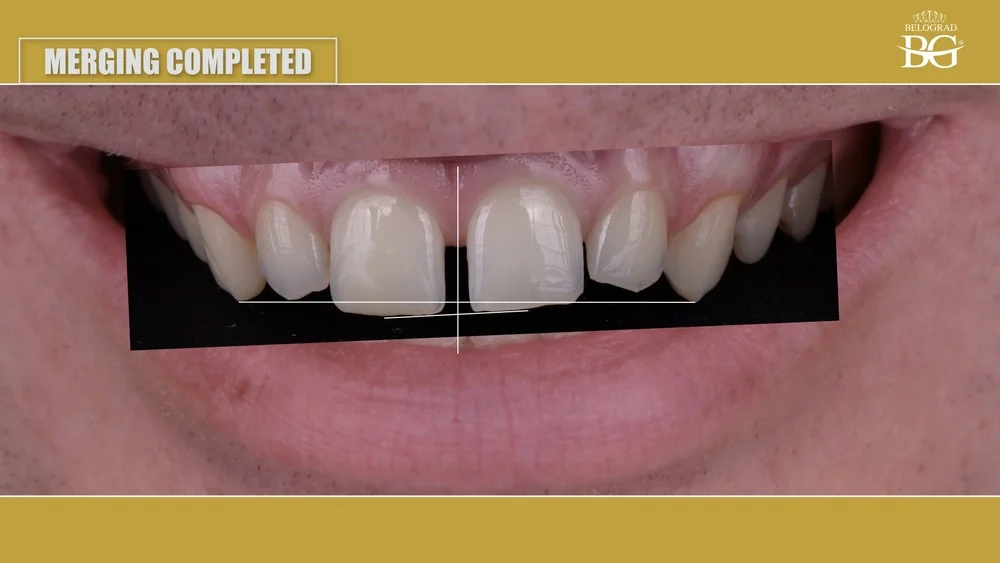
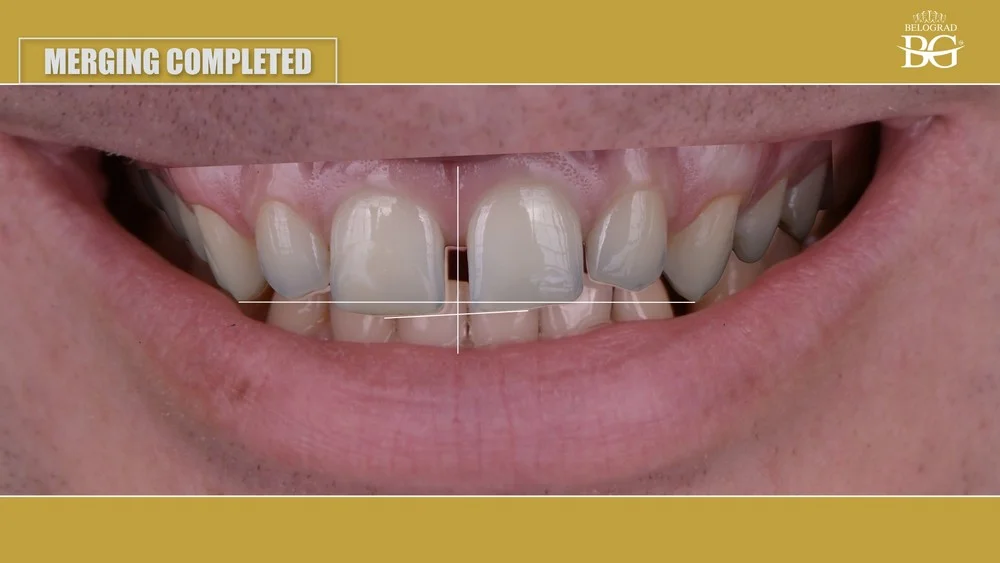
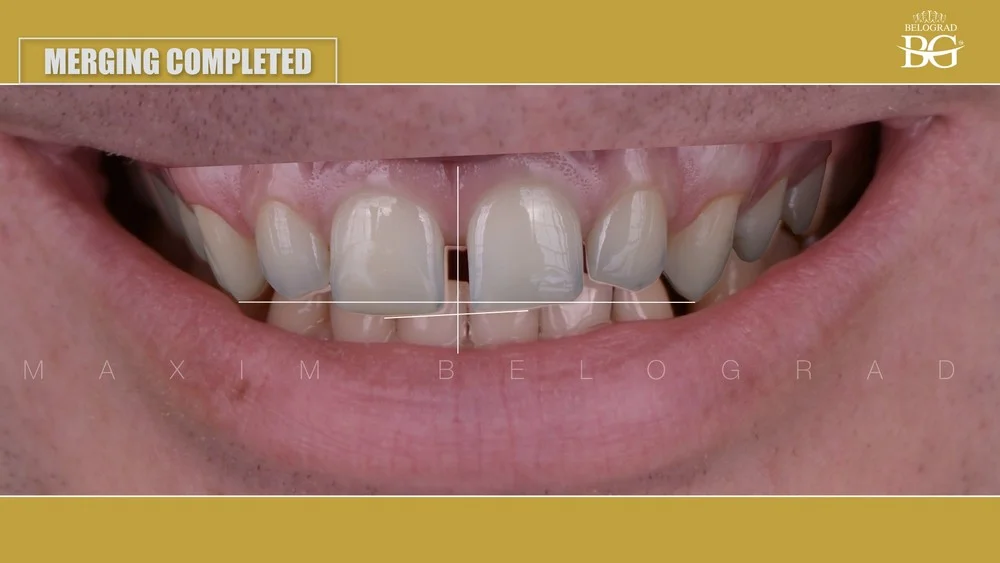
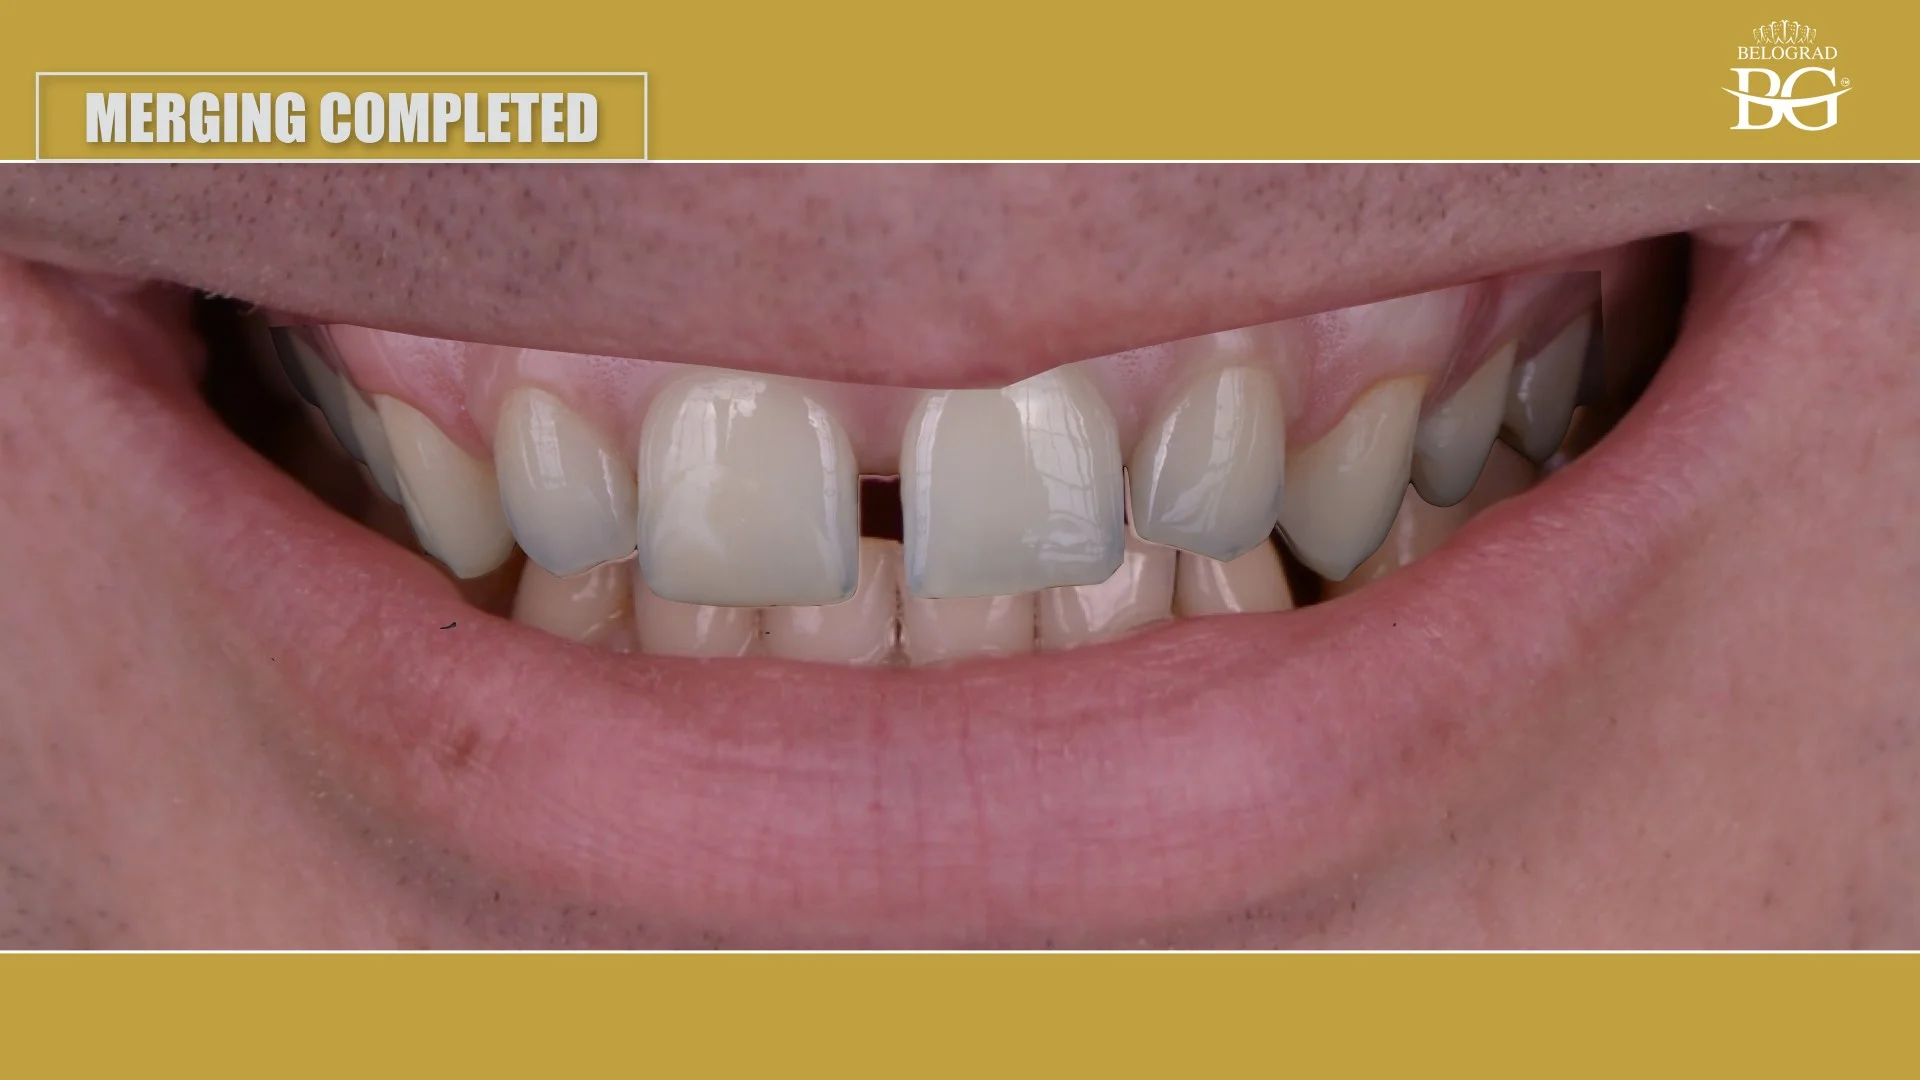
Image 19-23. The best way to get details is to transfer intraoral high resolution picture with retractor into already positioned portrait picture.
Other steps of planning and design will be presented in next article “DSD: clinical project and smile prototype. Part 2”


